‘What camera do you use?’ ‘What camera gear do you use for travel and adventure photography?’ “How do you take your photos? are some of the most common questions I get asked! I’ve tested a lot of gear across different systems over the years, and I’ve just updated this post to reflect what is best.
First things first—it’s important to know that most photographers’ gear setups are curated and grow over time. I didn’t purchase everything at once, because camera gear is expensive (but a worthwhile investment). So, are you ready to take a look inside my camera bag? Let’s get into it!
A note from Angela..
There are affiliate links in this post — The Best Camera Gear for Epic Travel and Adventure Photography — and I may earn a small commission if you choose to purchase an item (at no additional cost to you). These funds go right back into creating free content just like this. Thank you for your support!

Camera Body
Sony A7R V
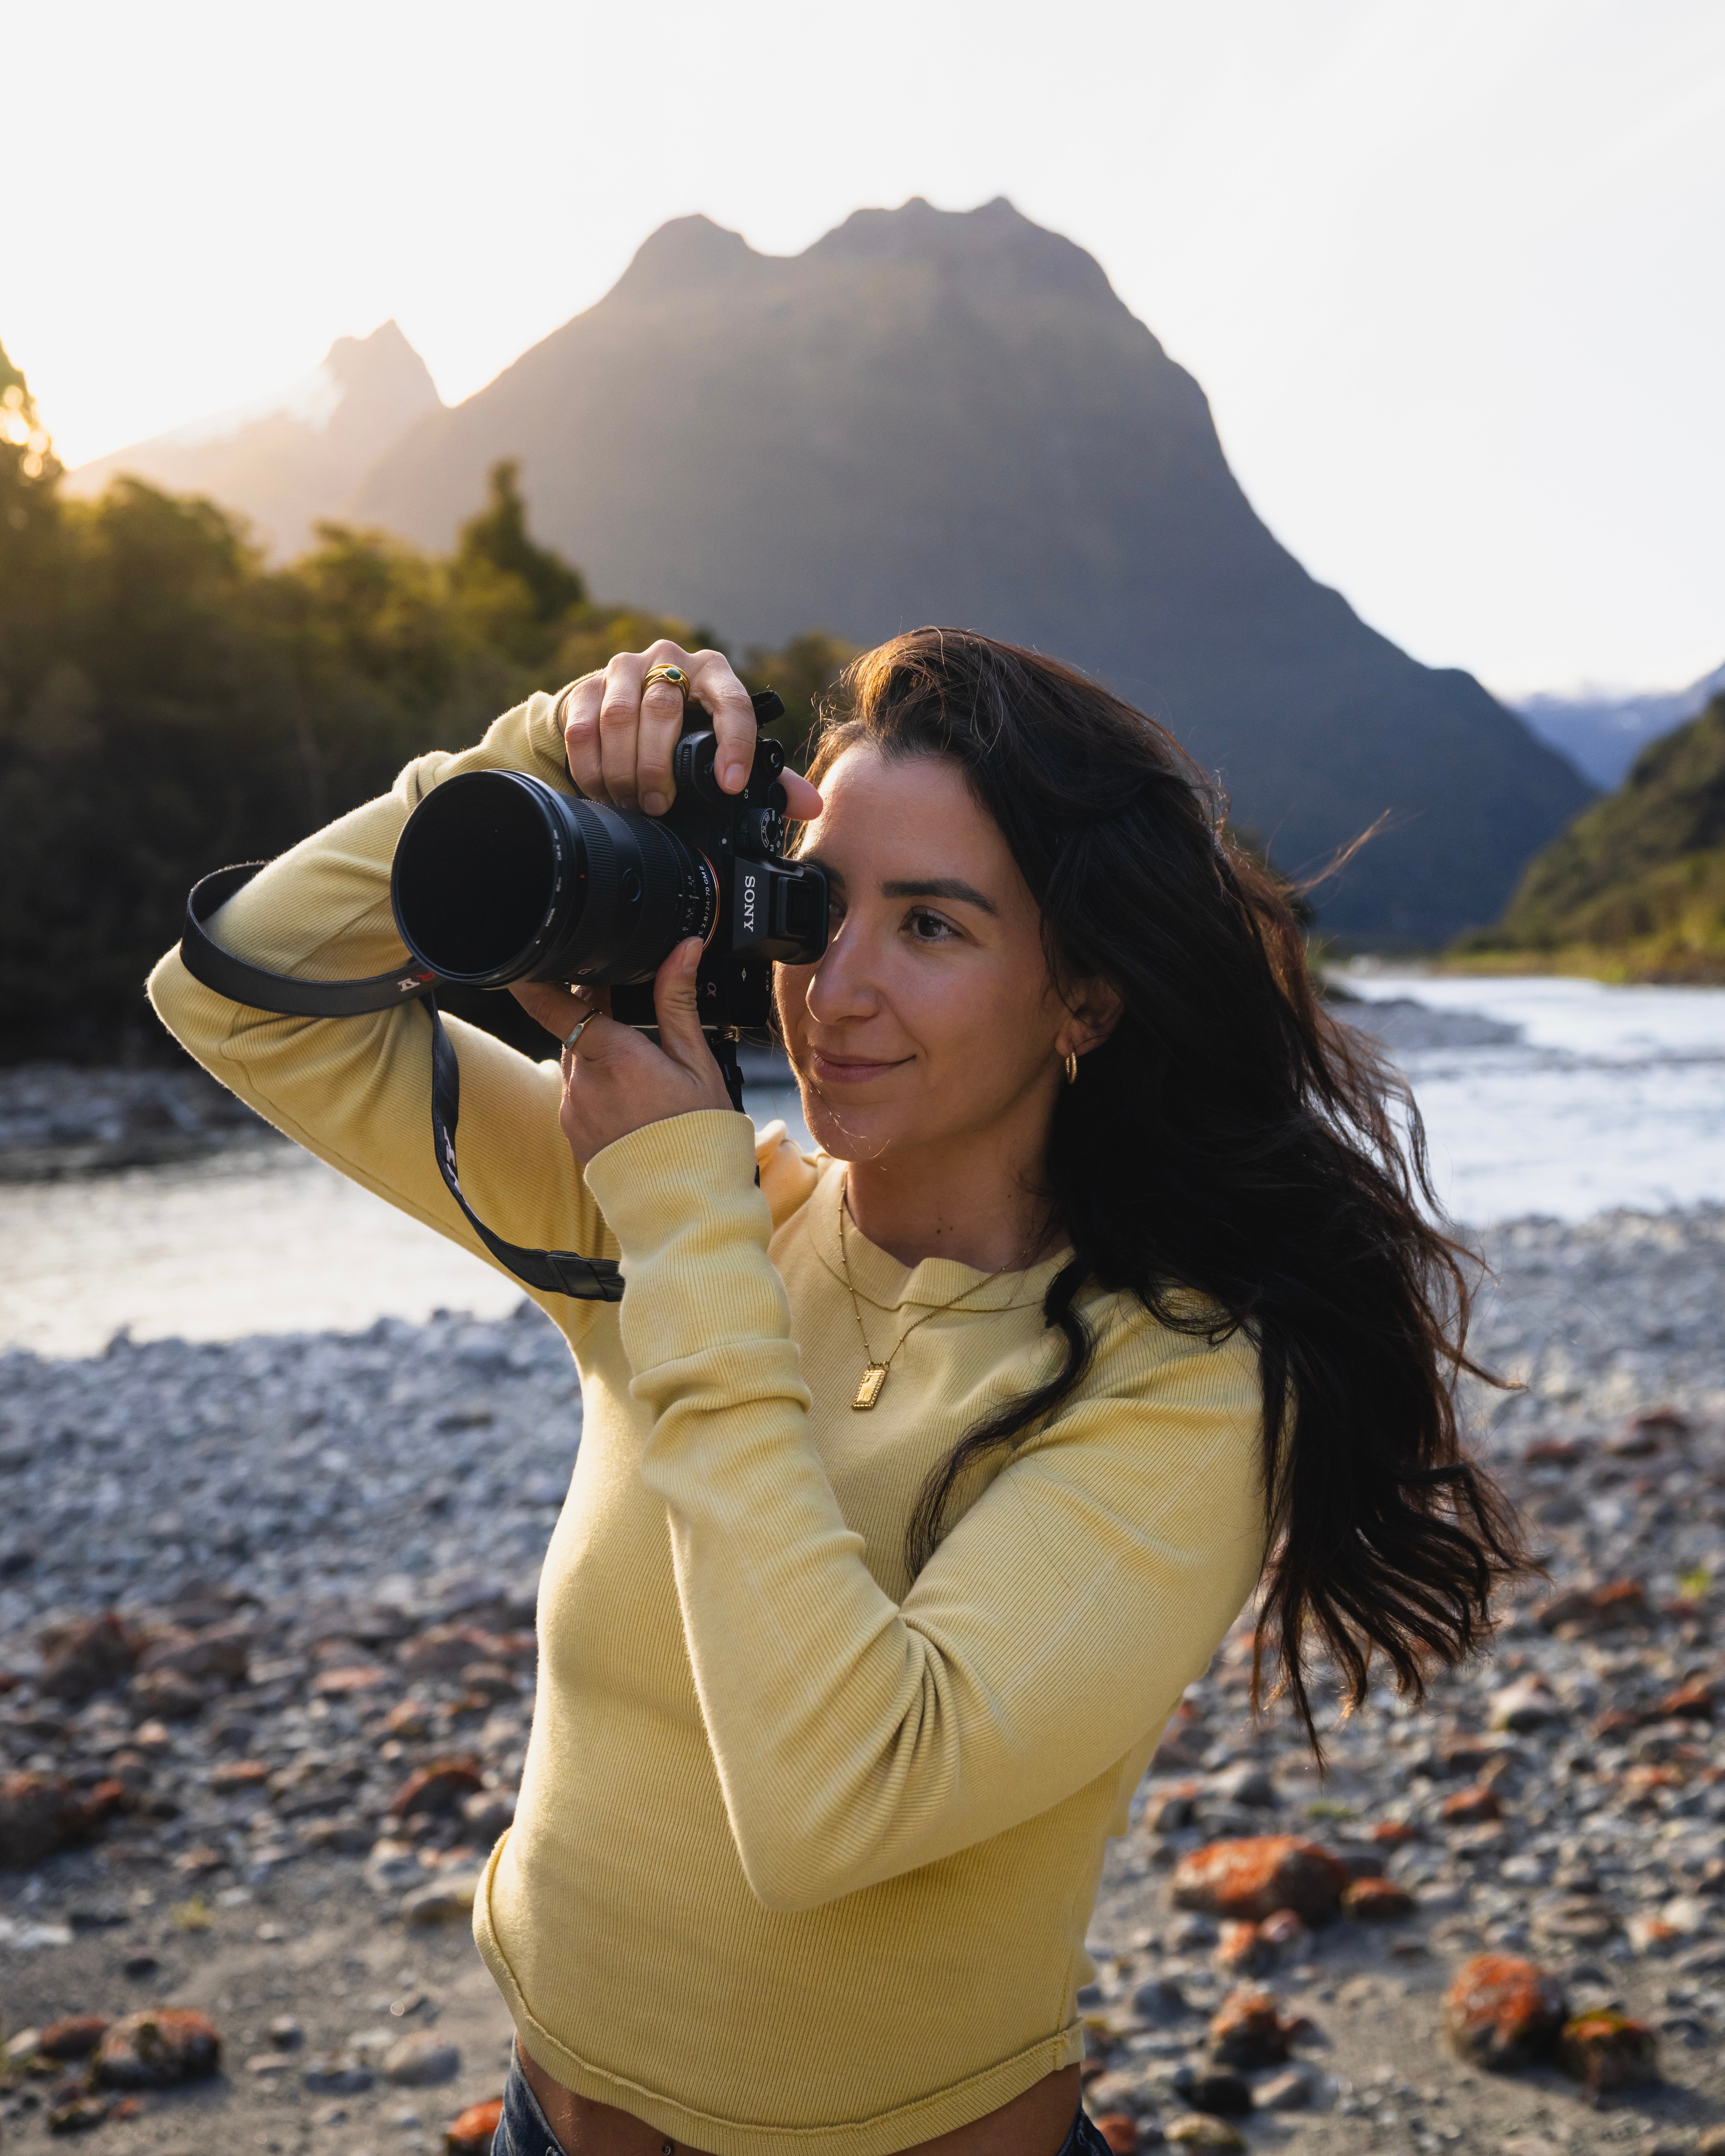
The Sony A7R V is the best camera body for adventure and travel photography. It’s a full-frame mirrorless camera with a massive 61MP resolution, so every shot is incredibly sharp. This is especially helpful when I am taking photos on my own because I can crop or reframe photos later without losing quality.
The AI-Powered autofocus is a game-changer and helps me keep my subject in focus. Another thing that sets Sony apart from others is its incredible performance in low-light scenarios. It’s the first camera body I’ve used that I’m not afraid to pump the ISO. There’s a viewfinder, touch screen, and customizable buttons.

Buy the Sony A7R V here
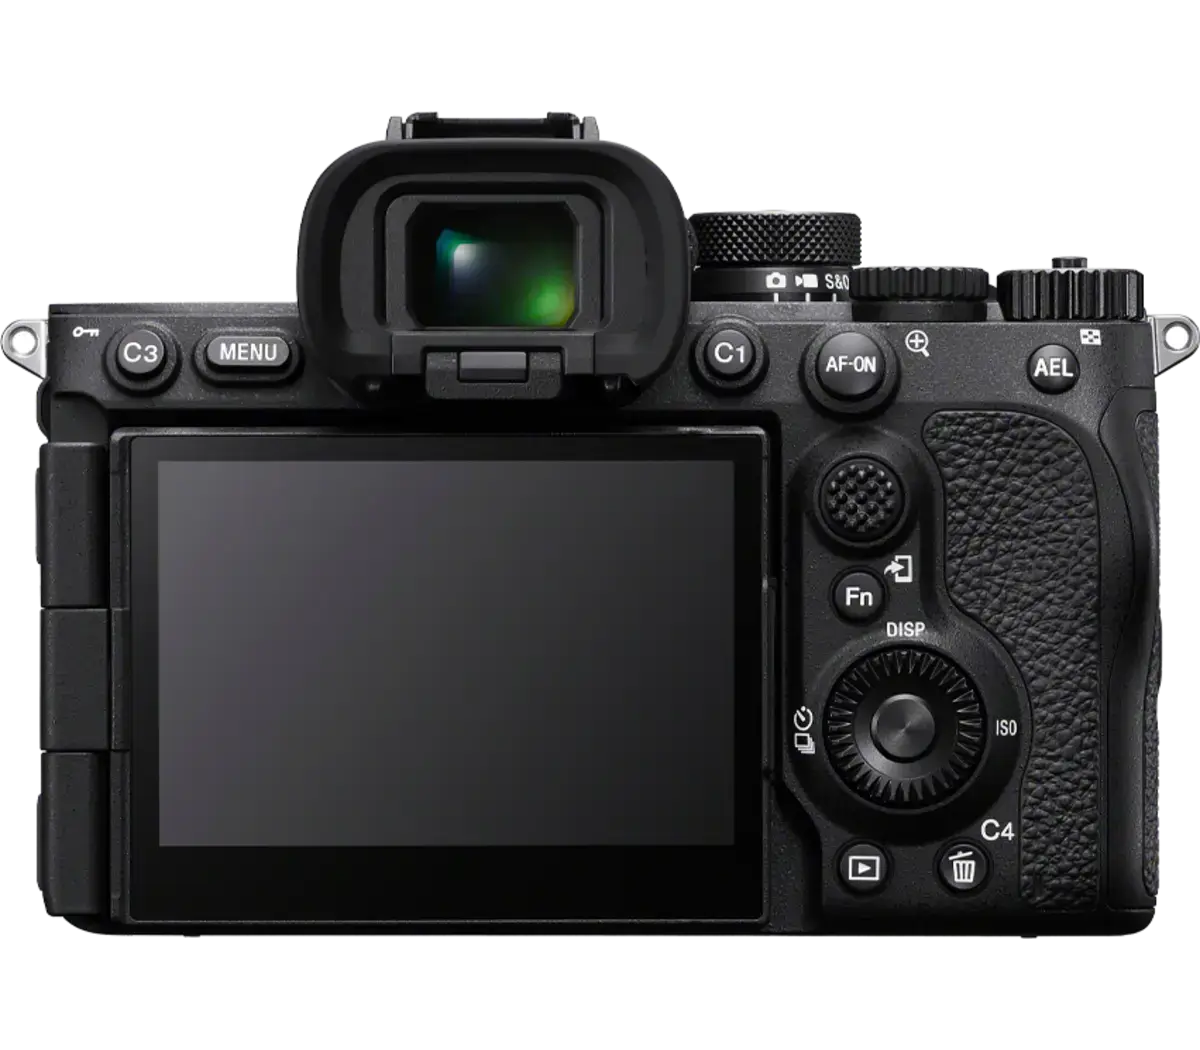
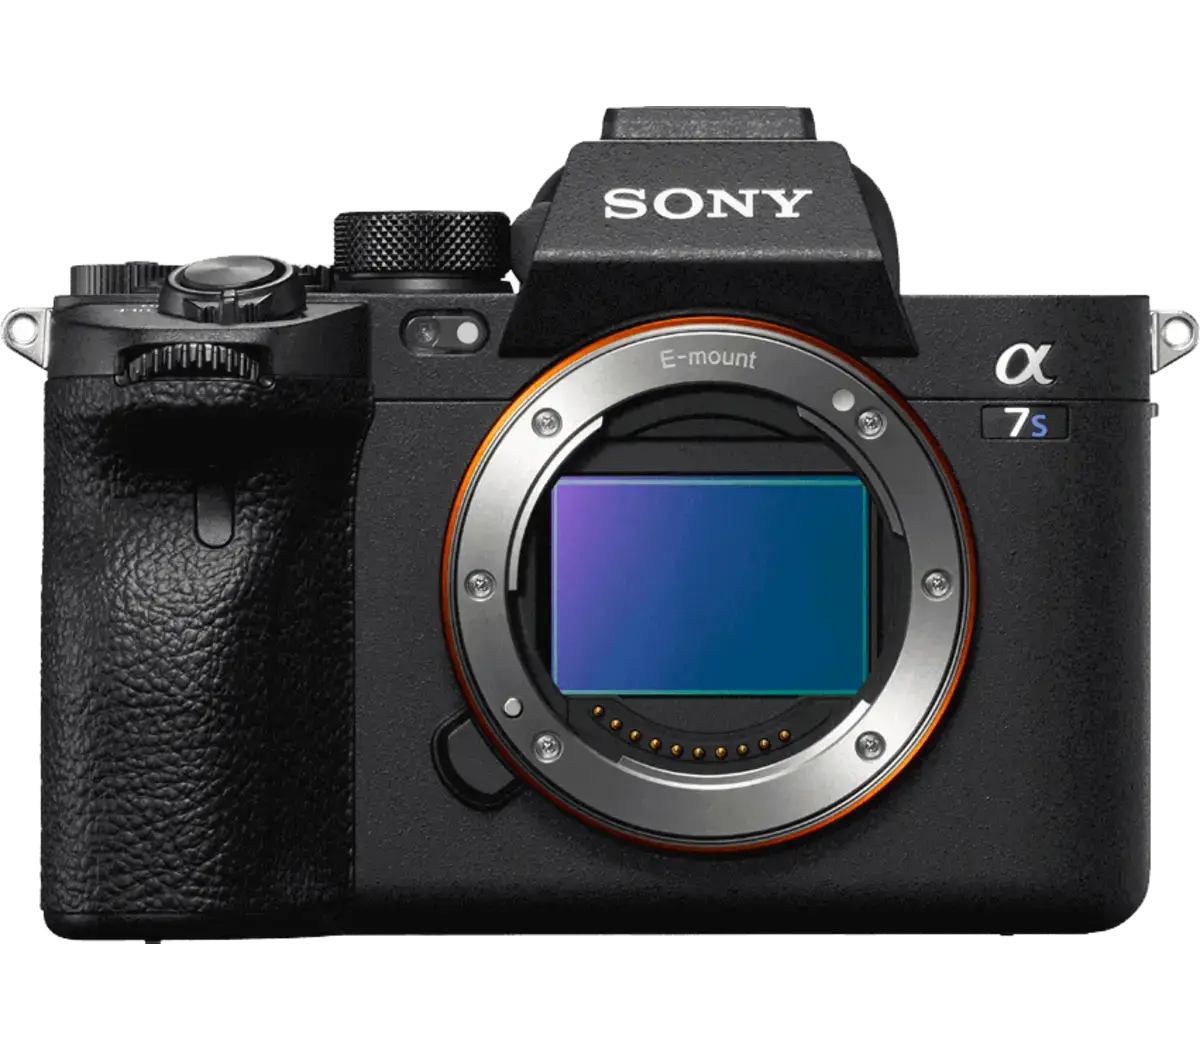
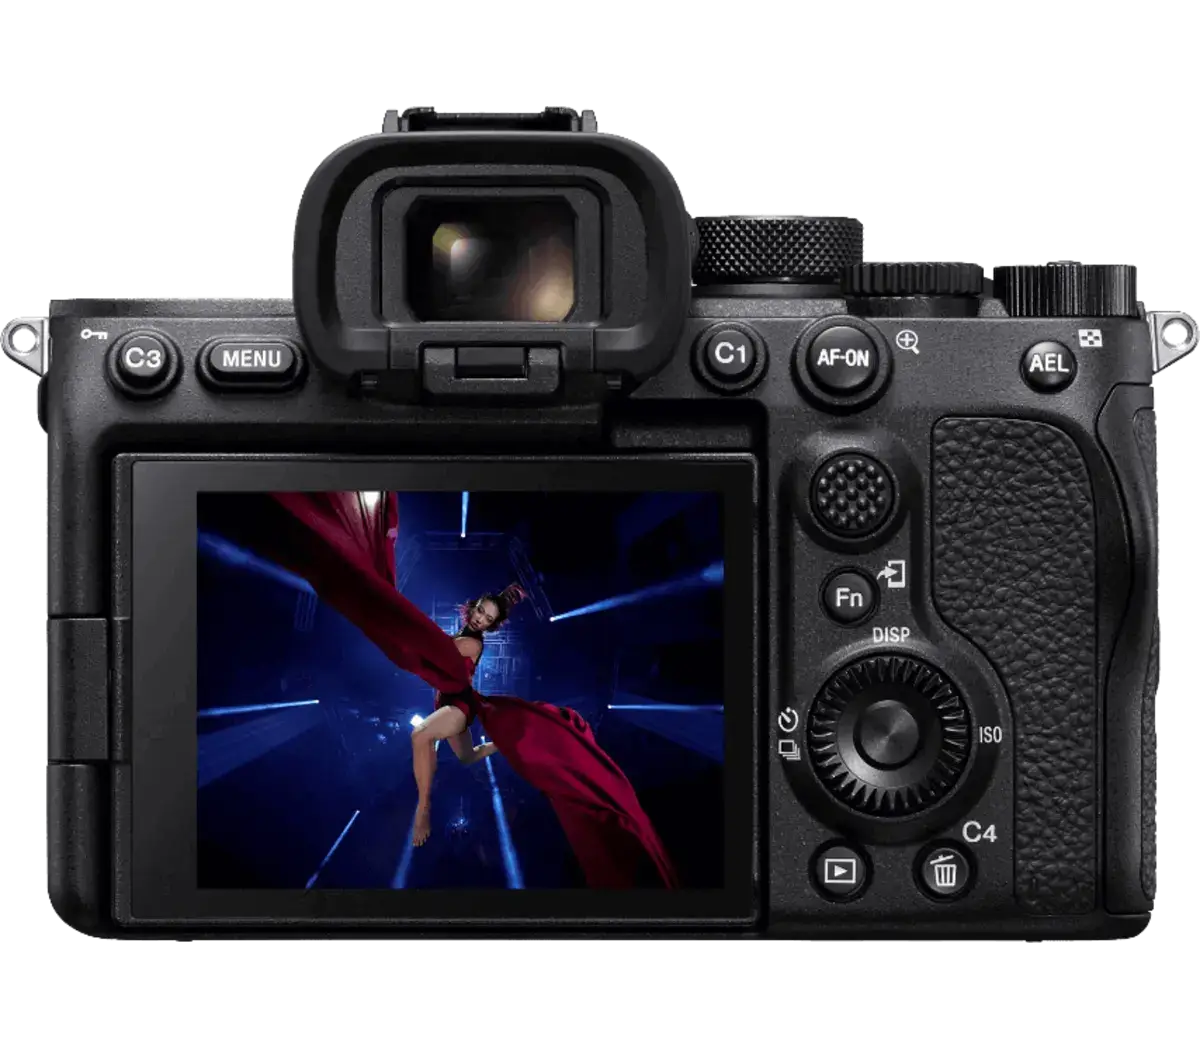
Sony A7S III
I just added the Sony A7S III to my camera gear for travel and adventure photography setup. It is designed for videographers because it has capabilities like 4K recording at 120p and a heat-dissipating system, so you can shoot for long periods. I shot this video with the A7S II (no edits).
Buy the Sony A7S III here
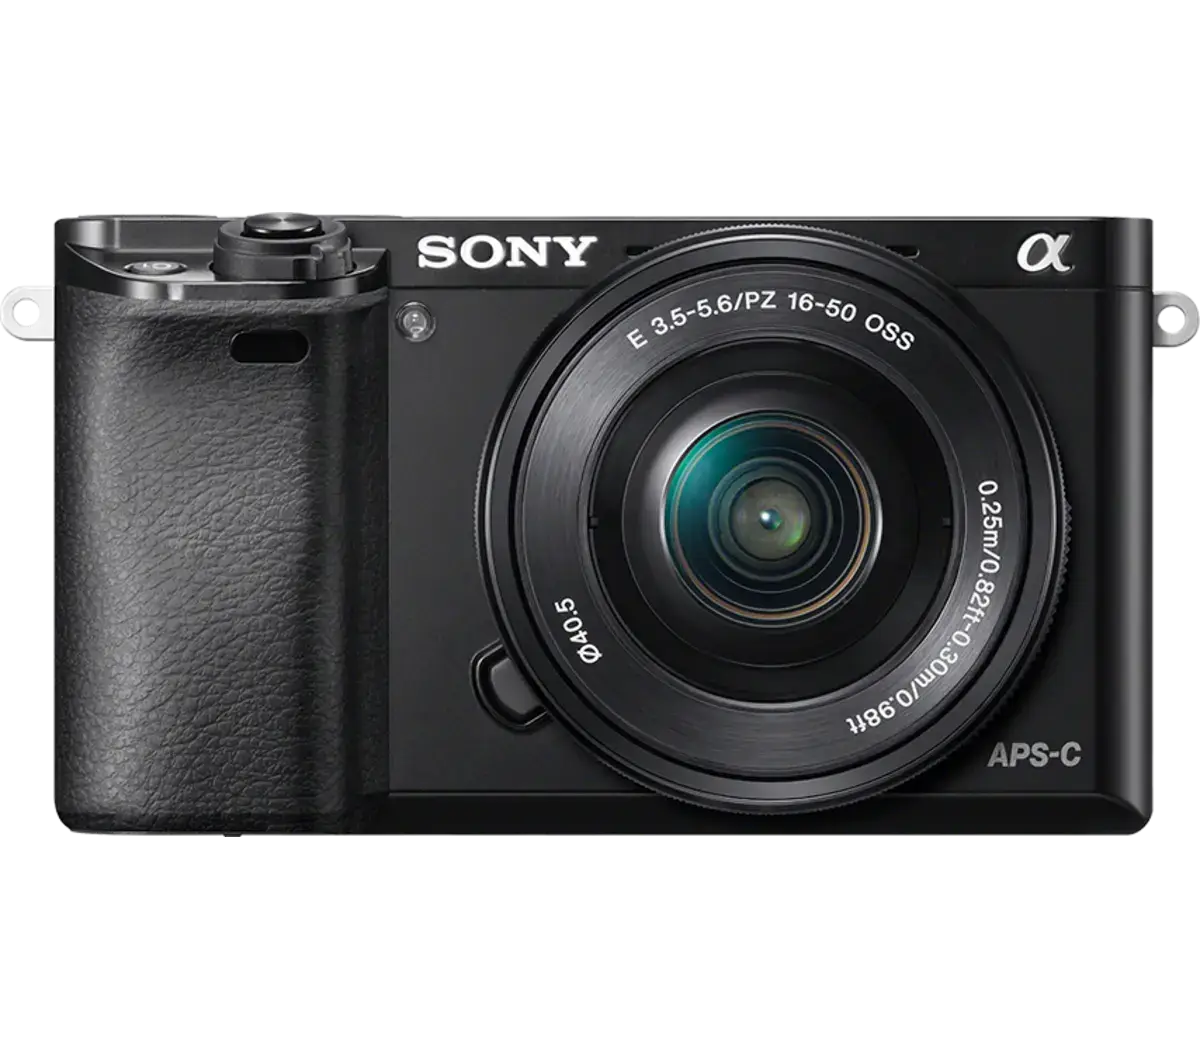
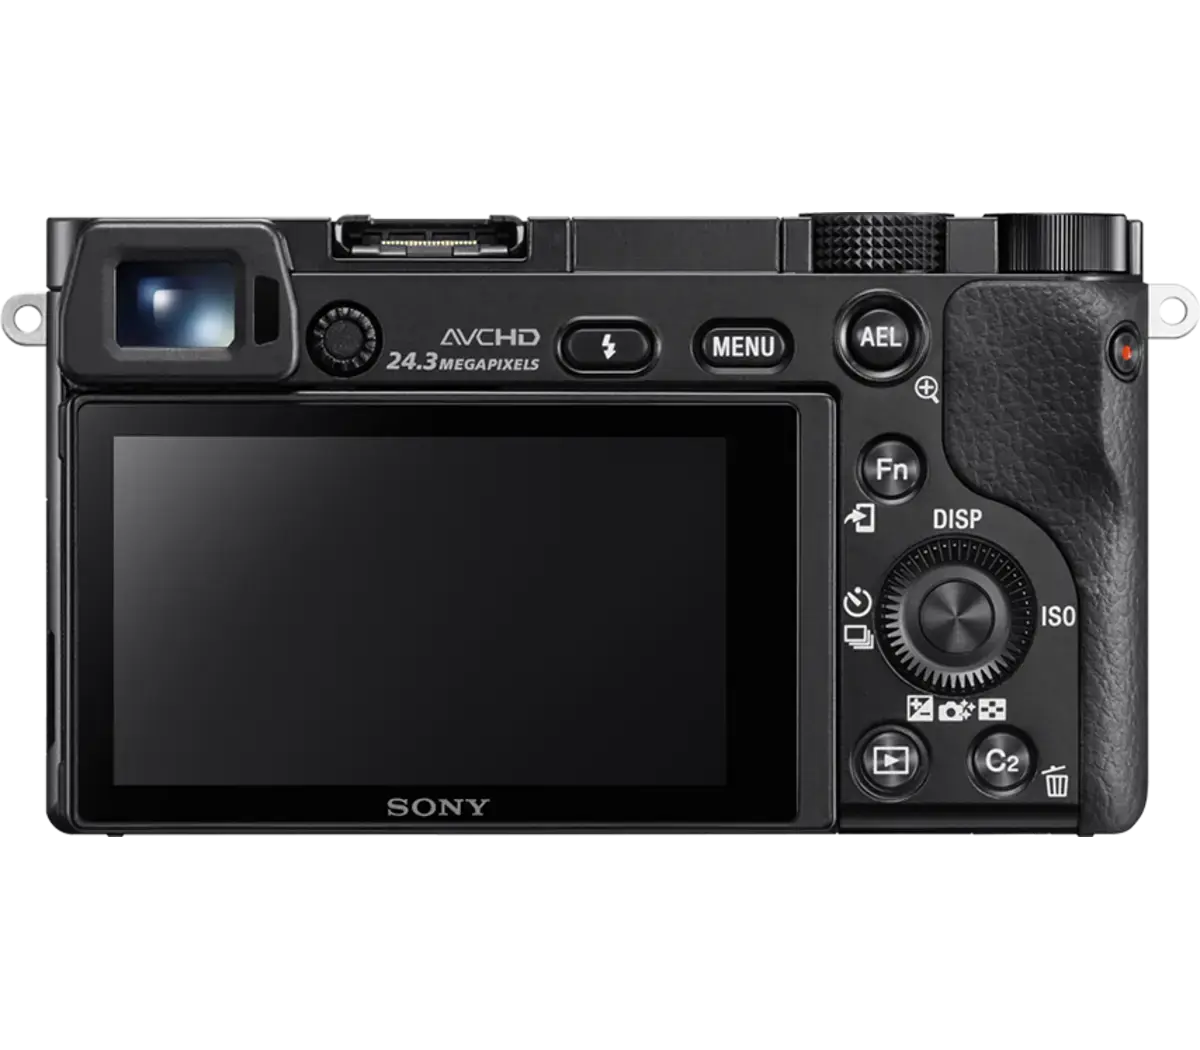
Sony A6100
I started my photography journey nearly a decade ago on the Sony A6000. It has been replaced by the Sony A6100, which is the true direct replacement. It adds 4K video, a selfie-flip screen, and much faster autofocus.
While I don’t own this camera anymore, I wanted to add it here because the Sony a6000 line is a great intro to photography. They are crop sensor (not full-frame) cameras, which are more affordable and compact (especially for long treks).
Despite its size, it has nearly a 25MP sensor (vs 61MP Sony A7R V). It has a fast autofocus system that is capable of capturing your adventures, especially if you’re starting to find your style and understand manual settings. The kit lens is a 16-50mm zoom lens, which has a great range for a beginner.
Buy the Sony A1000 here
Lenses
The ultimate camera gear for travel and adventure photography has the ‘holy trinity of lenses’. This usually covers a range of 16-200mm between three lenses, from wide-angle to telephoto.
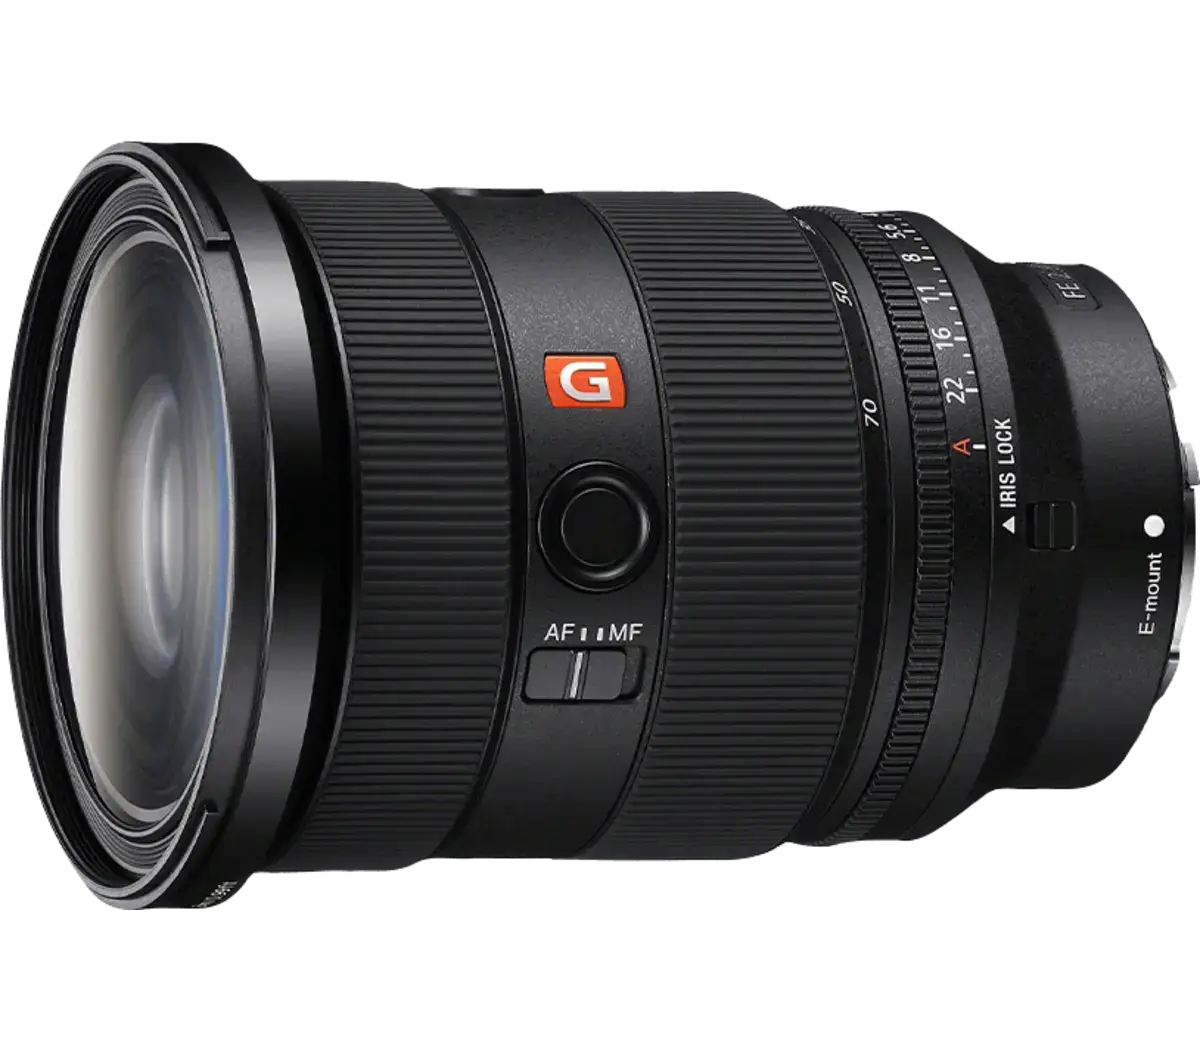
16-35mm F2.8 GM II
The compact and lightweight 16-35mm f2.8 GM II is the standard ‘wide’ angle lens that still has some versatility. This is the lightest of my lenses, so it’s always easy to carry. I’ll use this when I want to show more of the landscape, if my subject, the mountains, etc. are too close, and I need to fit everything in the frame.
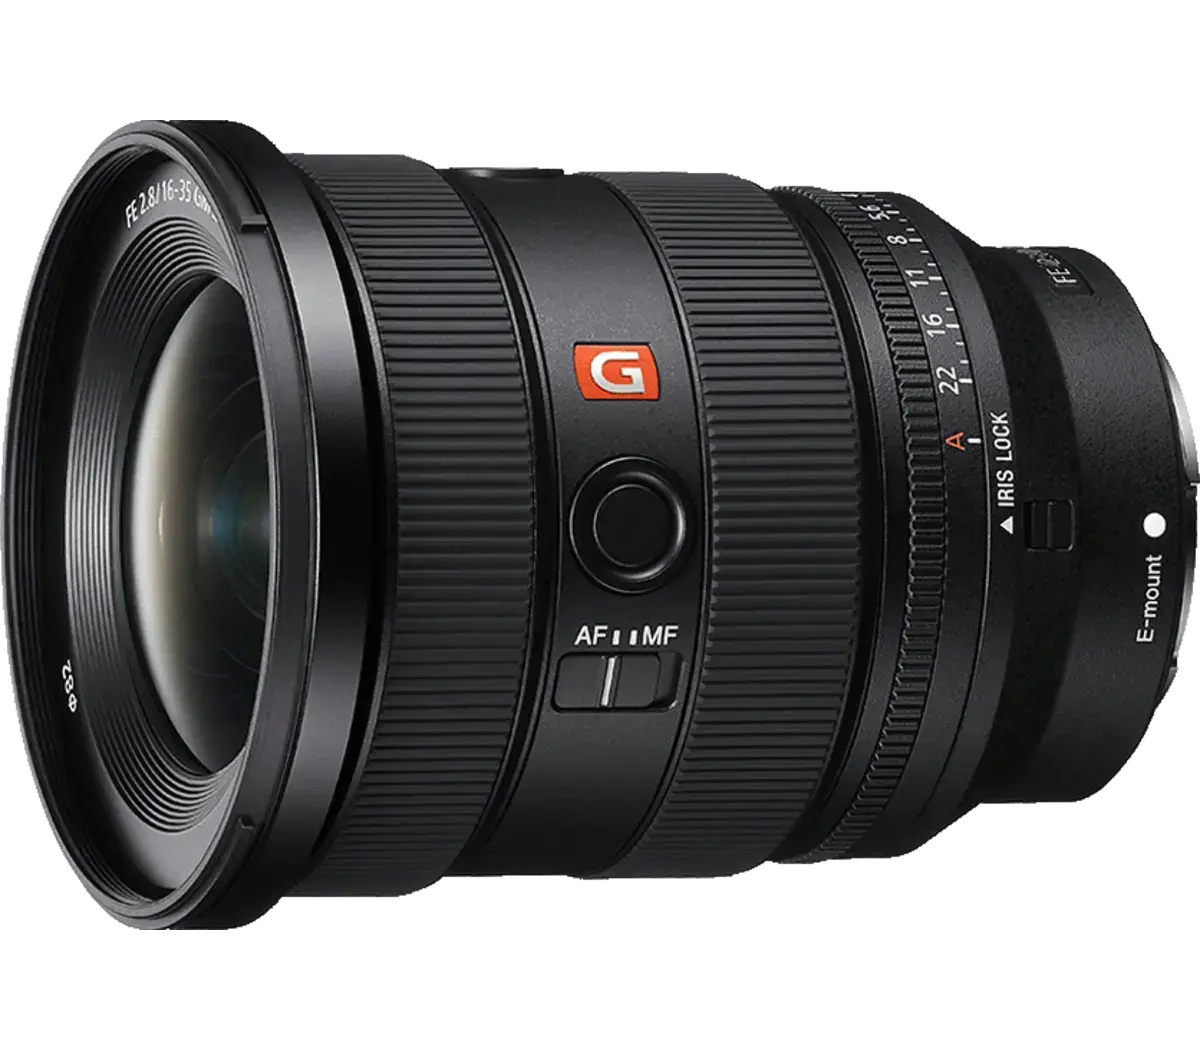
Buy the Sony 16-35mm here
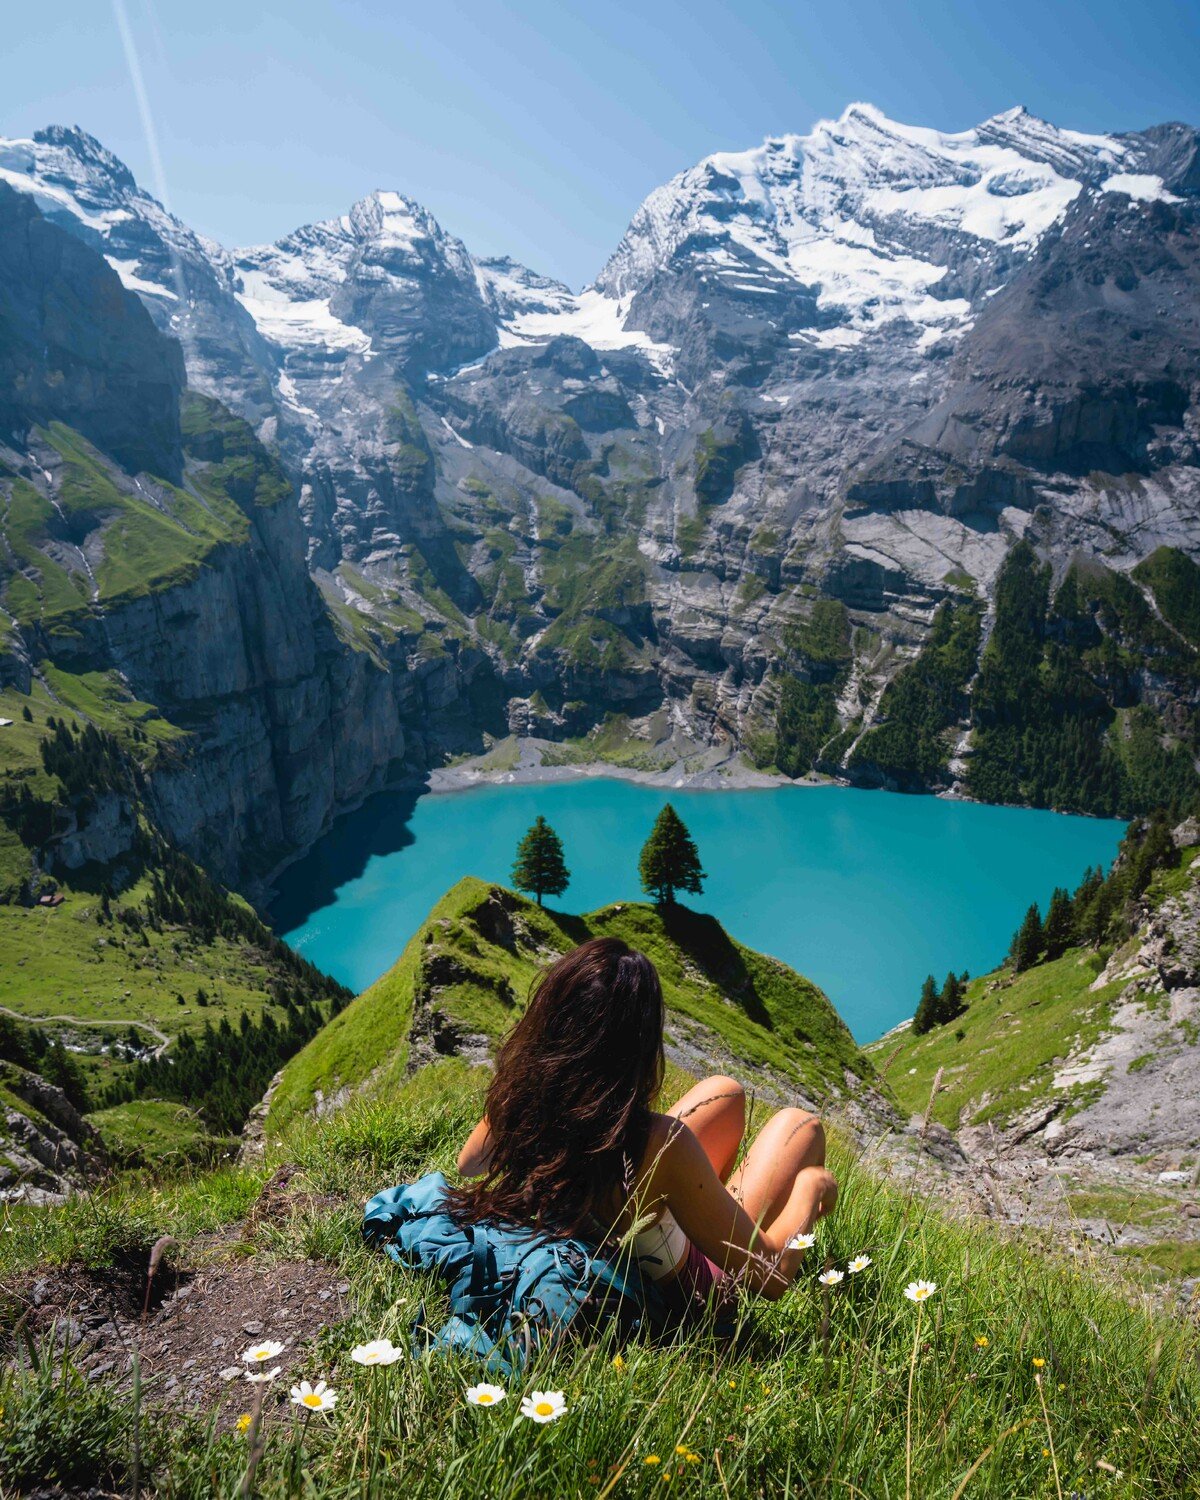
24-70mm F2.8 GM II
The 24-70mm f.28 GM II is my absolutely favorite lens. It is so versatile—you can compress at 70mm or shoot wide at 24mm. It’s my go-to lens for adventure and travel photography, and my number 1 choice for backpacking/remote trips. I am a huge compression girl, so this stays on my Sony A7R V quite a bit.
Buy the Sony 24-70mm here

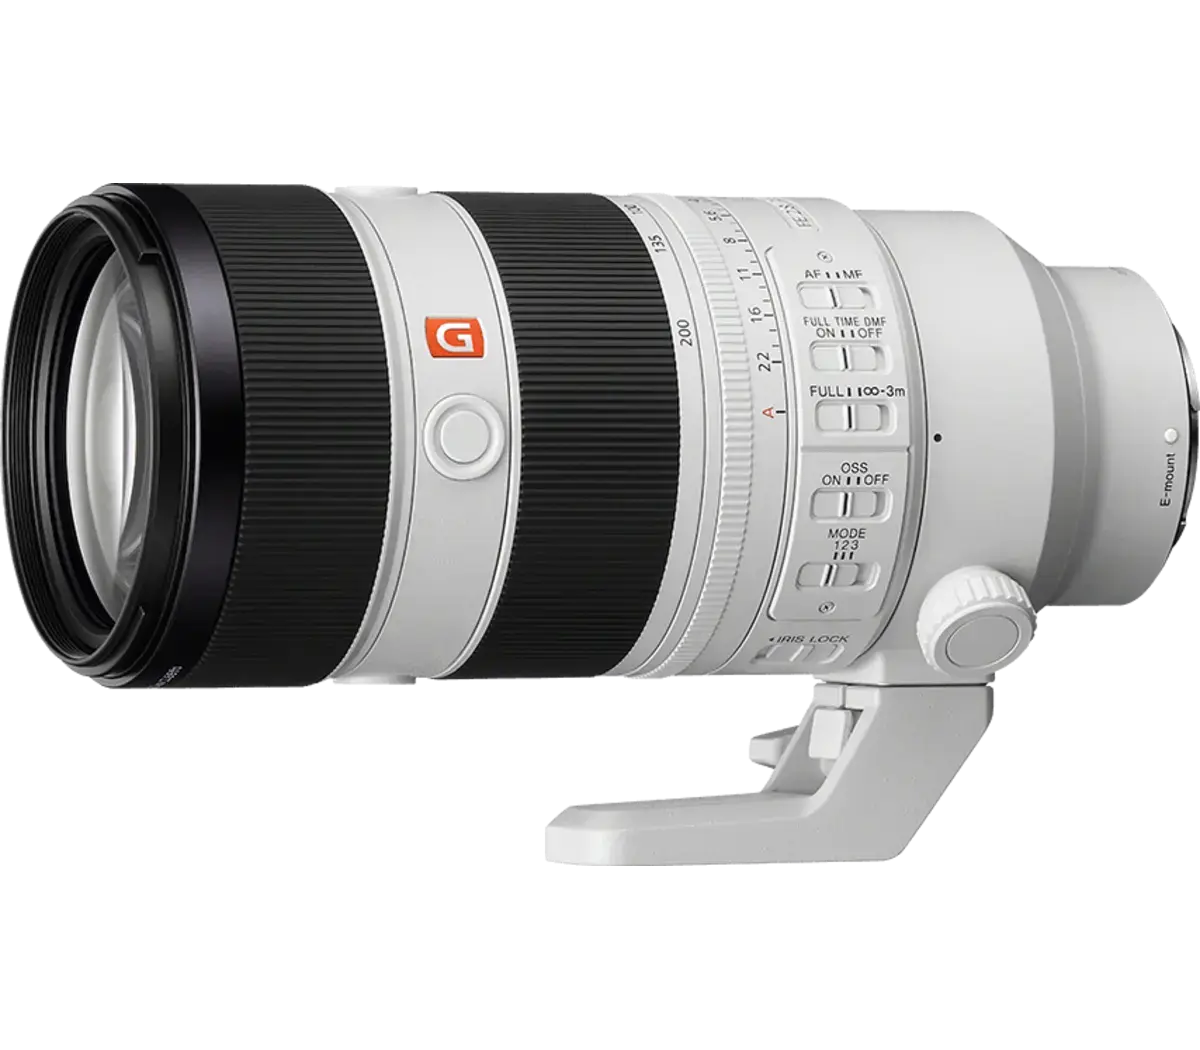
70-200mm F2.8 GM II
This 70-200mm GM II telephoto lens is not as compact as competitors, but it is one of the sharpest lenses I’ve ever used. It delivers the most beautiful bokeh (which is a soft, out-of-focus effect) and needs to be included in your camera gear for travel and adventure photography.
Buy the Sony 70-200mm here
Pocket Cameras
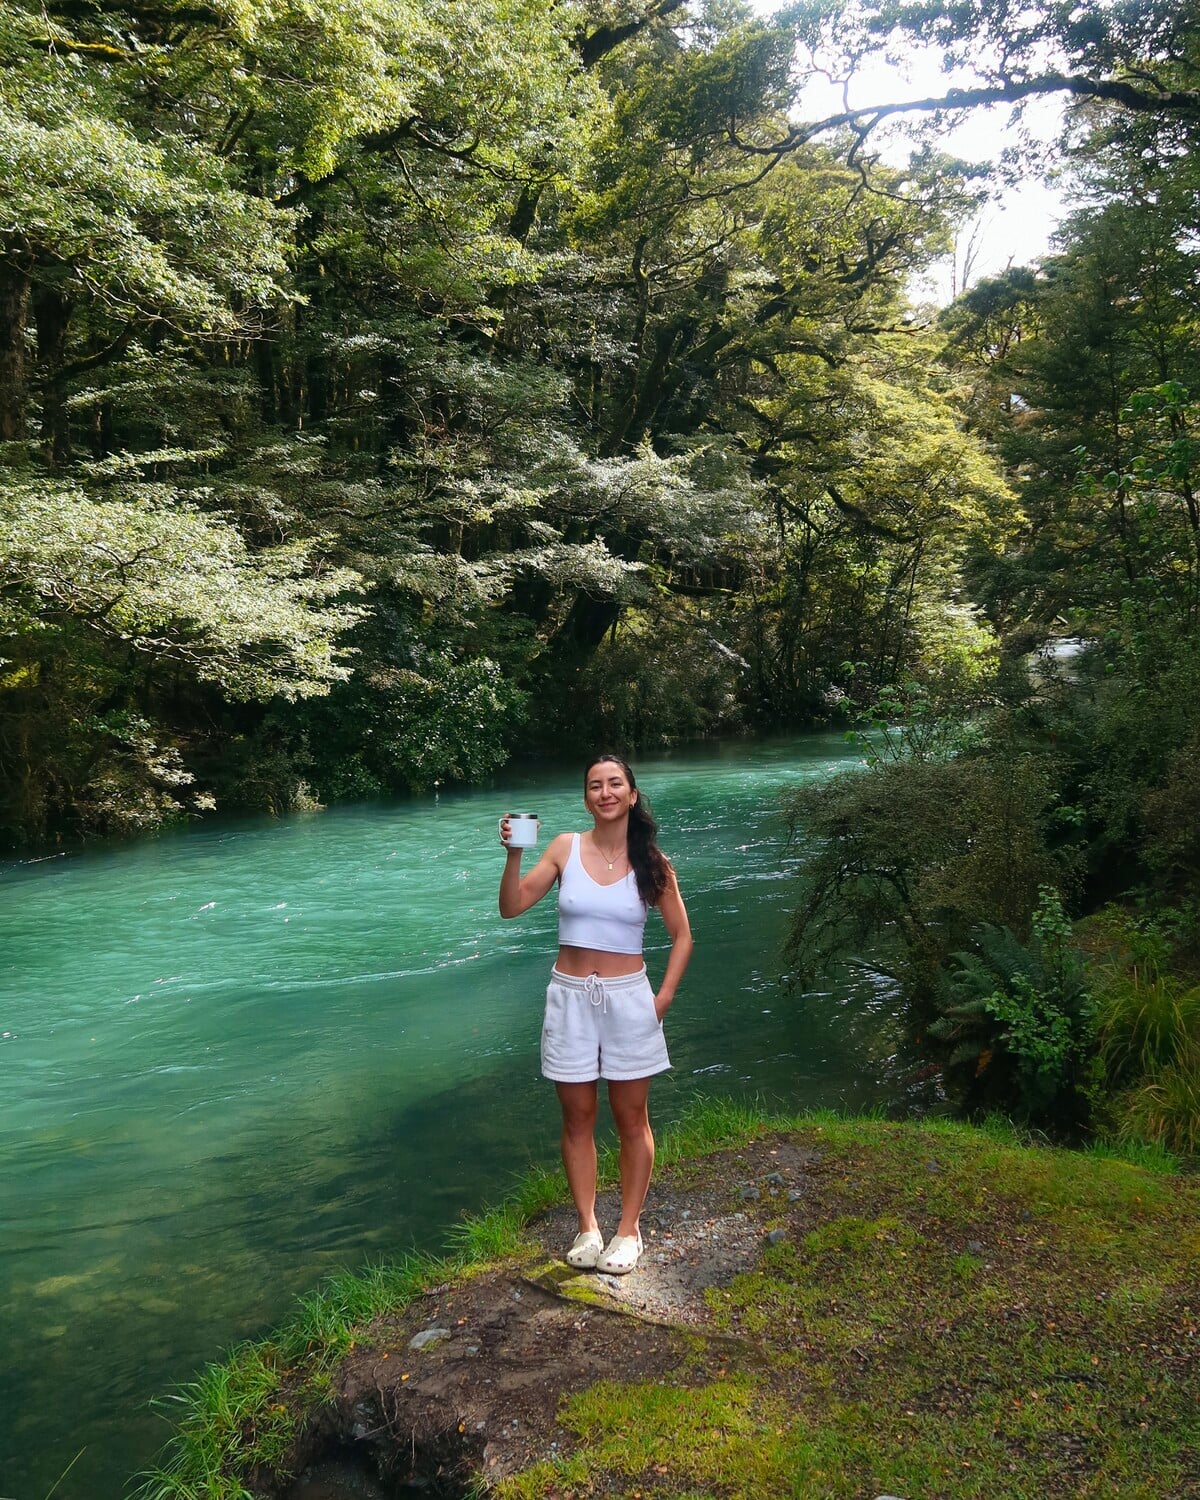
A pocket camera, or point-and-shoot camera, is the perfect compact camera for activities like snowboarding, packrafting, trail running, and more, where you don’t want a huge setup. I have recently started using them for the last year, and it’s been a great way to shoot more in-the-moment shots without overthinking composition.
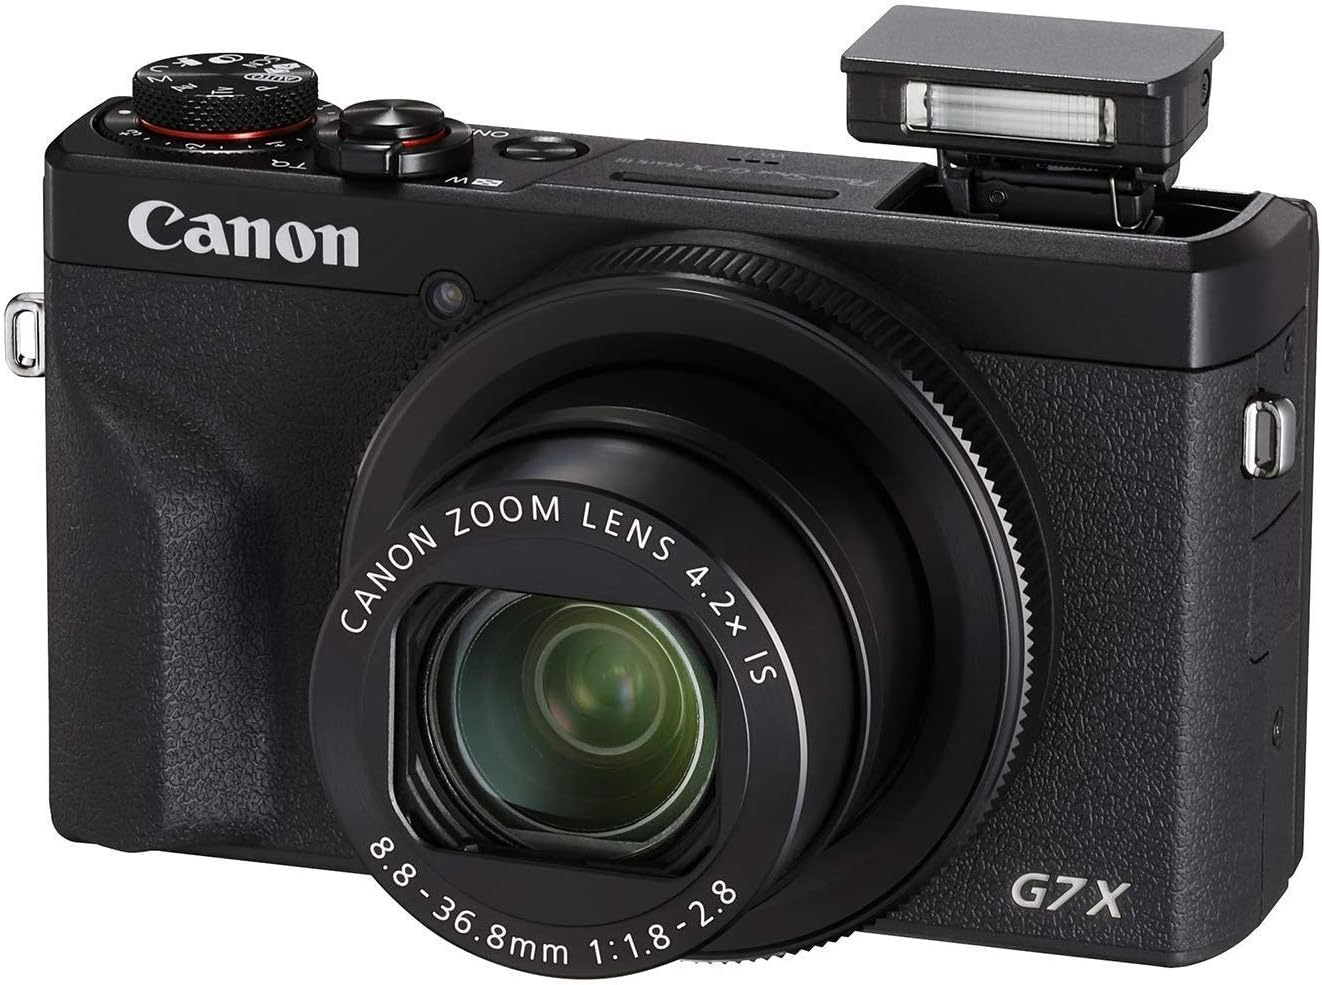
Canon G7X Mark III
The Canon G7X Mark III is one of my favorite pocket cameras. I bring it with me on a lot of winter adventures! I love that it has a flash, optical zoom lens, and the touchscreen tilts so you can frame yourself easily. One thing to note, I found the autofocus a bit laggy, which is why I decided to invest in a different pocket camera (ps. it’s below, the Sony RX100 VII).
This is also a great option if you like to vlog, as it has uncropped 4K video recording, vertical video support, and an external microphone.
Buy the Canon G7X Mark III here
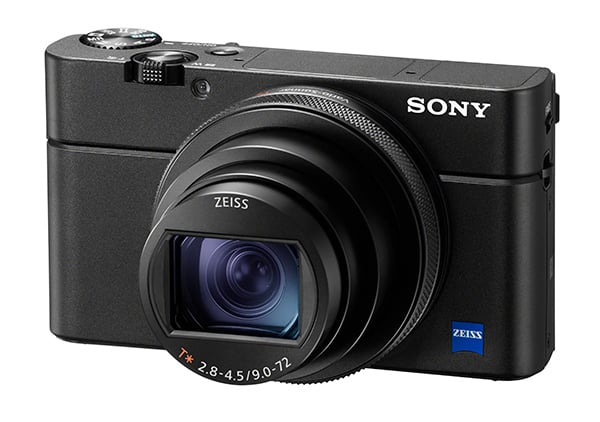
Sony RX100 VII
The Sony RX100 VII is my newest addition to my camera gear for travel and adventure photography. I am so excited to use this pocket camera more because it is a more elevated and premium choice (with a premium price tag).
It has a versatile 24-200m zoom lens and is really fast at continuously shooting. The autofocus is incredible (which isn’t what the previous camera could quite nail). The RX100 VII is also great for vlogging and offers 4k video, an external microphone, and real-time eye tracking.
Buy the Sony RX100 VIII here

Drone
A drone is an essential piece of camera gear for travel and adventure photography. I don’t gravitate to my drone often, but I do find it necessary for certain situations.
DJI Mini 3 Pro
The DJI Mini 3 Pro drone is great for adventure and travel photographers who want to get aerial shots without bulky and expensive equipment. The Mini is extremely lightweight (less than 249g), compact, and can fit in the palm of your hand.
It can shoot in 4K/60fps and has a 48MP camera that can physically rotate 90 degrees to capture vertical content at full resolution (instead of cropping and losing quality).
I recommend getting the Fly More Kit for more batteries, a carrying case, extra propellers, and a charging case.
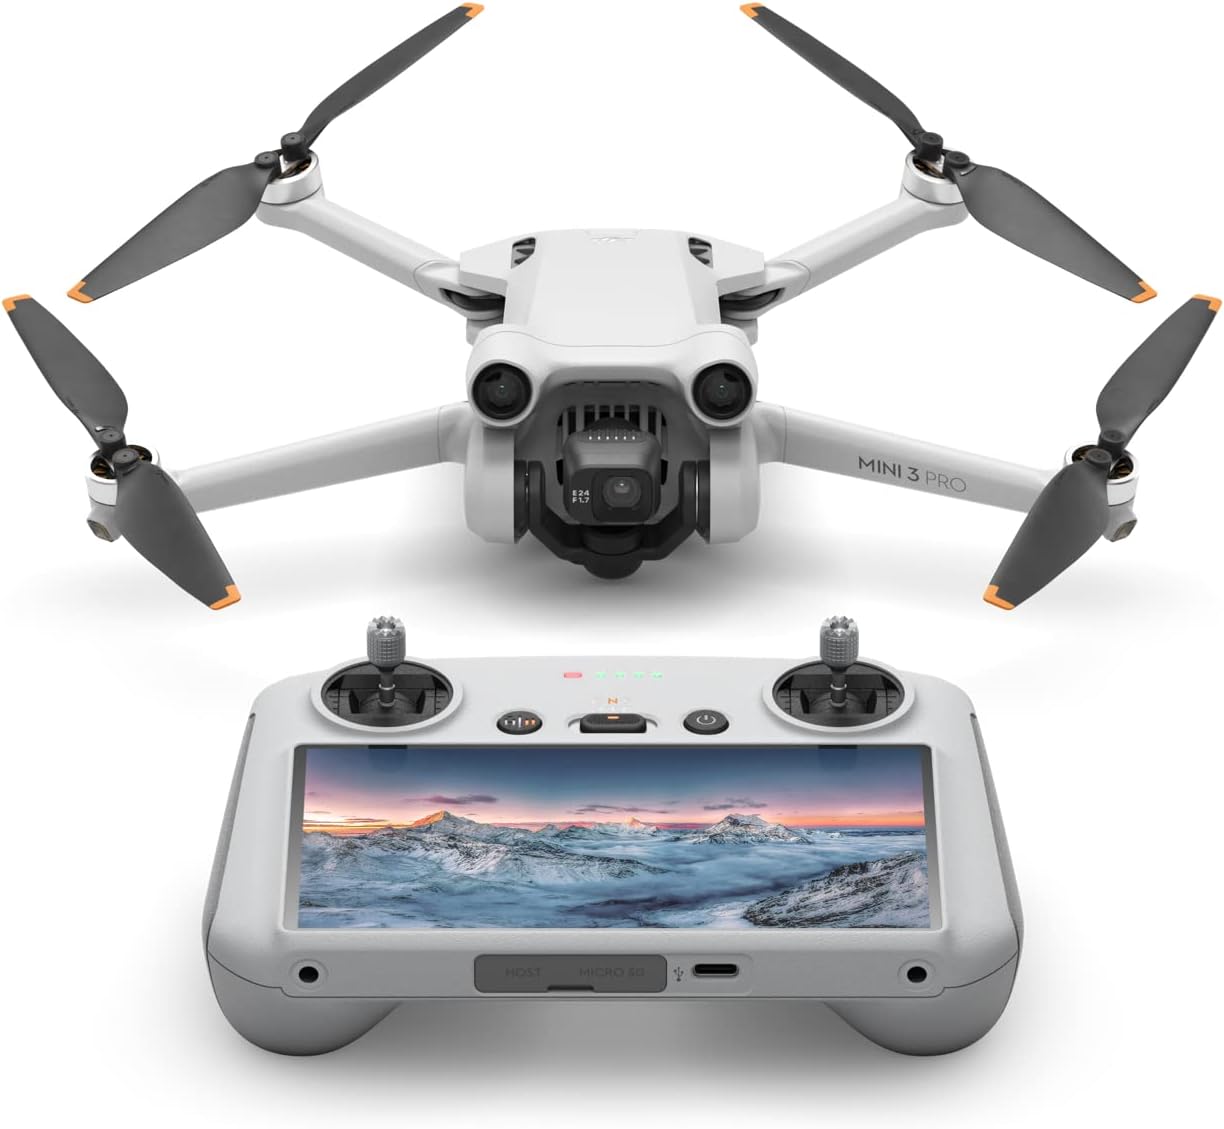
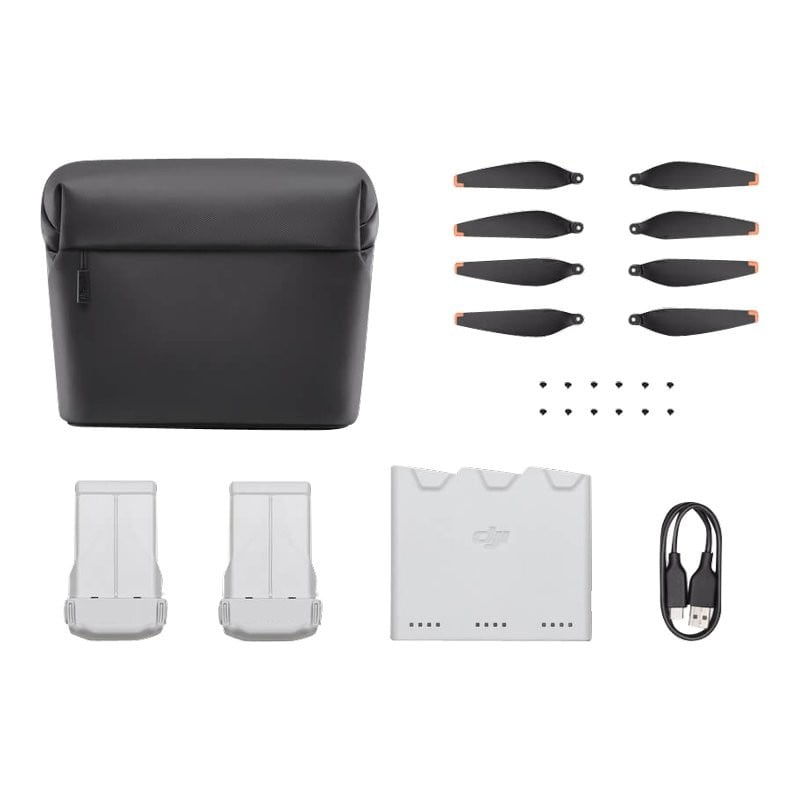
Buy the DJI Mini 3 Pro here and the Fly More Kit here

MEMORY
In terms of memory and storage, I’ve tried a lot of brands. I’ve found that I prefer to invest in fewer, faster, larger memory cards. The one brand that I have chosen to invest in for the last few years is Lexar.
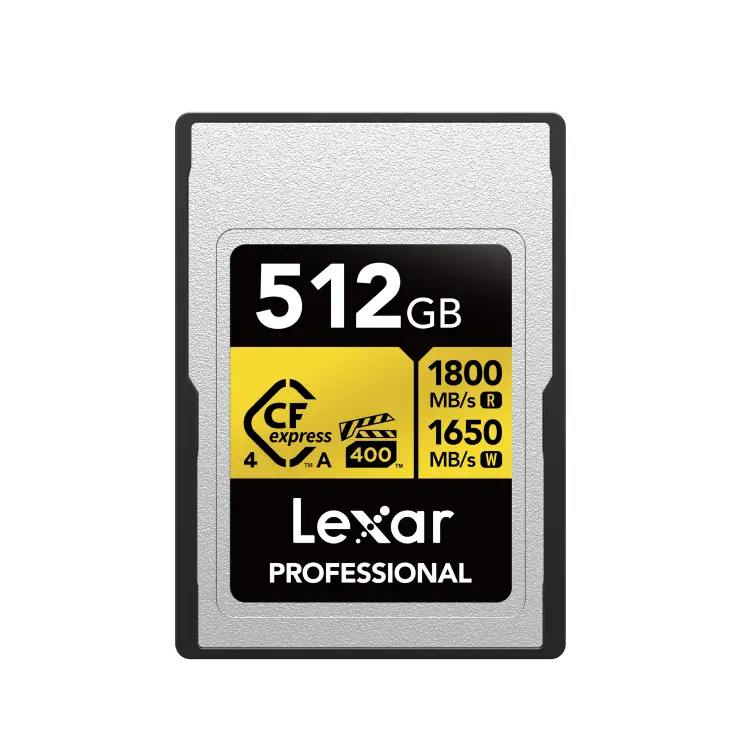
Lexar GOLD CFexpress Card
The Lexar GOLD CFexpress cards are incredible and are my go-to SD cards. They are incredibly fast at reading and writing for 8K video. They are also water, dust, and drop resistant, which is perfect for adventure photographers. The Type A cards are for Sony, and the Type B cards are for Nikon and Canon.
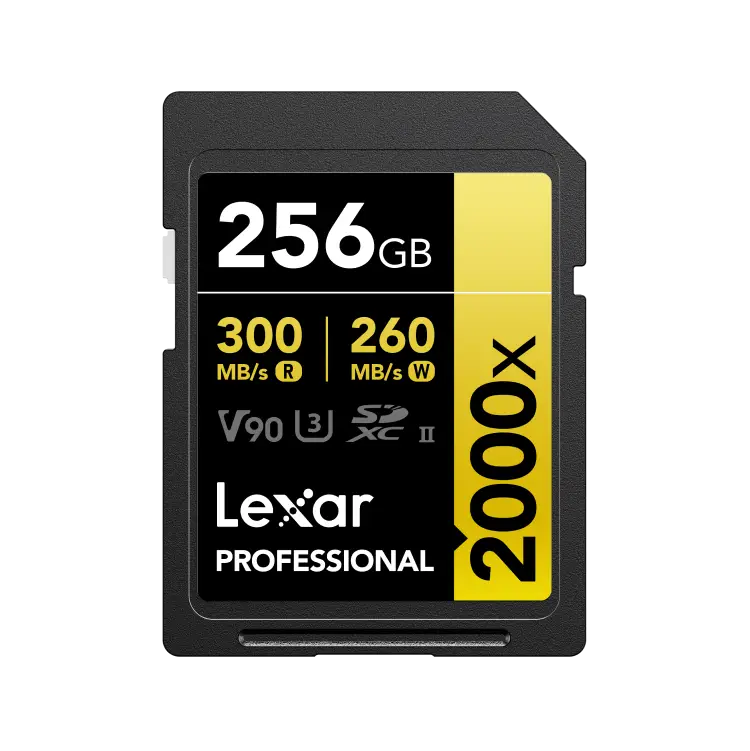
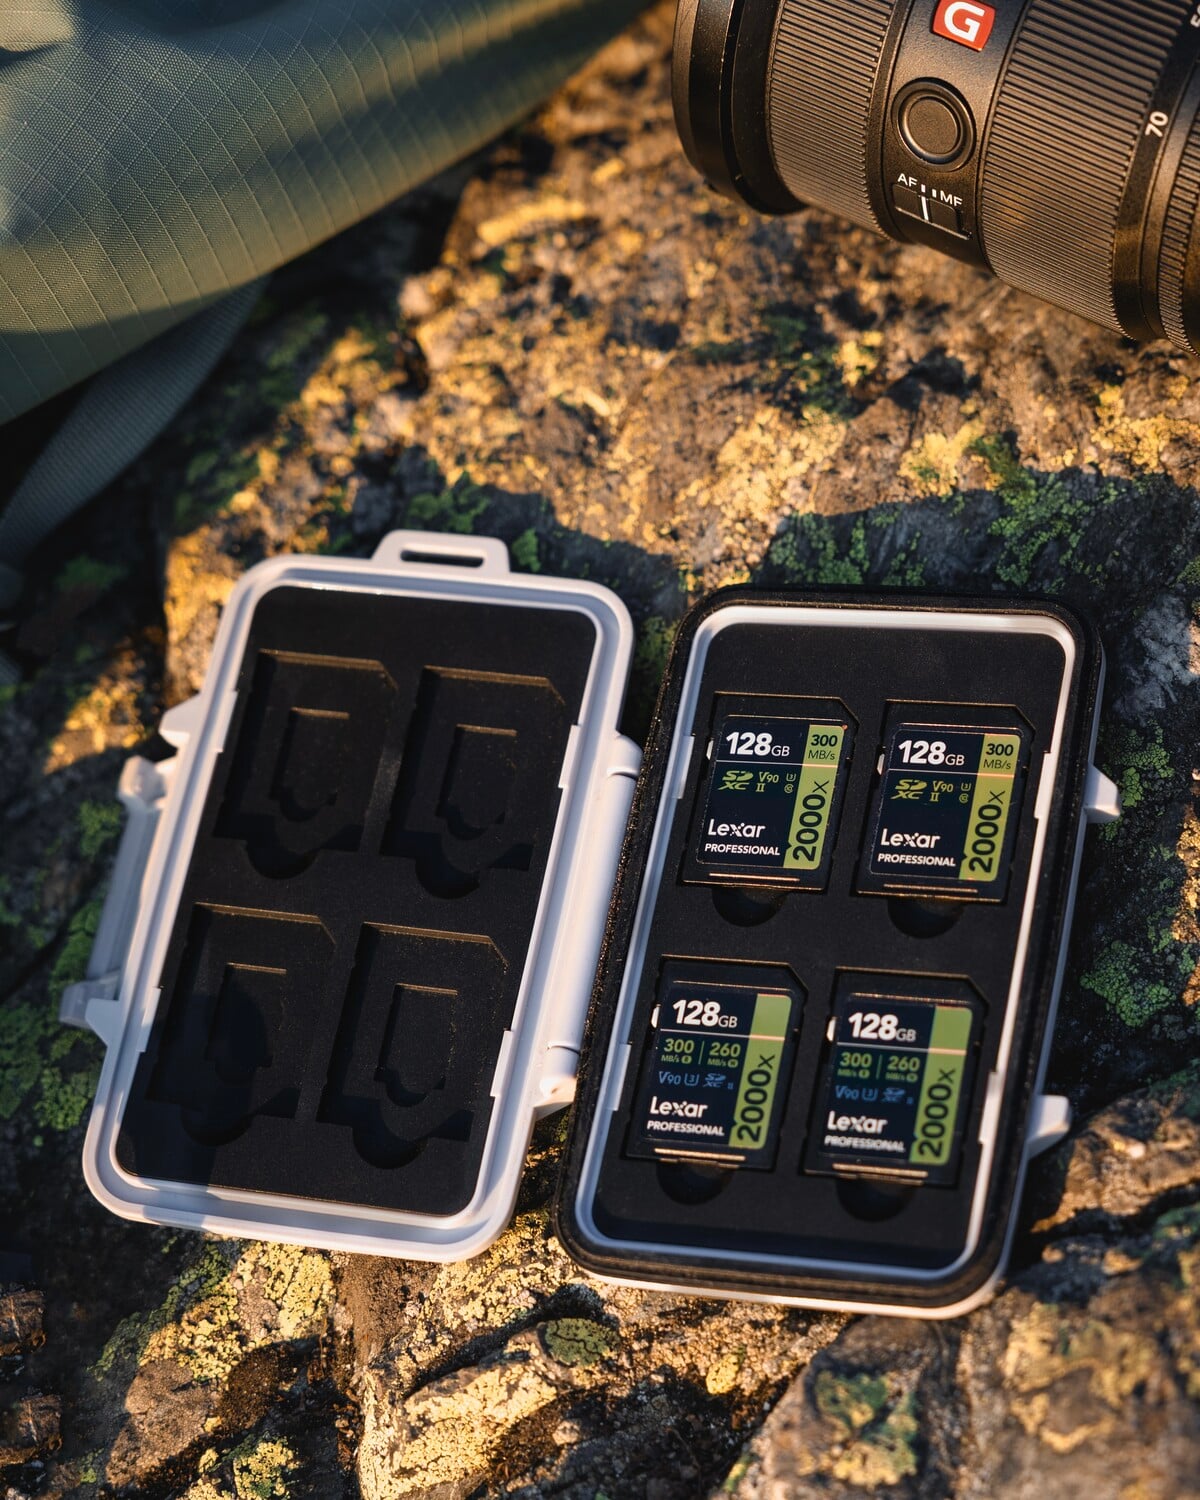
Lexar 2000x Gold Series
The Lexar 2000x GOLD Series are SD cards with read speeds up to 300MB/s and write speeds up to 260MB/s. It can handle burst photos and 8K video, at a better price point than the CFexpress (but you compromise on speed). These cards are resistant to water, temperature extremes, shock, and X-rays.
Buy the Lexar CFexpress card here and the Lexar 2000x card here
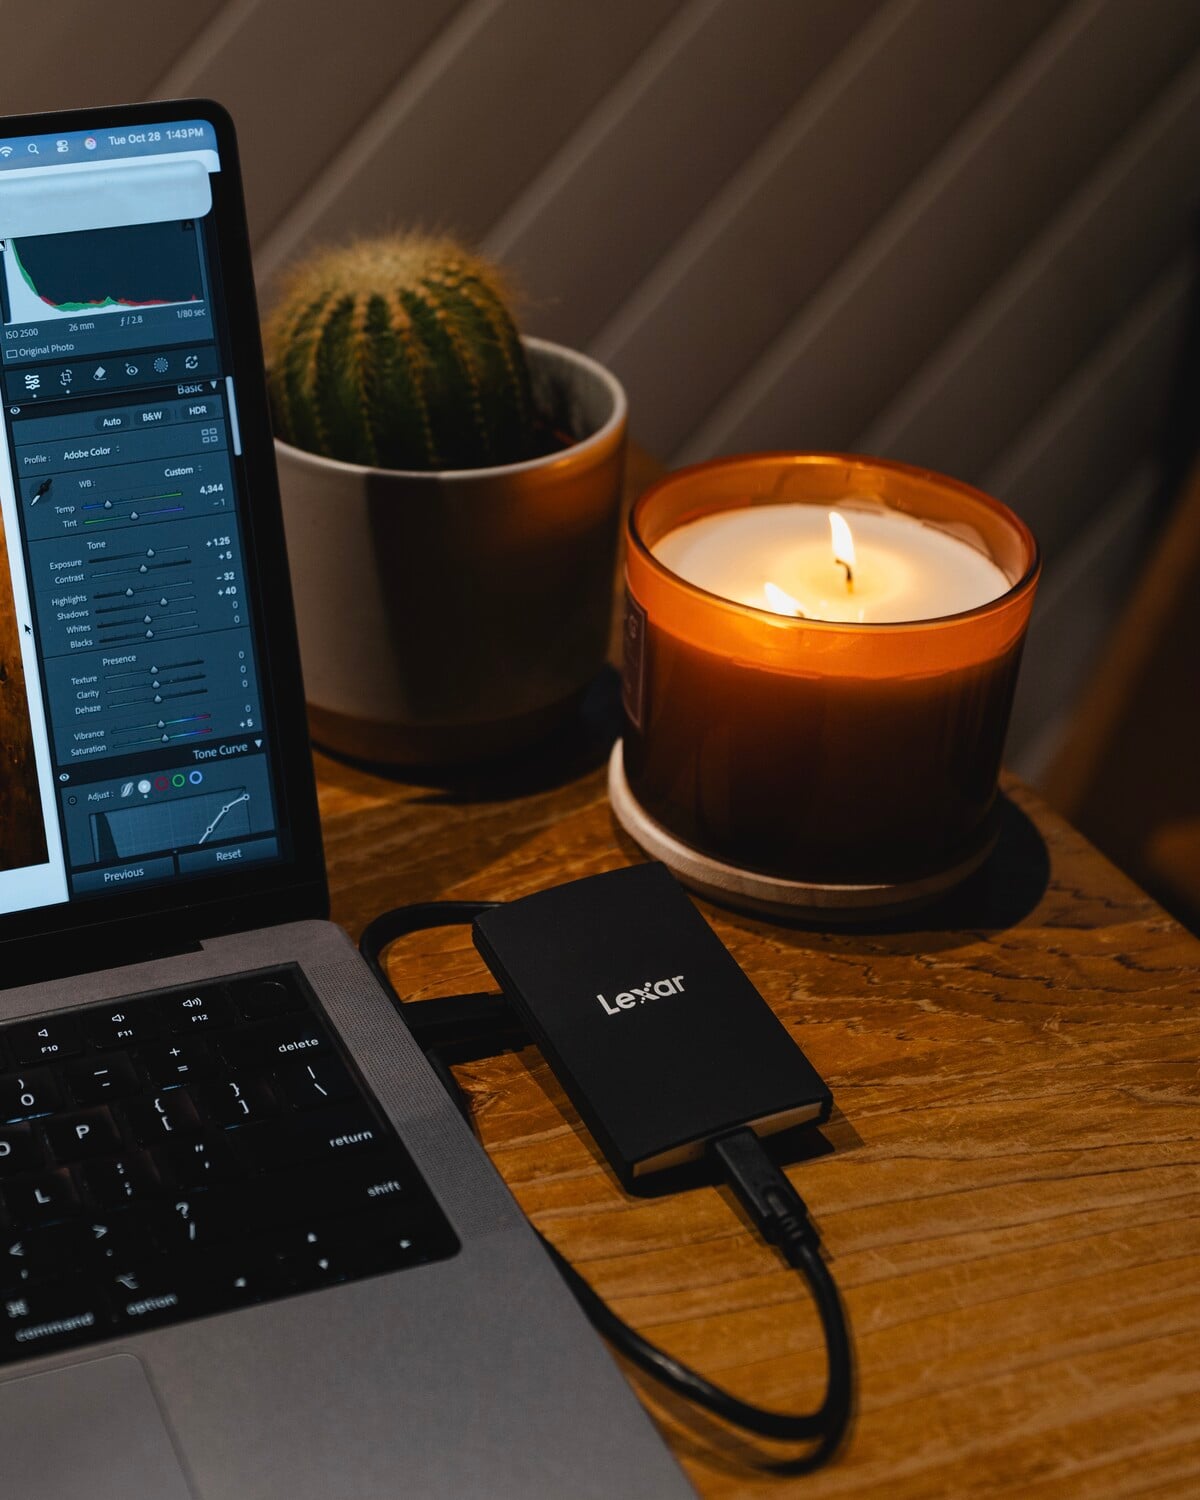
Lexar ARMOR Portable SSD
The Lexar ARMOR 700 Portable SSD is a very fast and rugged SSD that can be dropped up to 3 meters—a perfect addition to camera gear for travel and adventure photography. This is my go-to, and I like to go for the 4TB option.
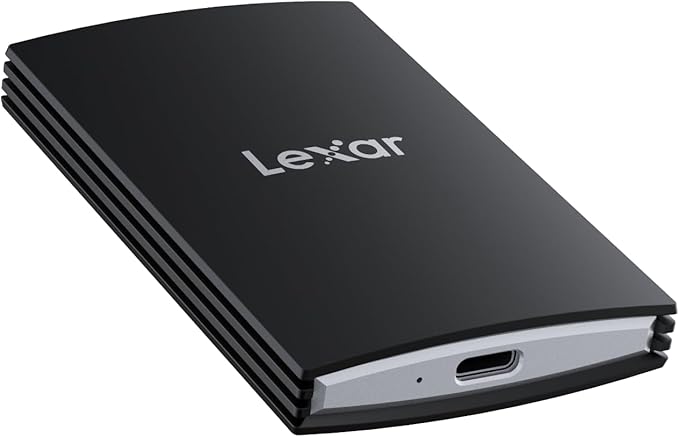
Lexar SL500 Portable SSD
The Lexar SL500 Portable SSD is an ultra-slim, lightweight SSD that is iPhone-friendly. Meaning you can plug it into your iPhone to record ProRes video straight to the drive, saving internal storage (which is pretty cool!!).
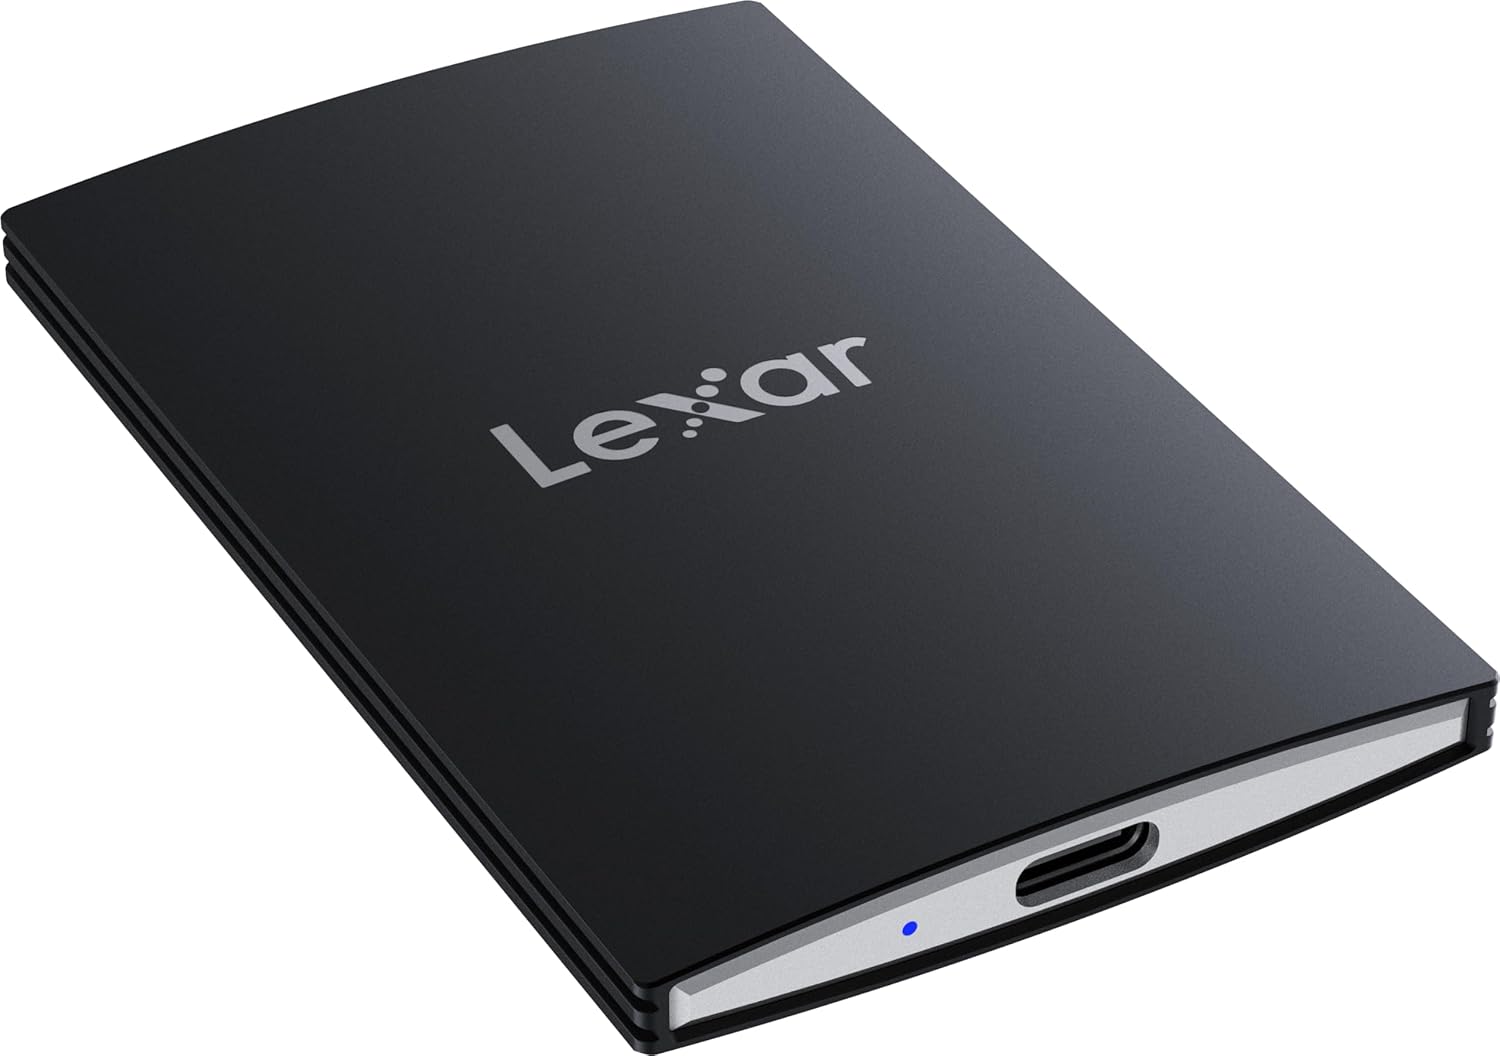
Buy the Lexar Armor Portable SSD here and the Lexar SL500 Portable SSD here
ALL OF THE LITTLE THINGS…
SD Card Cases
To protect your SD cards from water, dust, or damage, and keep them organized in one place, I keep them in a holder. The Skoloo case holds standard SD and micro SD cards, and the other holds CFexpress and standard SD cards. I use the second, and found that I can also store micro SD cards behind the CFexpress cards, too, and they stay put!

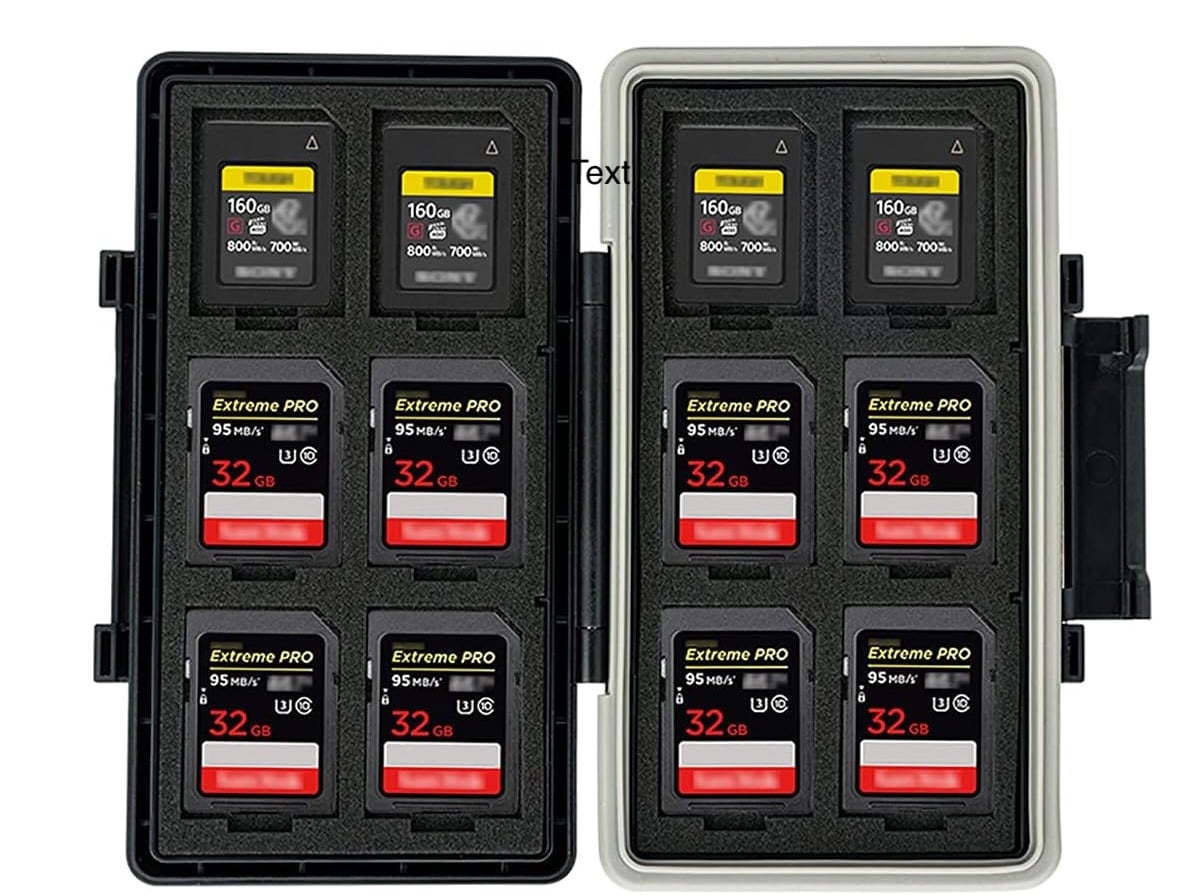
Buy the SD/Micro SD case here and the CFexpress/SD case here
Extra Batteries
I got these Neewer third-party batteries, and they have worked great. As an adventure and travel photographer, I’ve needed more batteries for longer adventures. These are the equivalents for Canon cameras.
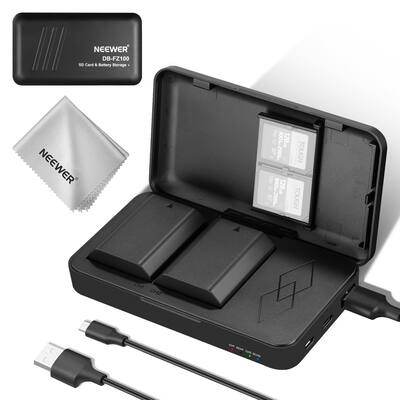
Buy the Neewer batteries here
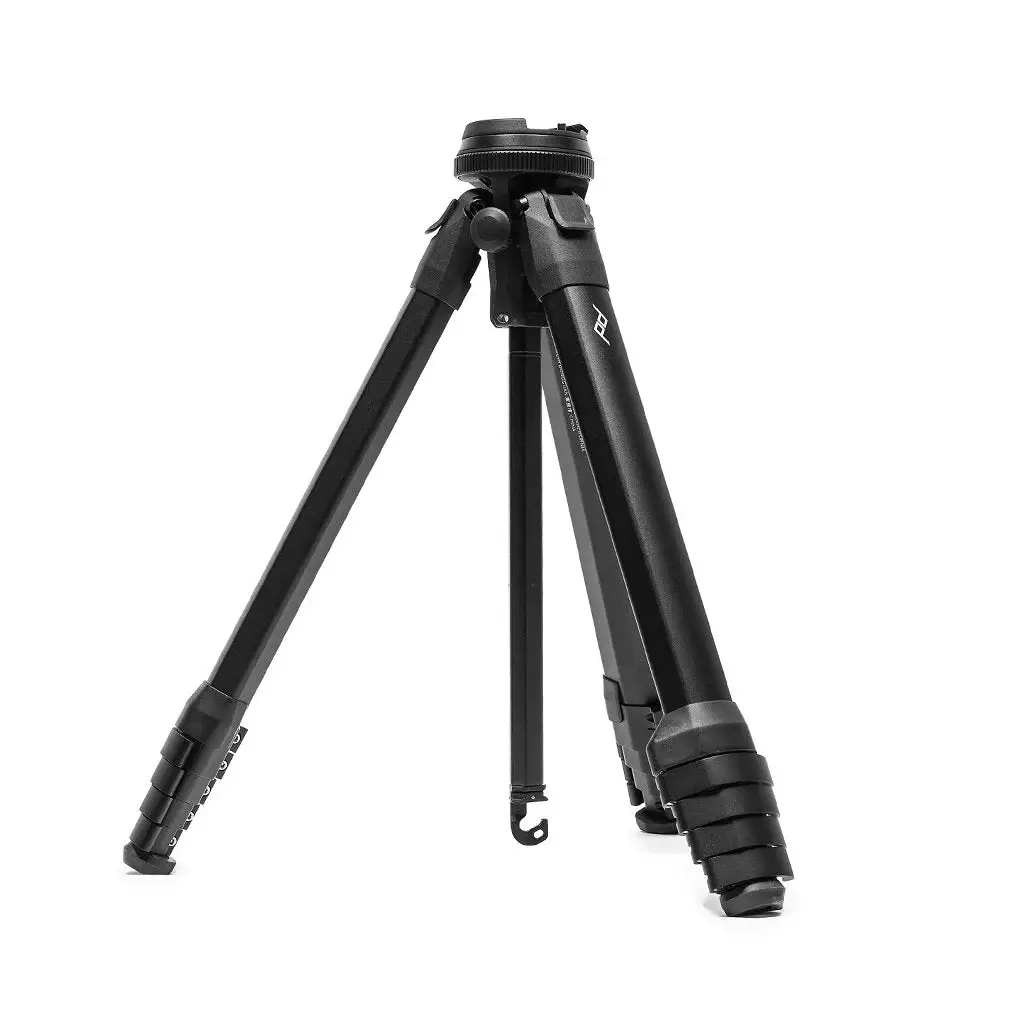
Peak Design Travel Tripod
I use my tripod a lot because I also like to take photos of myself, so I invested in the Peak Design Travel Tripod. It’s made of carbon fiber (so it’s lighter than others on the market), is stable, tall, and can be easily set up/taken down. There is also an integrated phone attachment that is incredible for those of us who also shoot on our phones. This is a key piece of any camera gear for travel and adventure photography.
Peak Design also makes the same tripod with aluminum, which is a bit heavier and less expensive.
Buy the Peak Design tripod here
SYNCWIRE Phone Tripod Mount
This is a great little tripod that attaches to your camera (via the ‘cold shoe mount’) so that you can shoot with your camera and phone simultaneously. You can also attach microphones, lights, and accessories. It rotates 360° and tilts 180°. It’s so handy, and I love to have it in my camera bag!
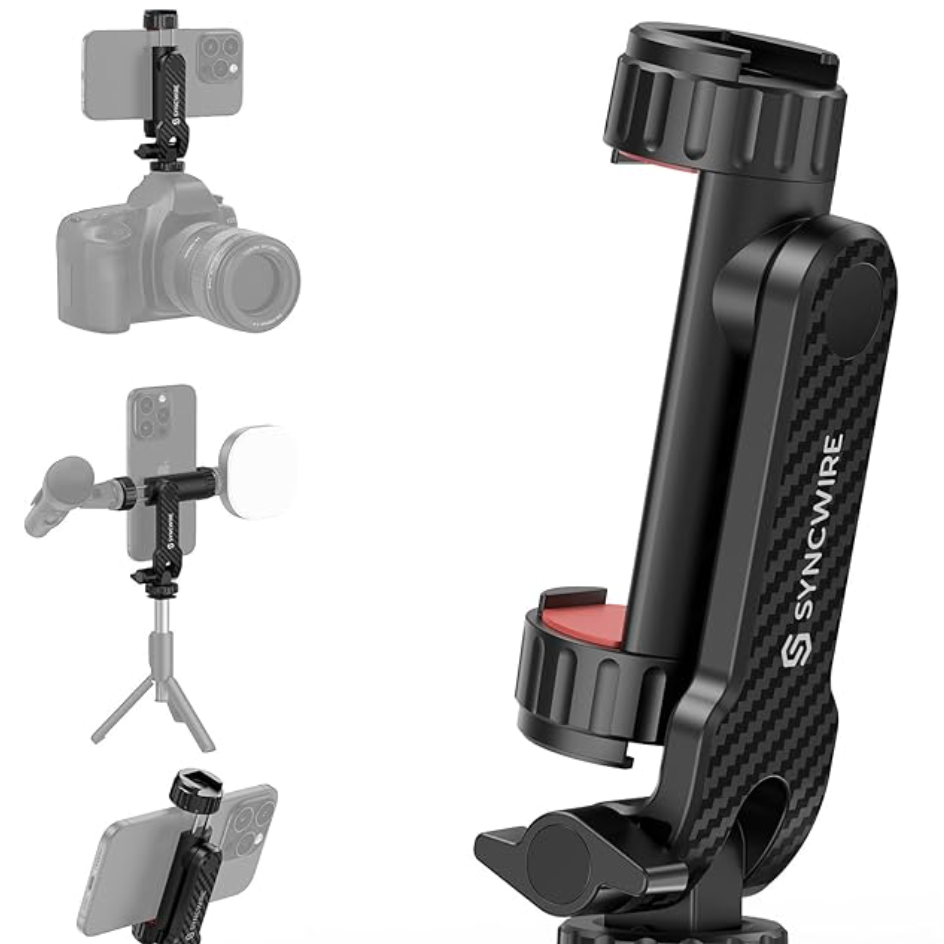
Buy the SYNCWIRE tripod here
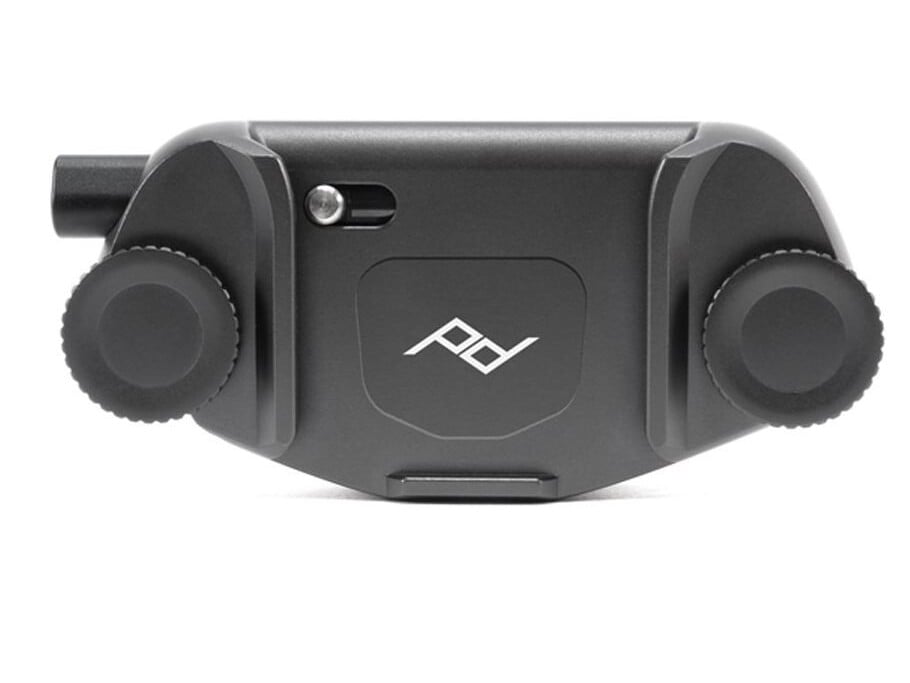
Peak Design Accessories
Peak Design Capture Clip: This is what I use to clip my camera onto one of my backpack straps. It is a game-changer for hiking and backpacking, but it’s good to know that there is a higher risk of breaking your camera if you were to fall or trip.
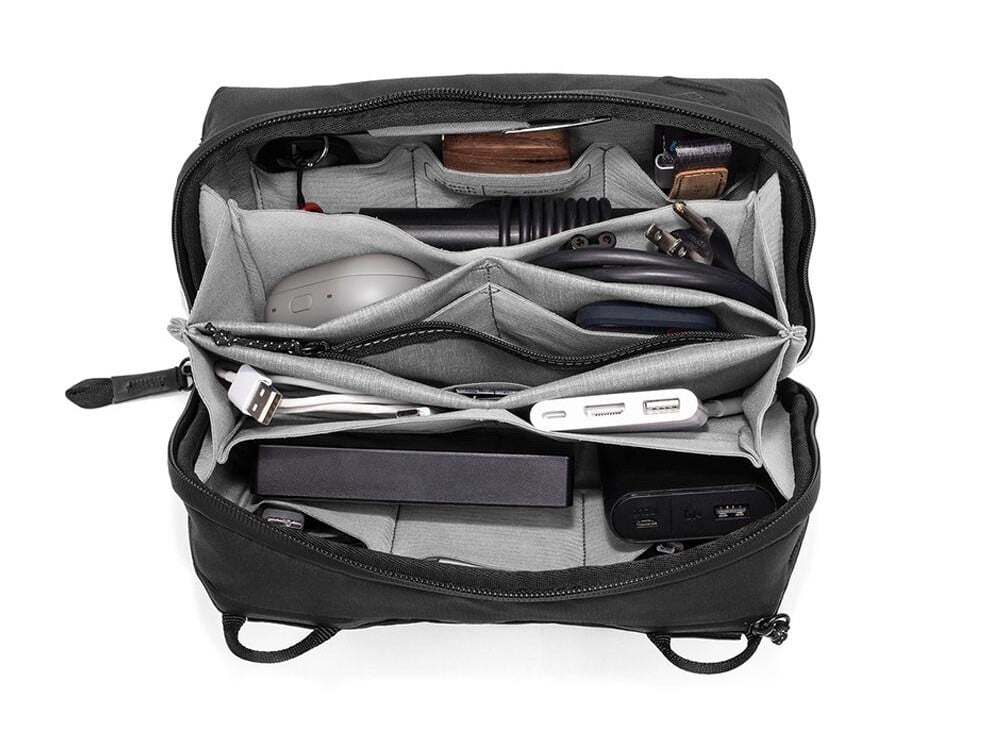
Peak Design Tech Pouch: I love having way too many cables, an SD Card holder, extra batteries, and everything else in one pouch that stands up when open, has loads of pockets, and makes organizing so easy.
Buy the Peak Design Capture Clip here and Tech Pouch here
Cleaning Accessories
Microfiber Cleaning Cloths: Use a microfiber cloth to clean your lenses and lift oils and dust without scratching or leaving streaks.
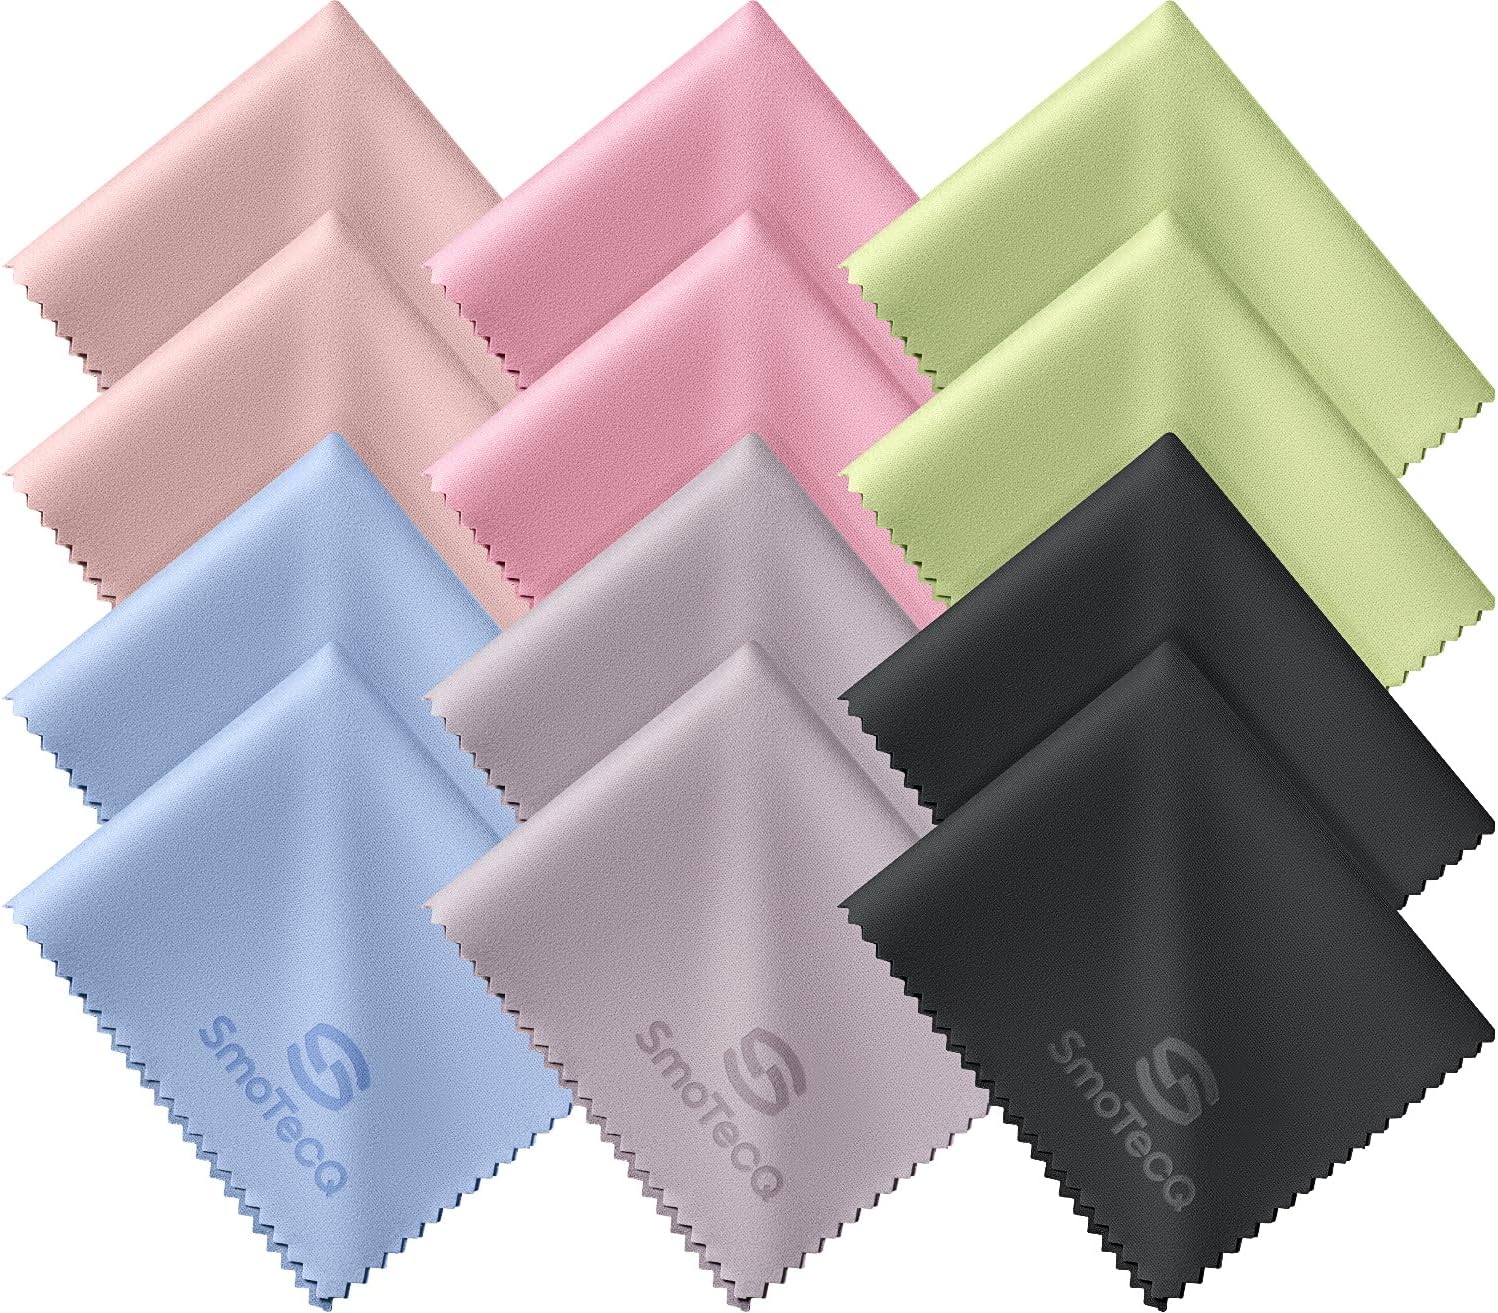
Air Blower Duster: Using an air blower is an easier way to get dust off your camera, especially on/around the sensor, which is very delicate.

Buy the microfiber cloths here and air blower here
Peak Design Camera Strap
I use the Sony camera strap that came with the camera, but I just ordered this Peak Design Camera Strap for my new film camera. I like it because it’s more minimal than other options, but can still be worn as a cross-body, neck, or shoulder strap.
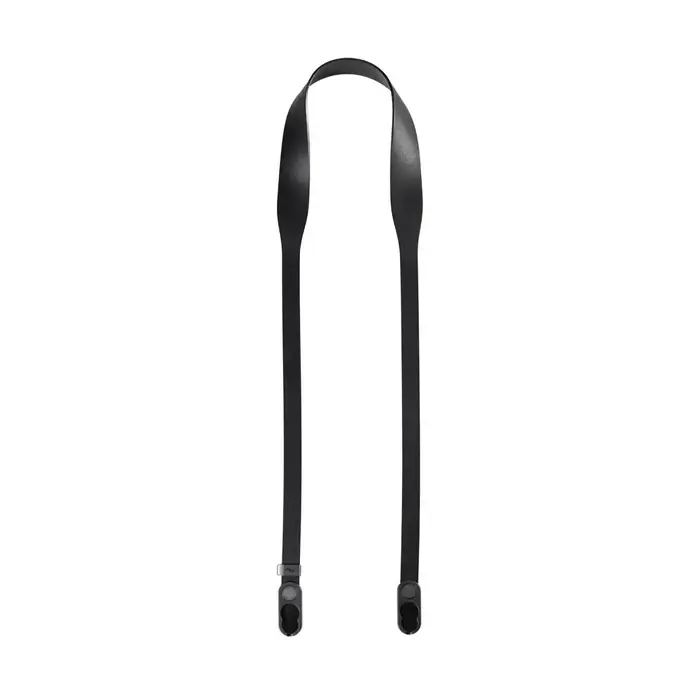
Buy the camera strap here
Hoya Circular Polarizer Filter
I use the Hoya Circular Polarizer filter a lot, especially when I’m shooting with water (lakes, hot springs, etc.). I also use it a lot when I shoot fall foliage or wildflowers—the polarizer makes the colors pop so beautifully. Ensure you choose the correct thread size for your lens. I have both 82mm (for my 16-35mm and 24-70mm) and 77mm (for my 70-200mm).
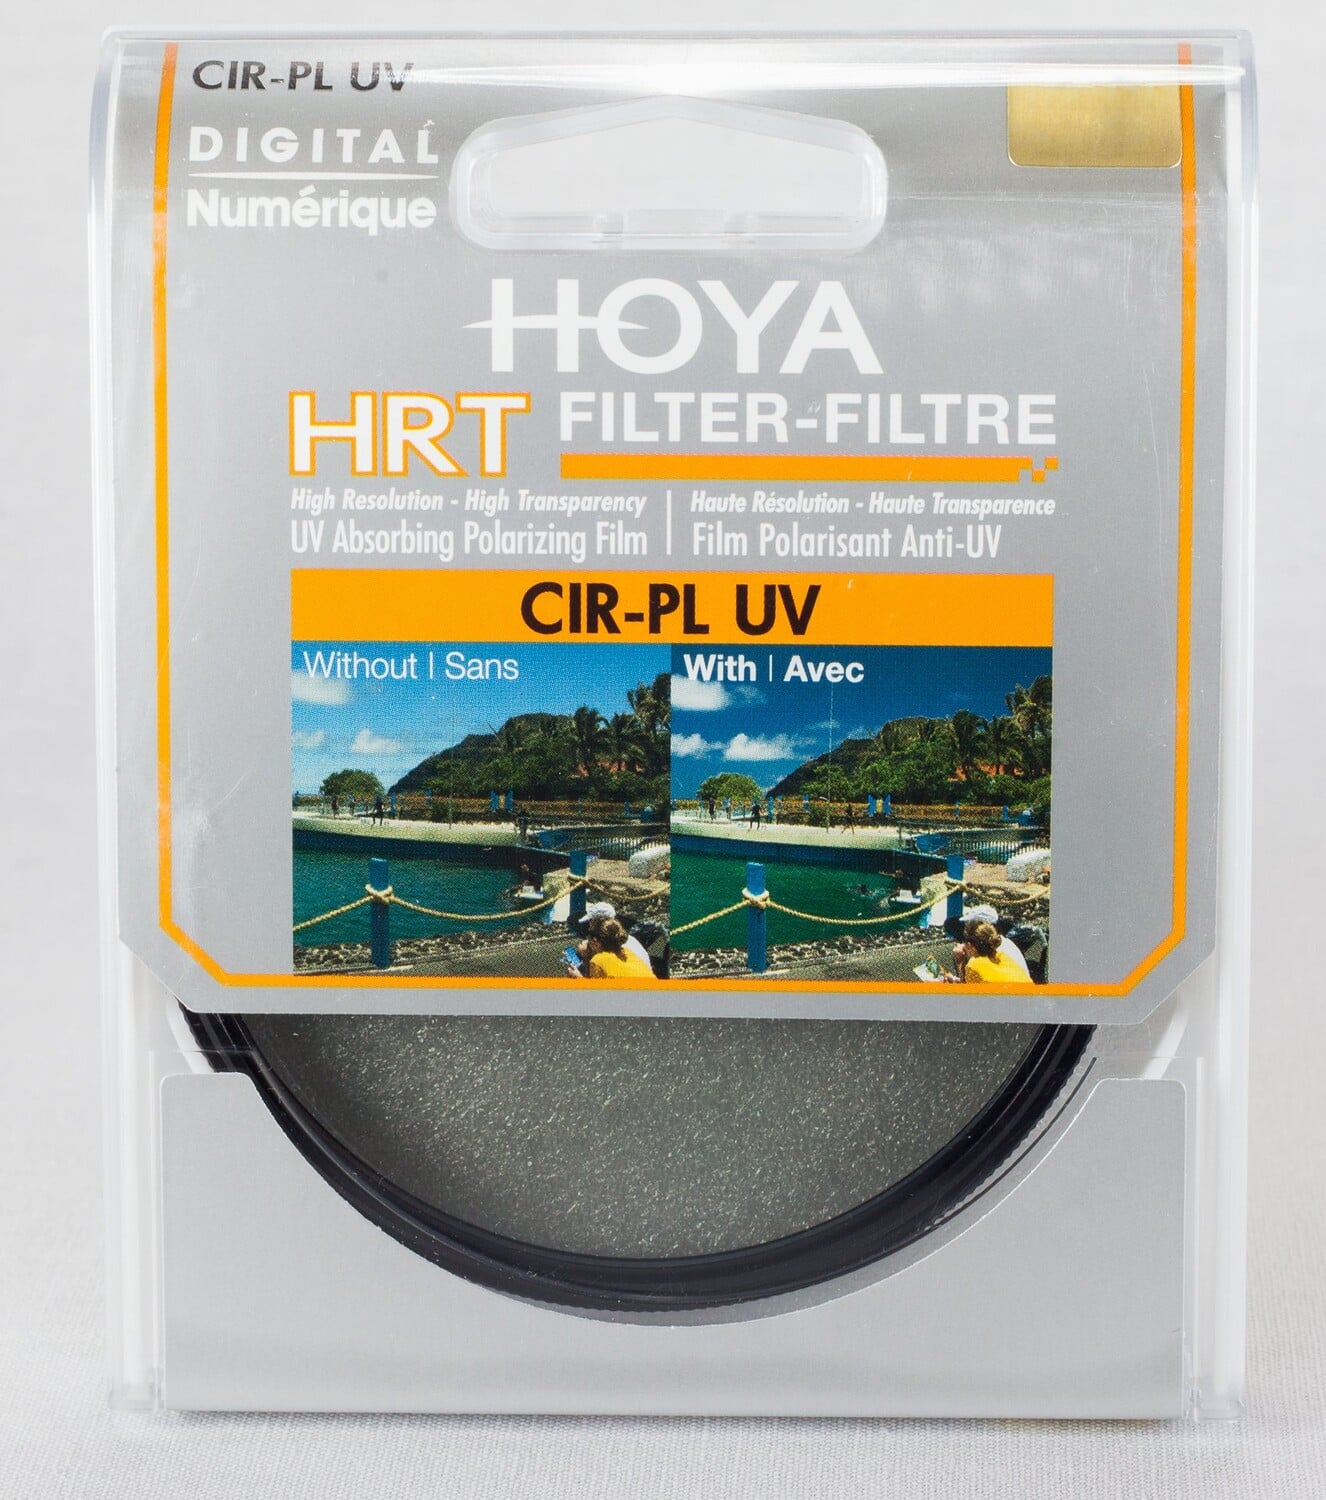
Buy the Hoya polarizer here
Computer Gear
Apple MacBook Pro
I currently have the Apple MacBook Pro M2 14-inch (2023), and I have 16 GB of RAM and 1TB of storage. I use a lot of programs at once (Safari (a bunch of tabs), Lightroom, Photoshop, etc.), and this has worked well for me. I usually upgrade every 3-4 years.

Buy an Apple MacBook here
Apple iPad Air 11-inch
I recently got the Apple iPad Air 11-inch to focus on video editing and being more creative with my social content. I use the pen and this case with a keyboard (because I also answer emails from time to time on it).
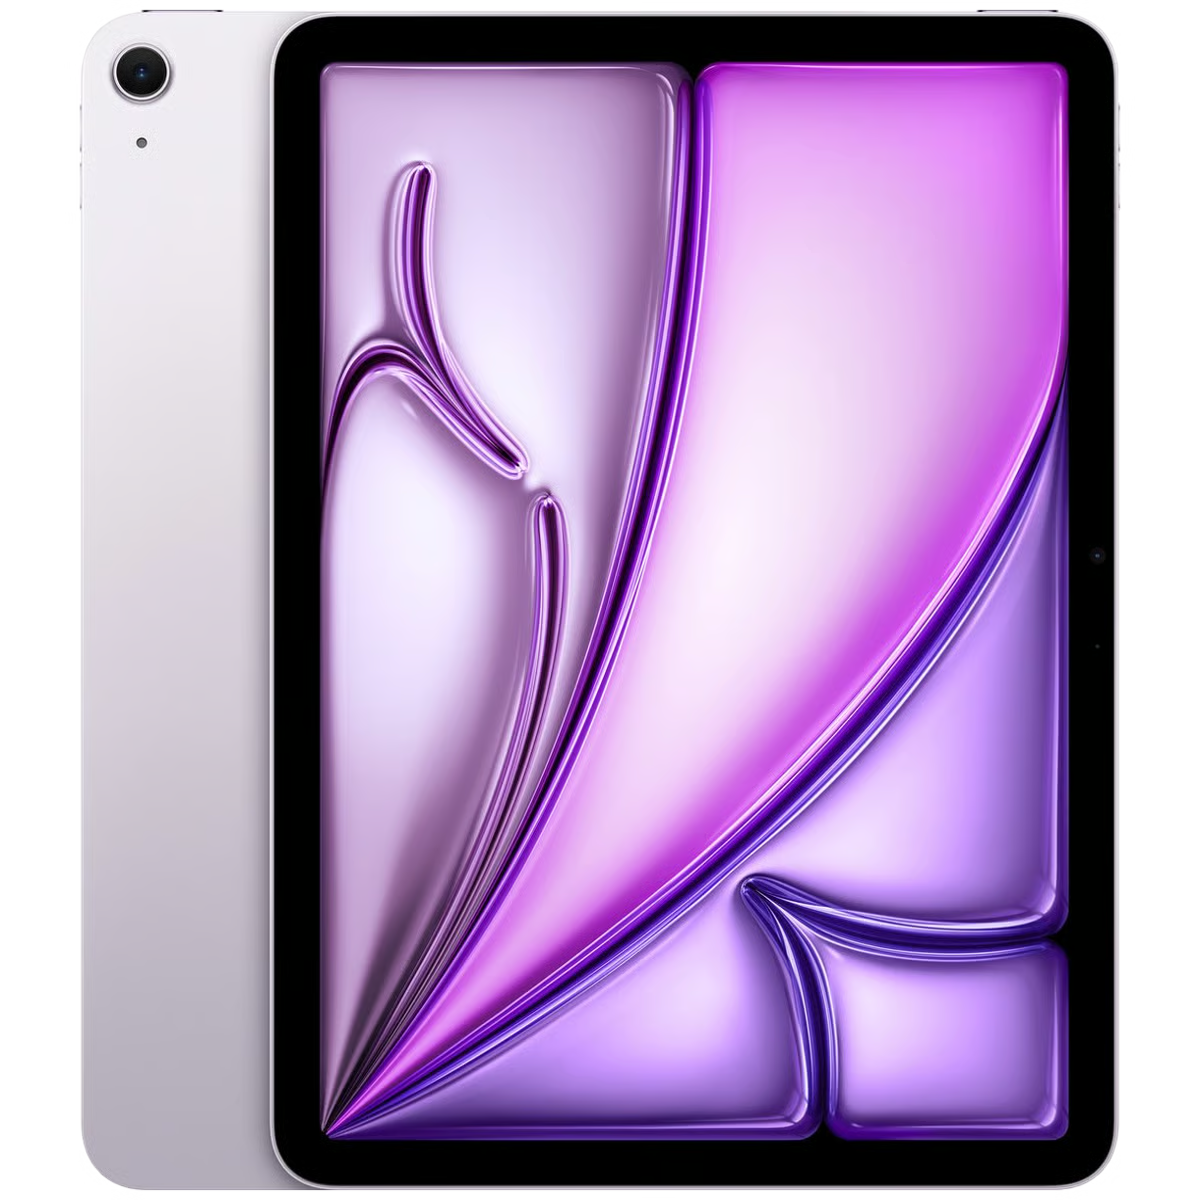
Buy the Apple iPad here
WD External Hard Drive
I use the WD 14TB My Book Desktop hard drive as a second backup that I keep at home in a cool and dry spot. The first are my Lexar ARMOR 700 Portable SSDs
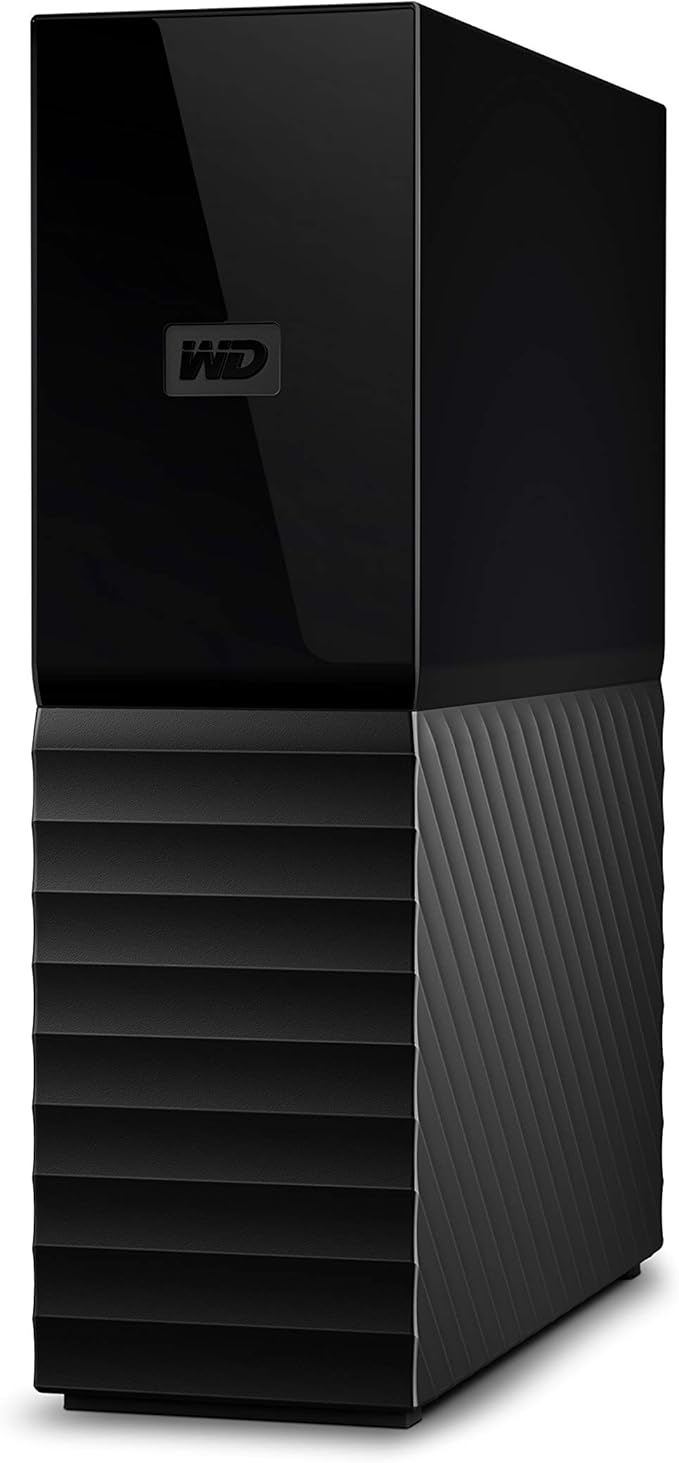
Buy the WD hard drive here
Travel Power Strip
This power strip is always in my camera bag on road trips because of the amount of electronics I need to charge.
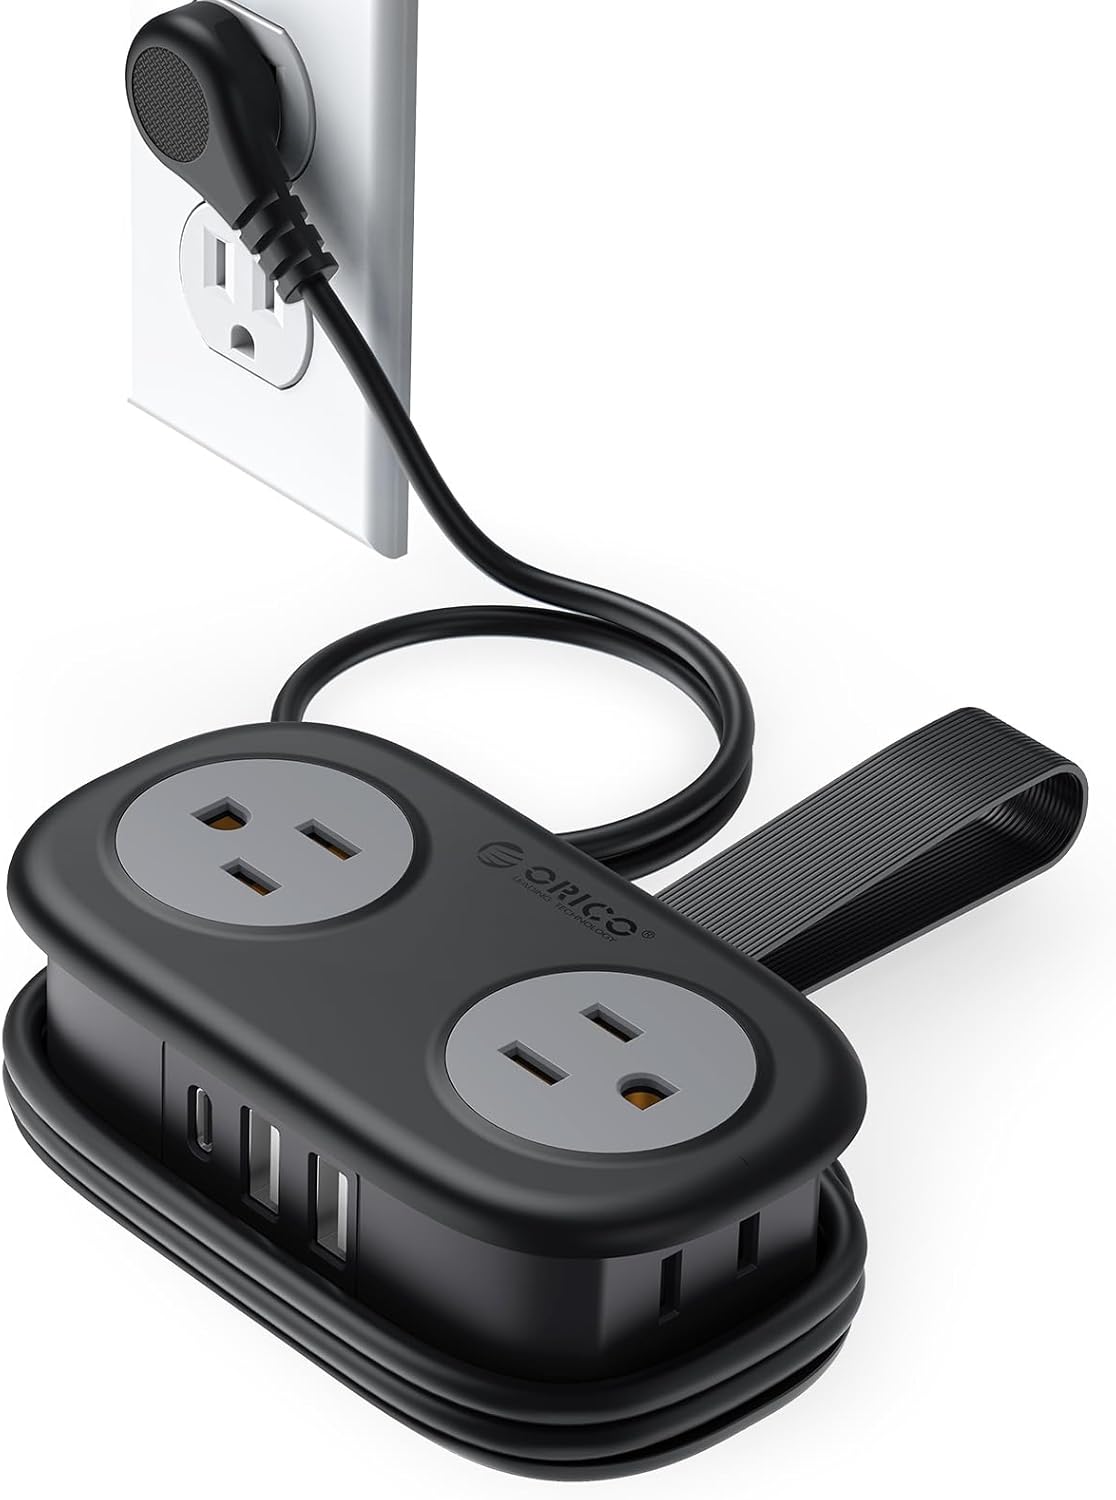
Buy the power strip here

Camera Bags
DB Journey 30L Hugger
The DB Journey 30L Hugger has been my tried and true camera bag for years, which is perfect for travel. I pair it with the Ramverk Camera Insert (small) to hold my camera gear well. If you have more than one camera body and 3 lenses, you may want the medium camera insert, but it is a bit of a tight squeeze.
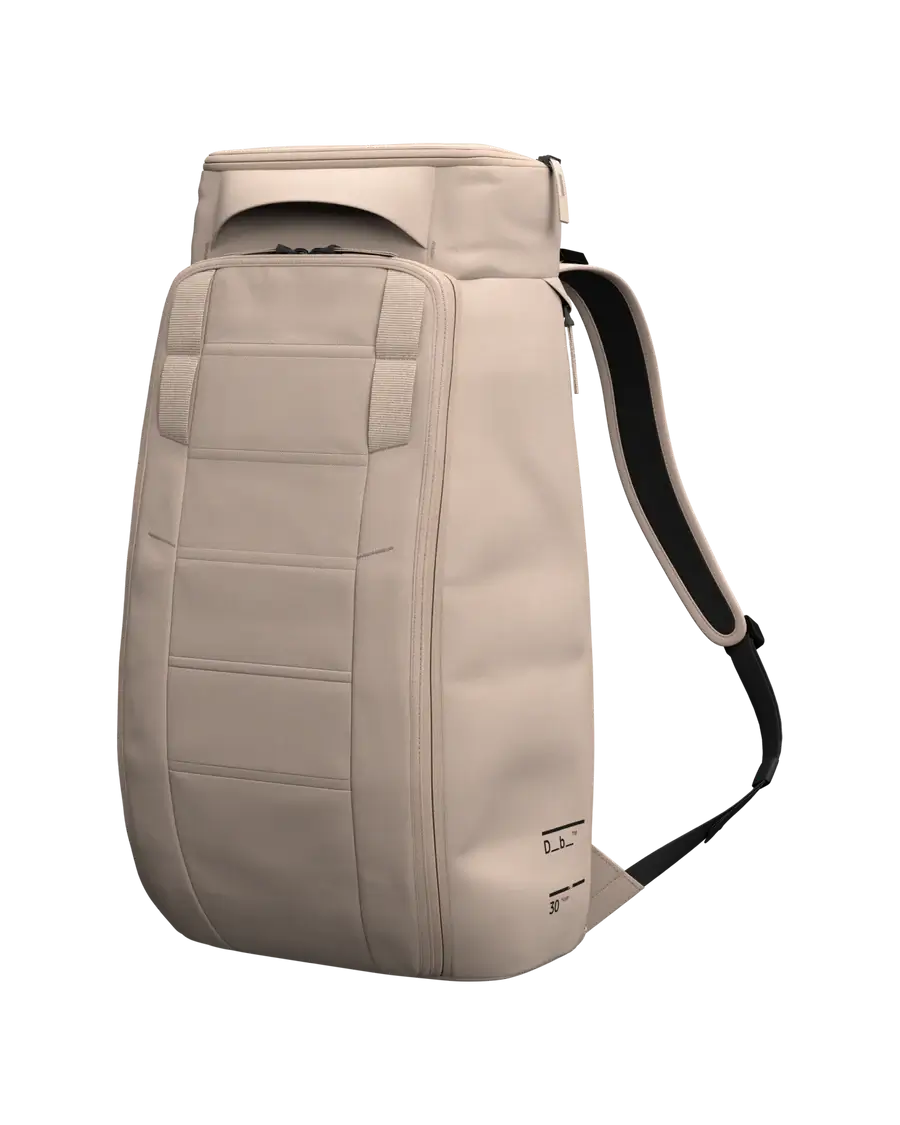
Buy the 30L DB Journey backpack here
DB Journey 26L Ramverk Pro
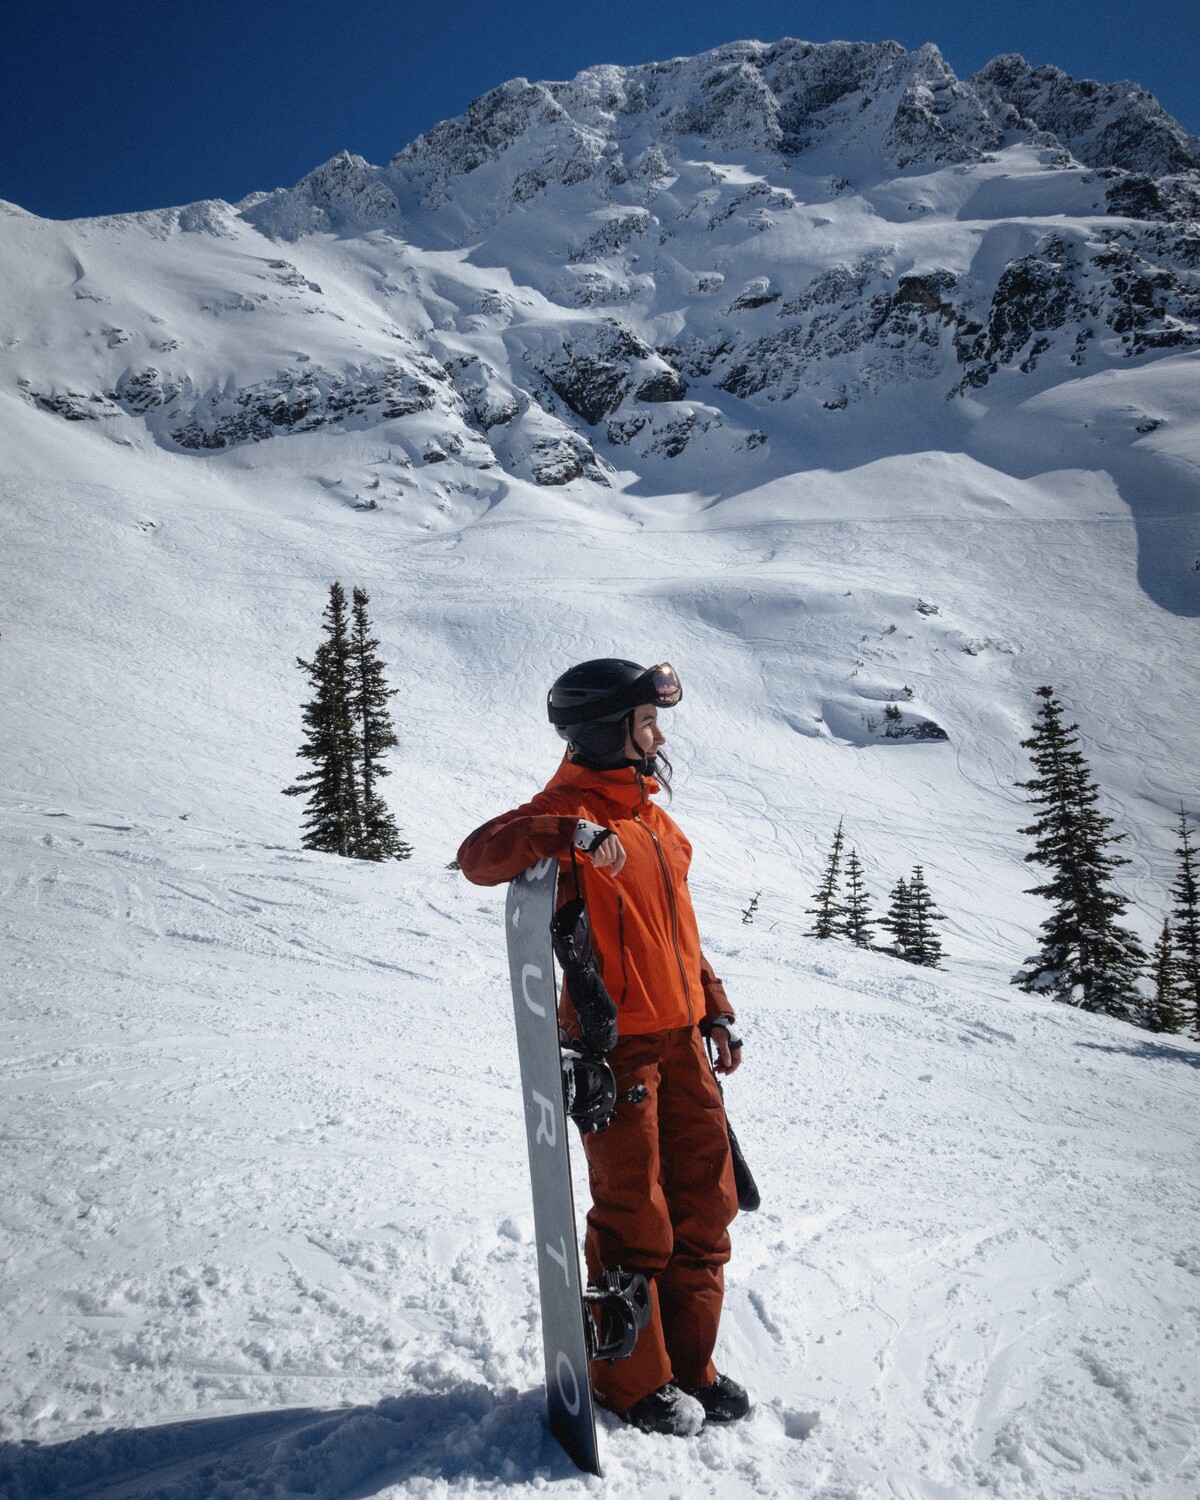
The DB Journey 26L Ramverk Pro backpack is another backpack I use a lot. I bring this when I’m traveling, and it is the bag I chose to bring snowboarding. I use the same small camera insert in this backpack as the Hugger to carry my camera gear.

Buy the 26L DB Journey backpack here
Peak Design Everyday Backpack
The Peak Design Everyday Backpack is an award-winning backpack for photographers. I used it for a bit and loved all of the well-thought-out details that help while shooting, but ultimately found I appreciated a backpack that was a bit more casual, like the DB Journey options.

Buy the Peak Design backpack here
Ramvert Camera Insert
This camera insert is essential for keeping my camera gear organized and protected. I fit my Sony A7R V with the 24-70mm attached, 16-35mm fits vertically (as shown in the photo), and 70-200mm. I can fit a few extra bits, and the rest I put into my Peak Design Tech Pouch and backpack. When I want to pack my second body, I use the medium camera insert or use the small and pack the second body in a smaller pouch.
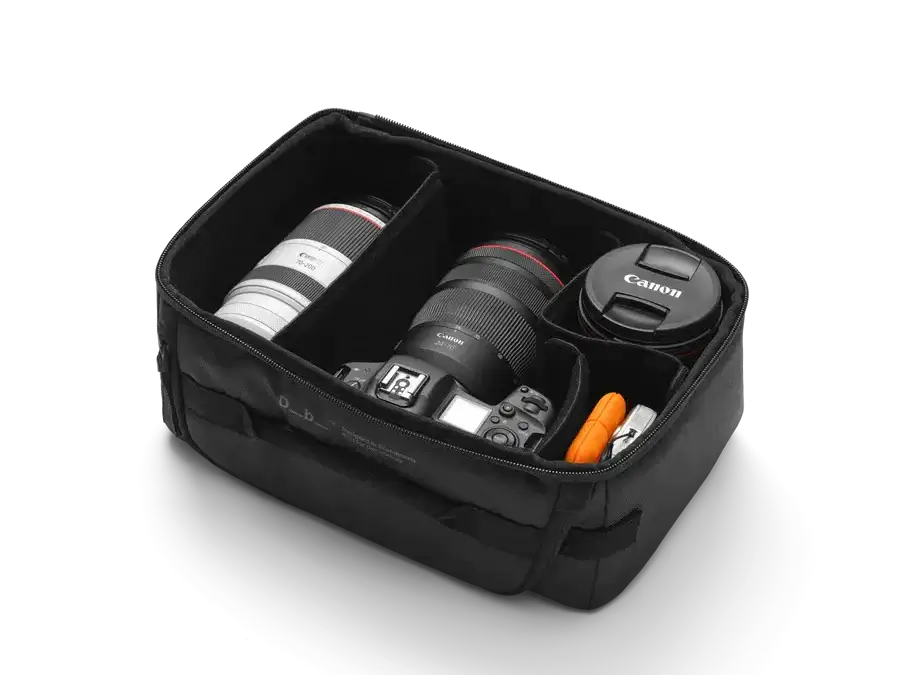
Buy the DB Journey camera insert here
Underwater Photography
GoPro HERO13 Black
While I don’t do a ton of underwater photography, I do use a hands-free camera in my kit—especially for snowboarding, packrafting and any water activities! I use the GoPro HERO11 but would recommend the newer GoPro HERO13 for sharper images and better features. You can get an underwater housing as well, which allows you to dive deep. You can also get a wide lens to make your GoPro go further.
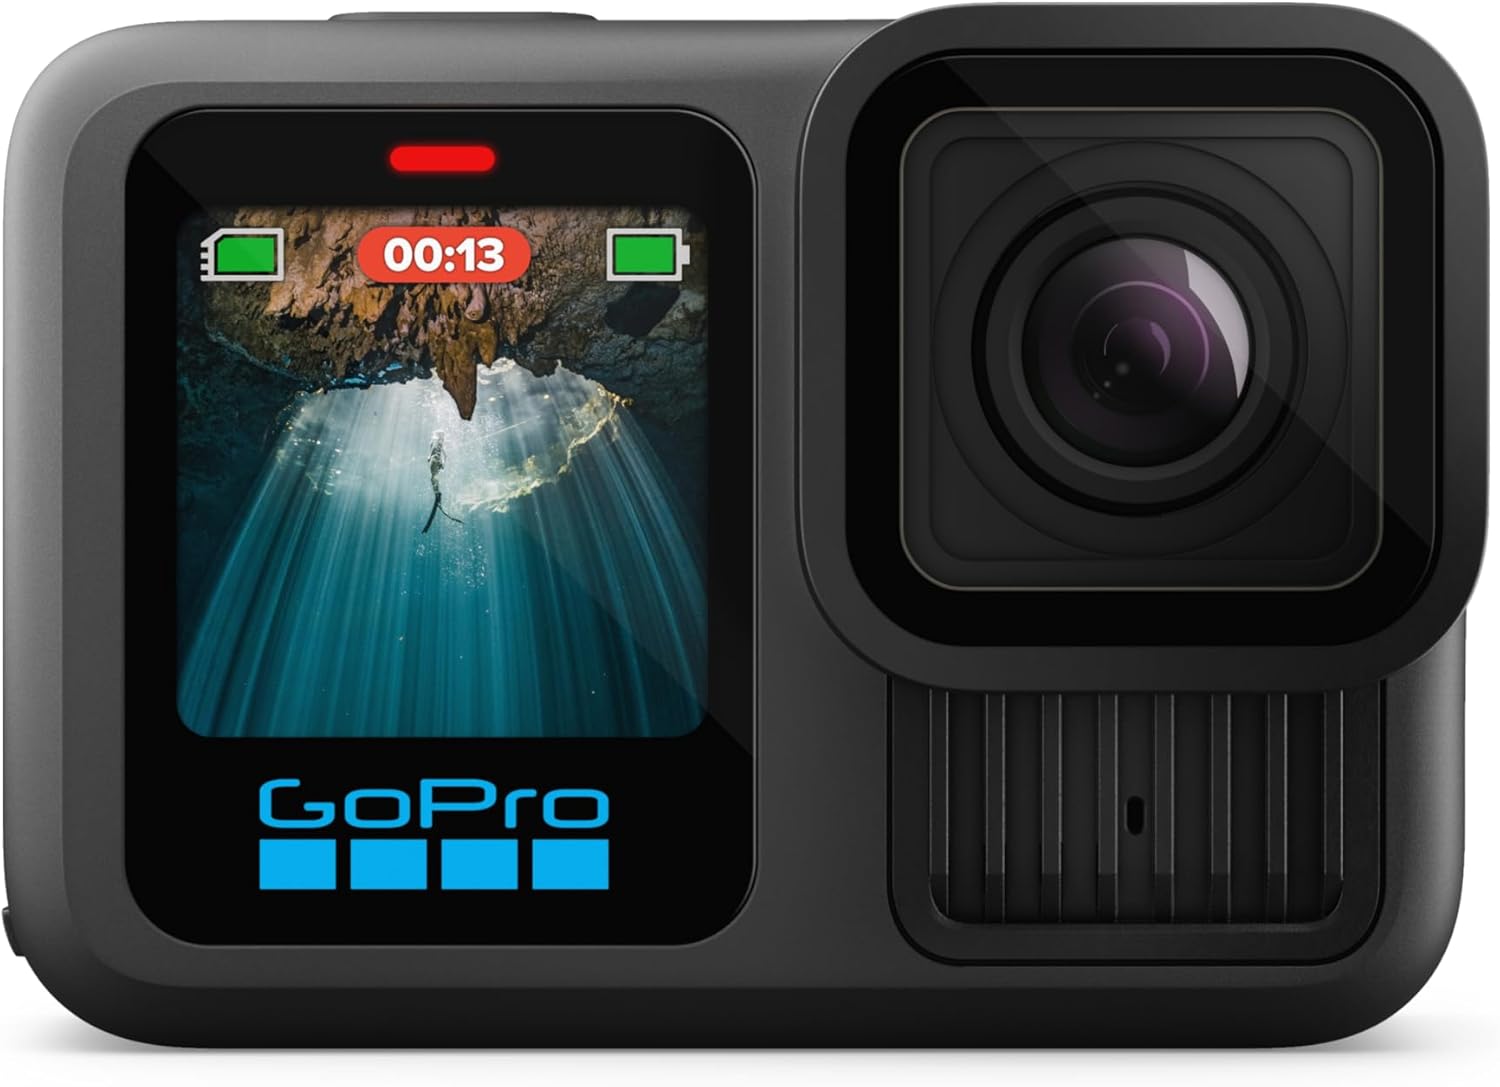
Buy the GoPro here
JOBY SeaPal Waterproof iPhone Case
I own the earlier rendition of the Joby SeaPal Waterproof iPhone Case, and while I do love it, I don’t tend to pack it very often. It’s pretty bulky, especially with the dome (that you can get over/under shots with). I prefer to bring a GoPro since it’s much more compact and versatile.
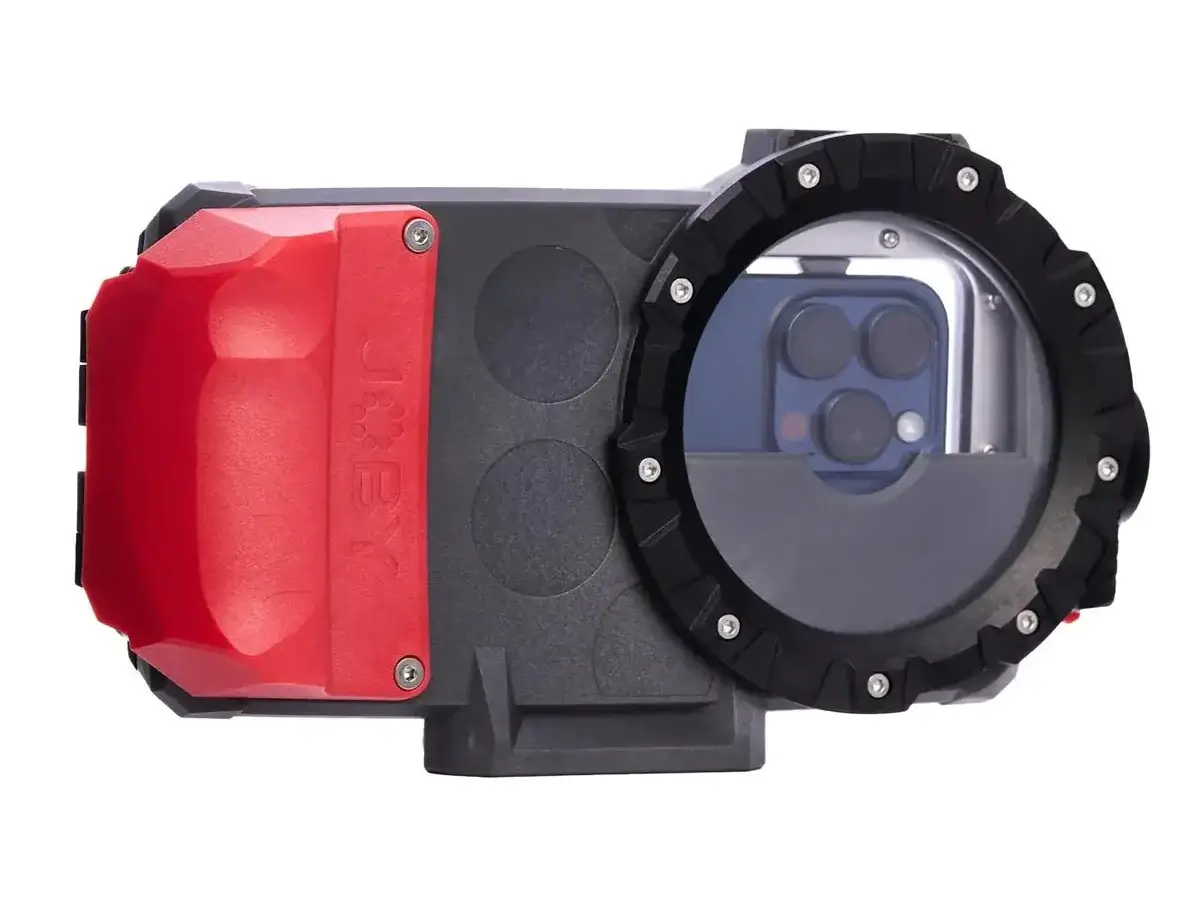
Buy the Joby SeaPal case here
My wife and I have become big fans. You have amazing content and great advice. Thank you. Looking forward to many more of your adventures.
Thank you for the kind words, George. Means a lot!
Thank you so much for sharing this information.
My pleasure! Thanks for the comment, Jan.
Adorei o conteúdo suas fotos são maravilhosas!
Muchos gracias!
This is amazing and so helpful! I am an aspiring blogger as well & was wondering are you able to take the pictures yourself on self timer with the tripod ? Or does someone take them for you? I’m going to be alone so I’m trying to invest in something I can do myself.
Hi Adiyah! I’m so happy you found this blog post helpful and that you left a comment. Most of the time, I usually am with a friend/photographer who I collaborate with for my photos. I use my tripod if I’m trying to shoot myself, or myself and a friend, so it’s totally doable. Just takes some getting used to. Hope that helps!
Big fan of your IG – stellar photos! I have the ESO-R as well. I noticed I end up underexposing many times due to having to increase shutter speed to compensate for the lack of in-body stabilization. Do you have any advice for this rig?
Thanks so much, Greg. Means a lot! I haven’t come across that issue (probably because I also underexpose my images). I try not to shoot under 1/100 or if I do then I’ll use a tripod.
Hi Angela,
I really love your content on Instagram. My wife (Santa) just gave me a Canon EOS Rebel 7 with some accessories this Christmas to start an adventure life in AB, taking amazing landscapes inspired by you.
Keep going doing your passion!!
Follow me @axel_avc1
Hi Alex, thanks for the kind words! That’s so exciting. AB is a beautiful place to capture 🙂
I am a huge fan. What picture profile do you shoot for video and do you sell luts? Where do you edit your video?
All my videos are shot on my iPhone 13 and I edit in InShot Pro! I don’t have luts.
Hi Angela,
I really love your content on Instagram. My wife (Santa) just gave me a Canon EOS Rebel 7 with some accessories this Christmas to start an adventure life in AB, taking amazing landscapes inspired by you.
Keep going doing your passion!!
Follow me @axel_avc1
I absolutely have fallen in love with your page, you’re literally living my dream.
I have a question tho, when you started, did you have all this camera knowledge or you started with shots on your phone and learn as you go.
Also, would you like consider a YouTube channel and make Vlogs of your next trips, if so please tag me @qoey_wangui on IG because you gained a fan today
Thank you so much for your kind words! I learned with my phone and GoPro as I went along and as I progressed I purchased a camera.
I enjoy following your IG, and enjoy every post. Most of your uploads are actually breath taking even though the image is just from my phone. You’ve inspired my “stay at home self,”to start traveling the world and share my journey. One thing that’s been on my mind is how do you post on IG without the app compressing the quality. Is there a specific FPS you record on? Your videos are so high quality.
Hi Kenny, that is so kind to say. I’m thrilled to hear that you are feeling inspired. I shoot in 4k 60fps on my iPhone and upload on IG. I also have “High Quality Uploads” ticked on in the setting section. Hope that helps!
Awesome resources here for me to refer to! Do you ever use ND filters for your photography?
I’m happy this post was of use to you! No not really. I just use circular filters to cut glare!