
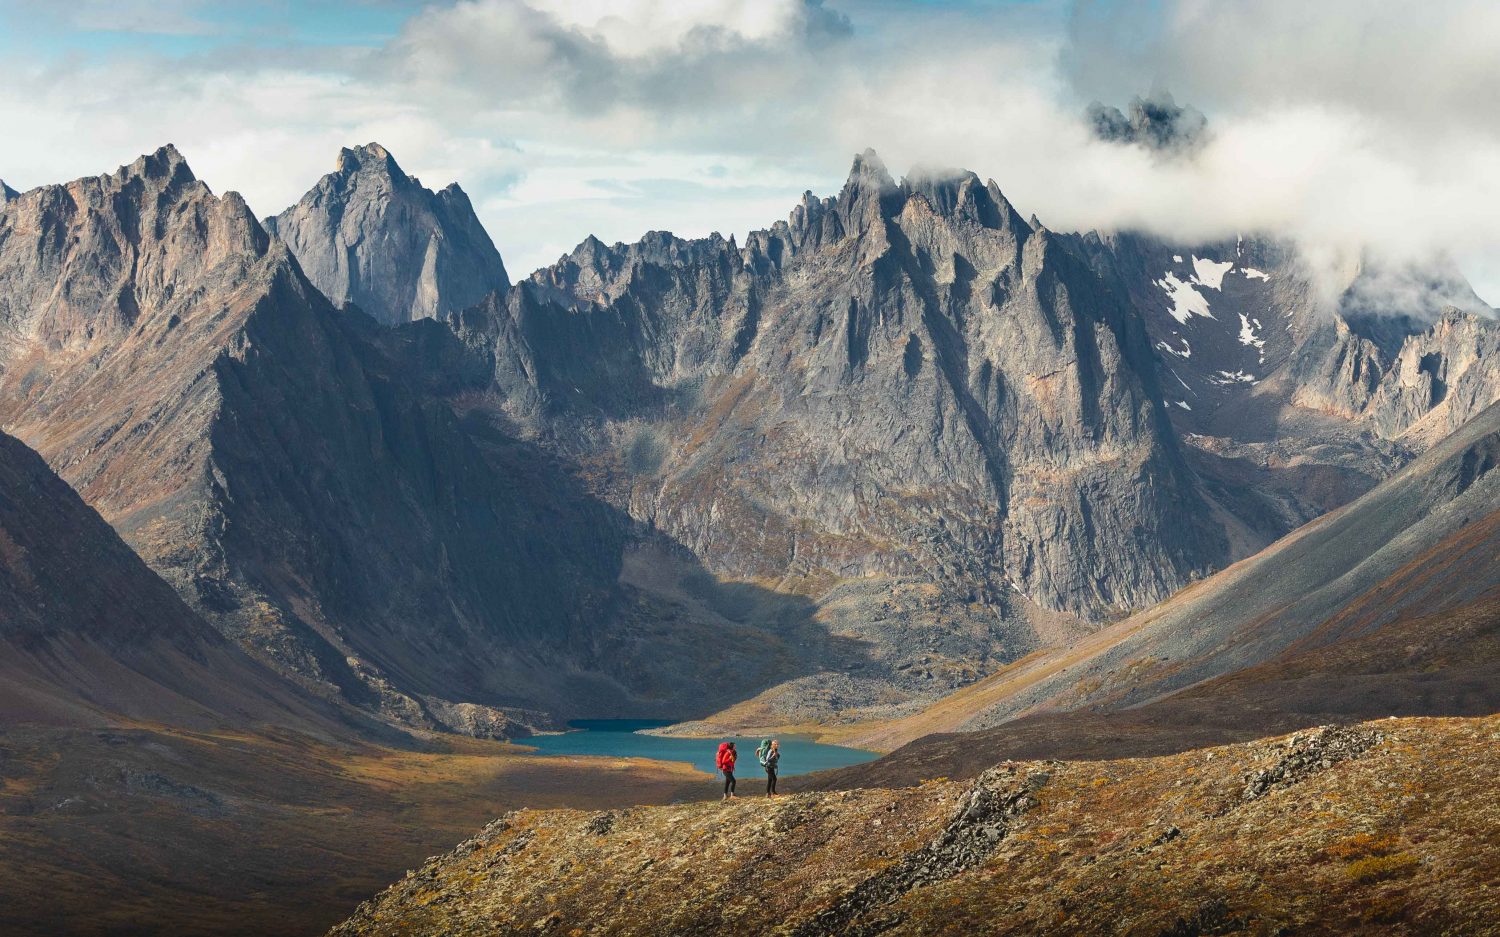
The Yukon has 3 national parks, 8 territorial parks and 12 habitat protection/special management areas. Sitting in northern central Yukon, lies Tombstone Territorial Park which is made up of 2,200 km2 of unique wilderness. There are plenty of hiking, camping and photography opportunities. The landscape is filled with incredibly, rugged and jagged peaks which is why it’s often referred to as “Patagonia of the North”. This park is reflected in a rich First Nations culture as it lies on the Traditional Territory of Tr’ondëk Hwëch’in Land.

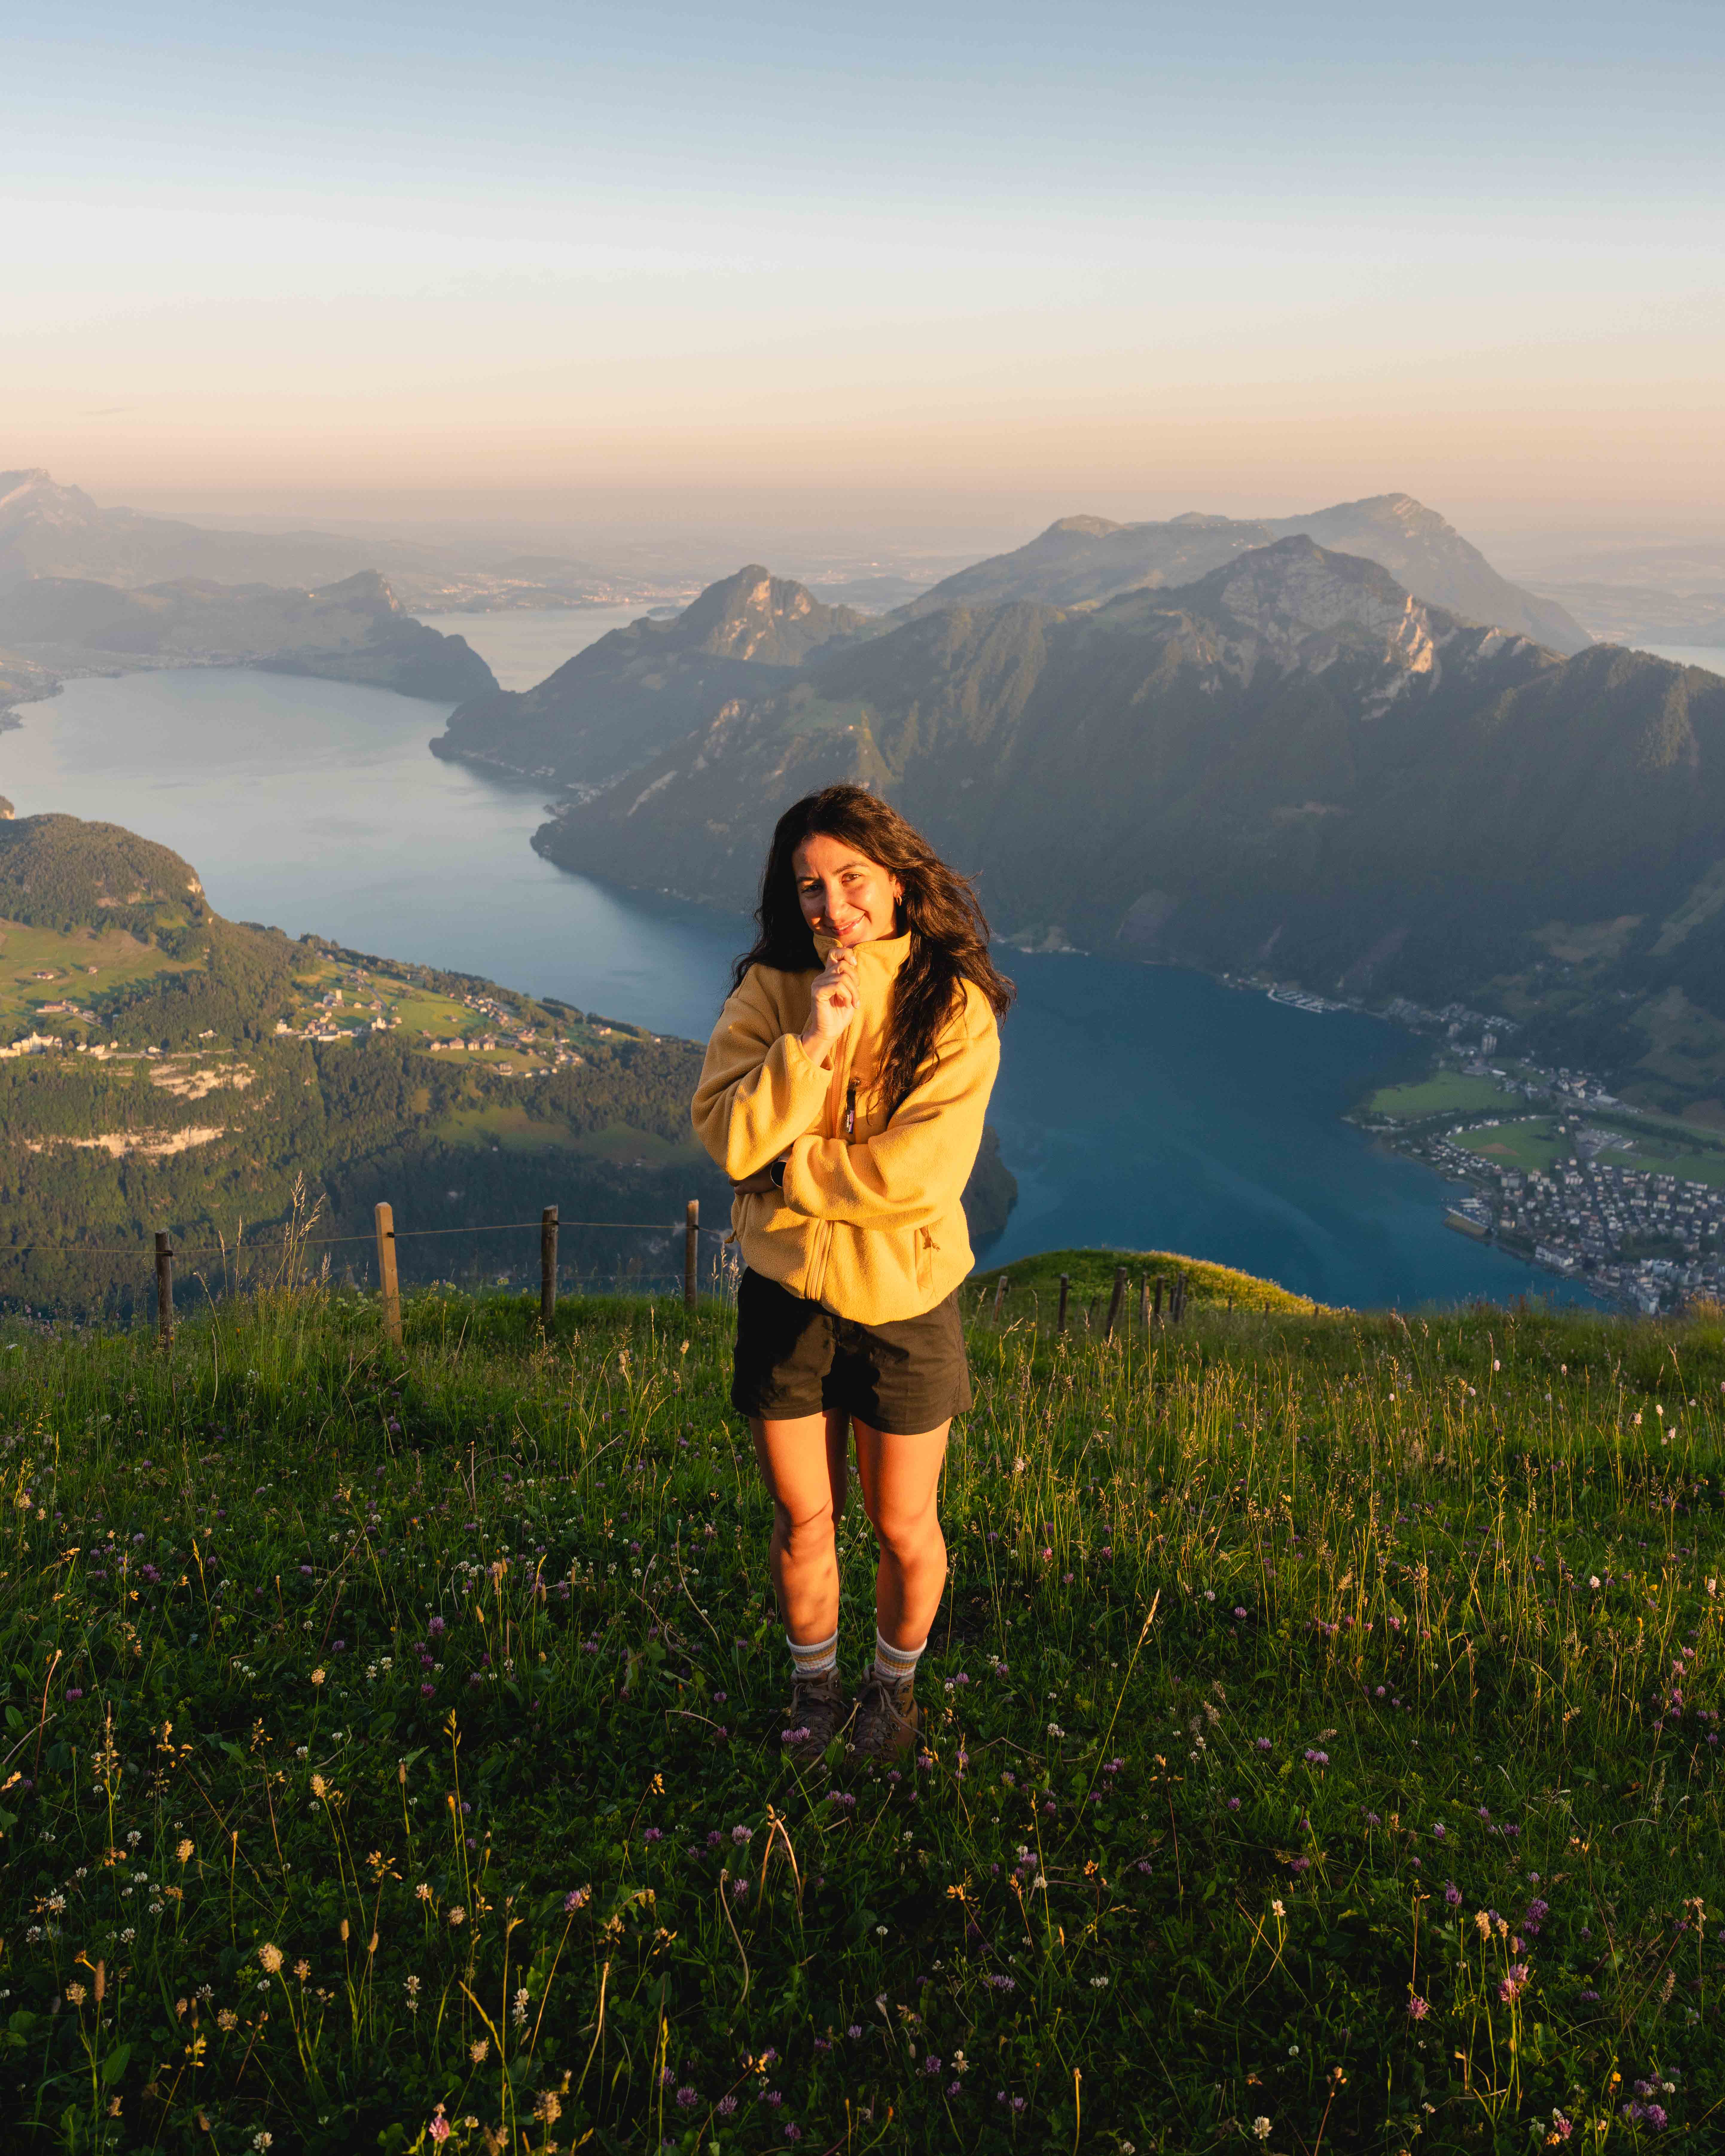
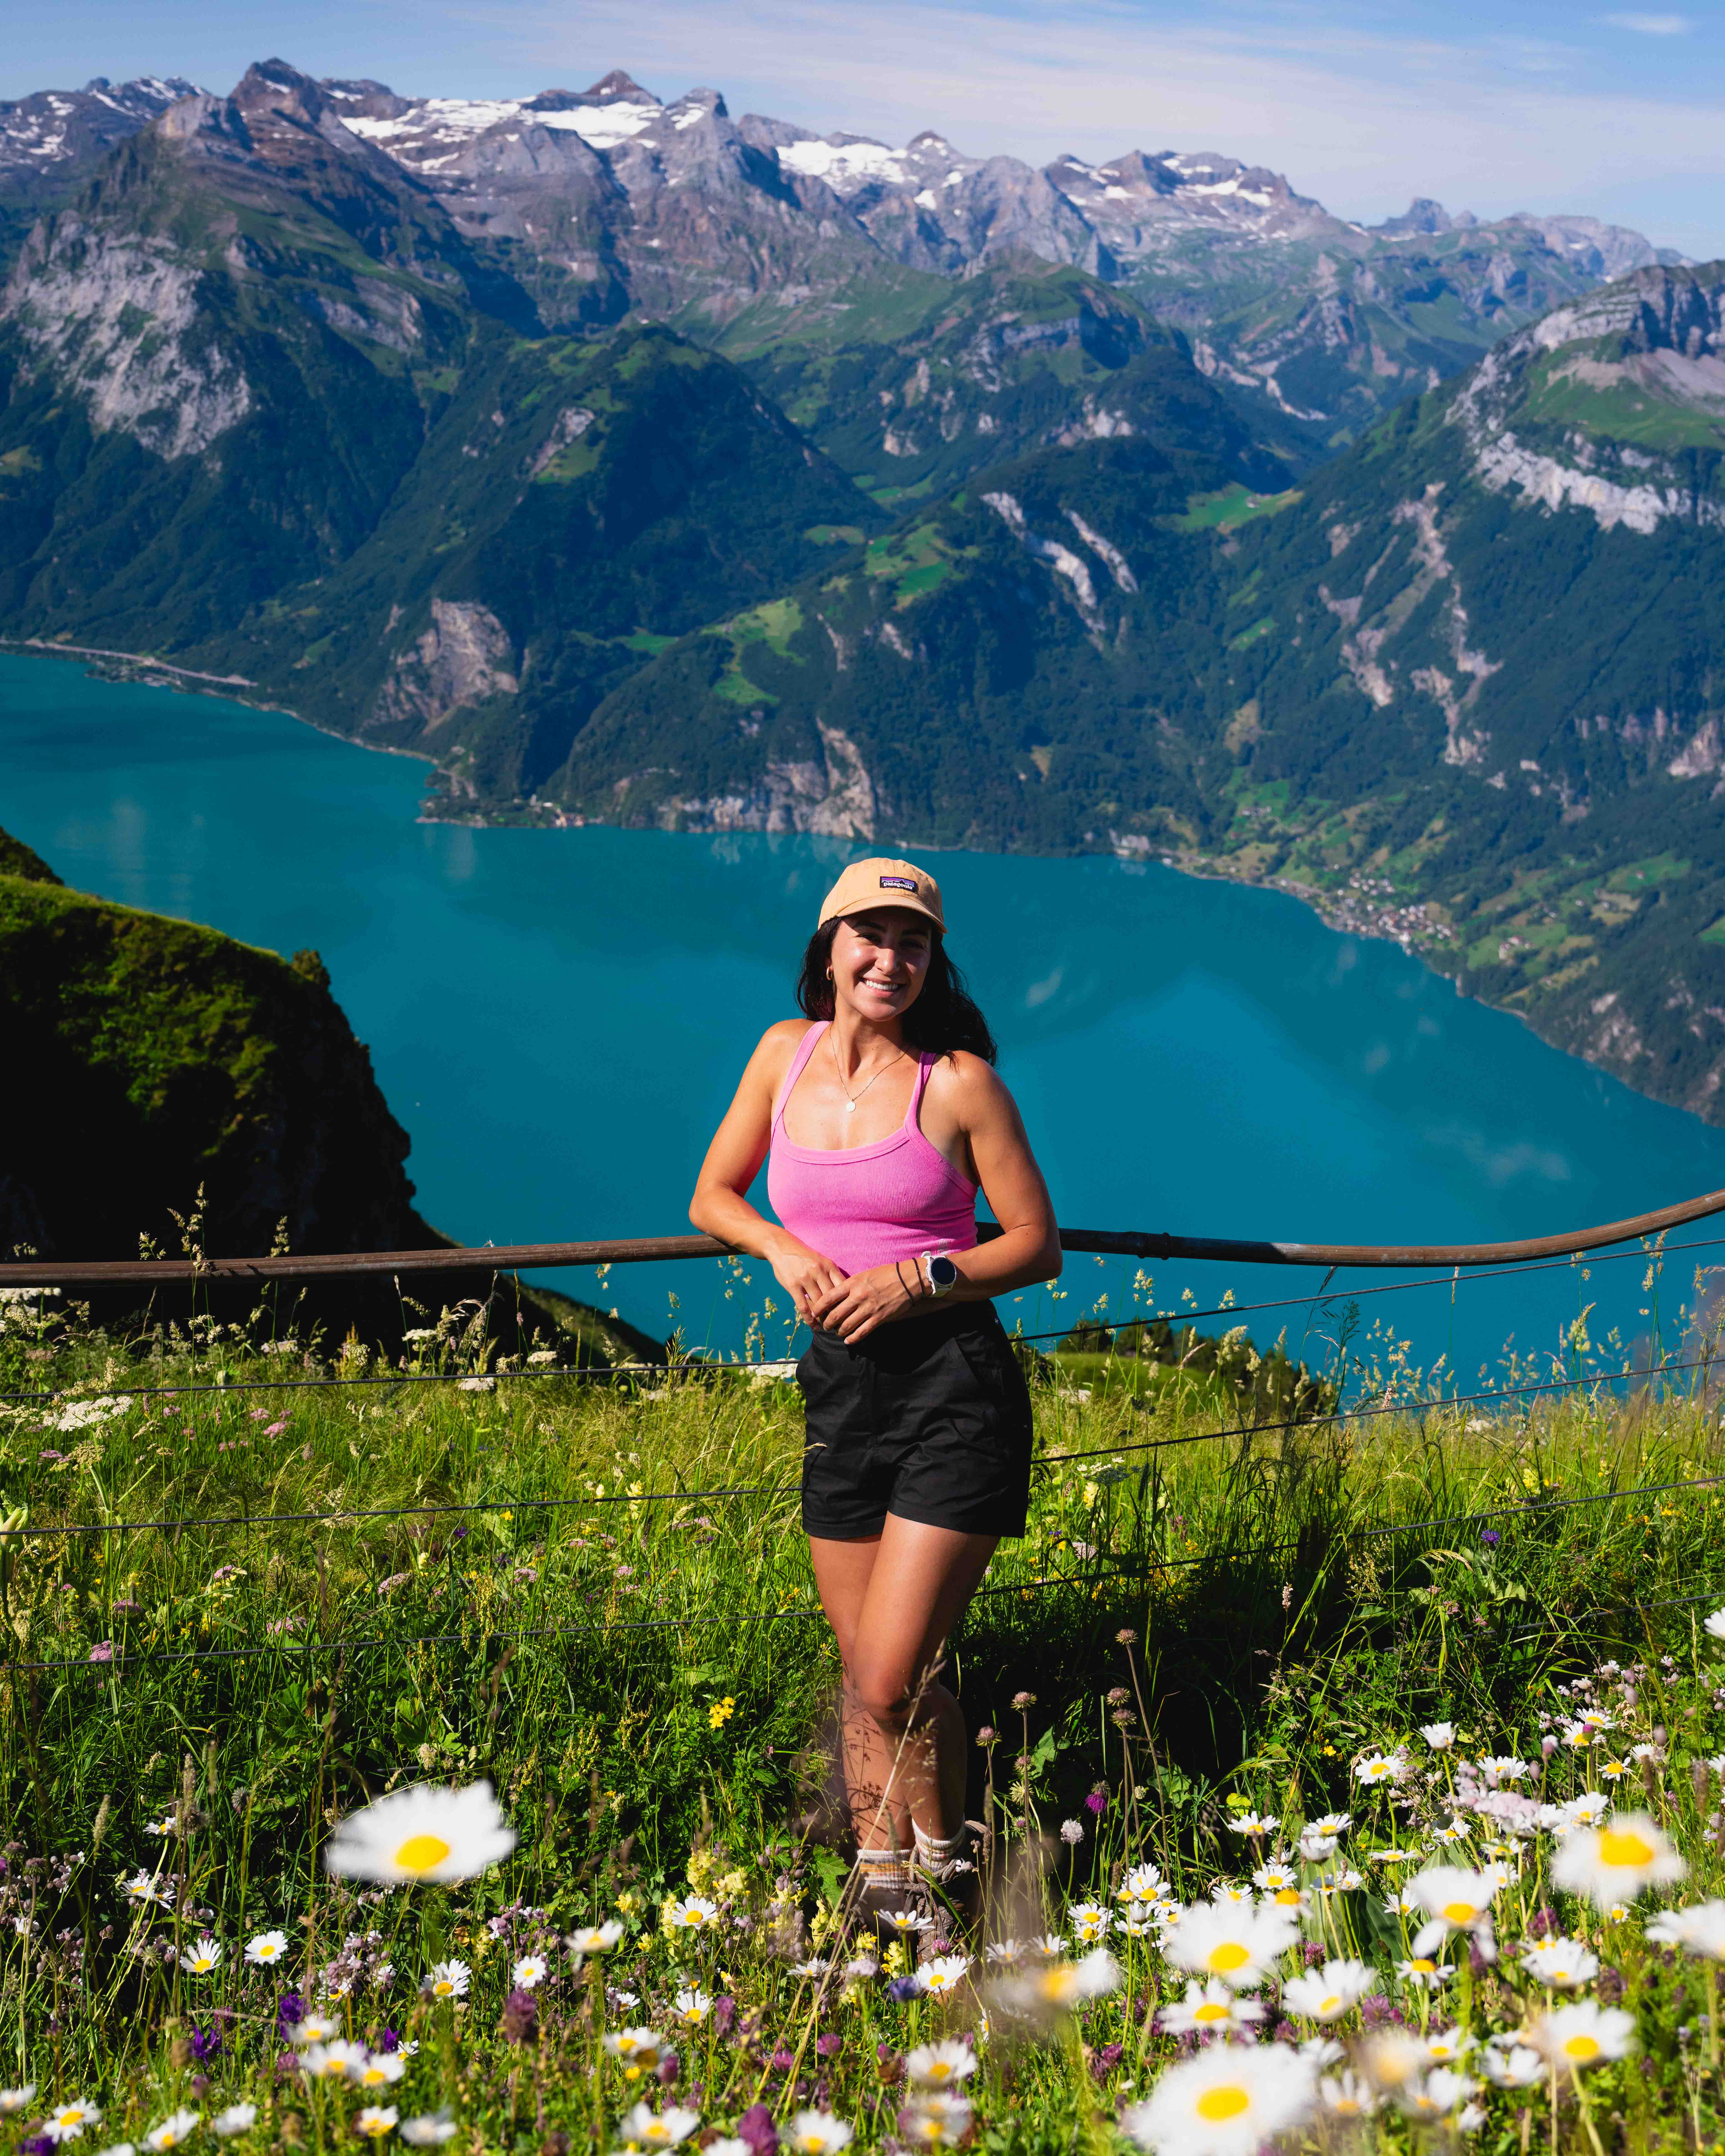
My decision to hike in the Tombstone range was made on a whim. On one afternoon in June, I was in the depths of researching hikes and backpacking trips online when I stumbled upon a photo of Tombstone Territorial Park in the Yukon. A couple friends of mine had gone a few years earlier so I had heard about it. That said, the only thing I remembered from their trip was that the weather was known to be hectic (and boy, was I about to find out just how hectic)!
A short time later, I found myself on a phone call with some friends, Julia and Chris, about potentially planning a trip there. Somehow, by the time I hung up, we had secured backcountry camping permits for the end of August and found a couple flights and campervan rentals we soon would book. It all happened fast, but I’m so happy that it did and that we decided to explore more of our home country, Canada.
Note: While this blog post isn’t sponsored, there are affiliate links which means I will earn a small commission if you choose to purchase an item (at no additional cost to you). These funds go right back into creating content just like this. Thank you for the support!
Want to skip ahead?
1. Getting There via the Dempster Highway
2. When to Go
3. The Multi-Day Backcountry Trek
4. Other Things to Do and See in the Park
5. What to Pack
Getting There via the Dempster Highway
The adventure begins well before arriving in the park—it starts on the road trip to it! Make your goal the Tombstone Interpretive Centre, which is the information centre in Tombstone Territorial Park. To get there, you’ll need to drive along the Dempster Highway. This road is unpaved and all-gravel, has extremely limited food and gas stations and barely any cell reception. I’d make sure that you have plenty of food, gas, a satellite phone and at least one spare tire before you start. Like many other roads, make sure you pull over where there’s a lot of space so others can pass and don’t stop abruptly, on top of a hill or a curve.
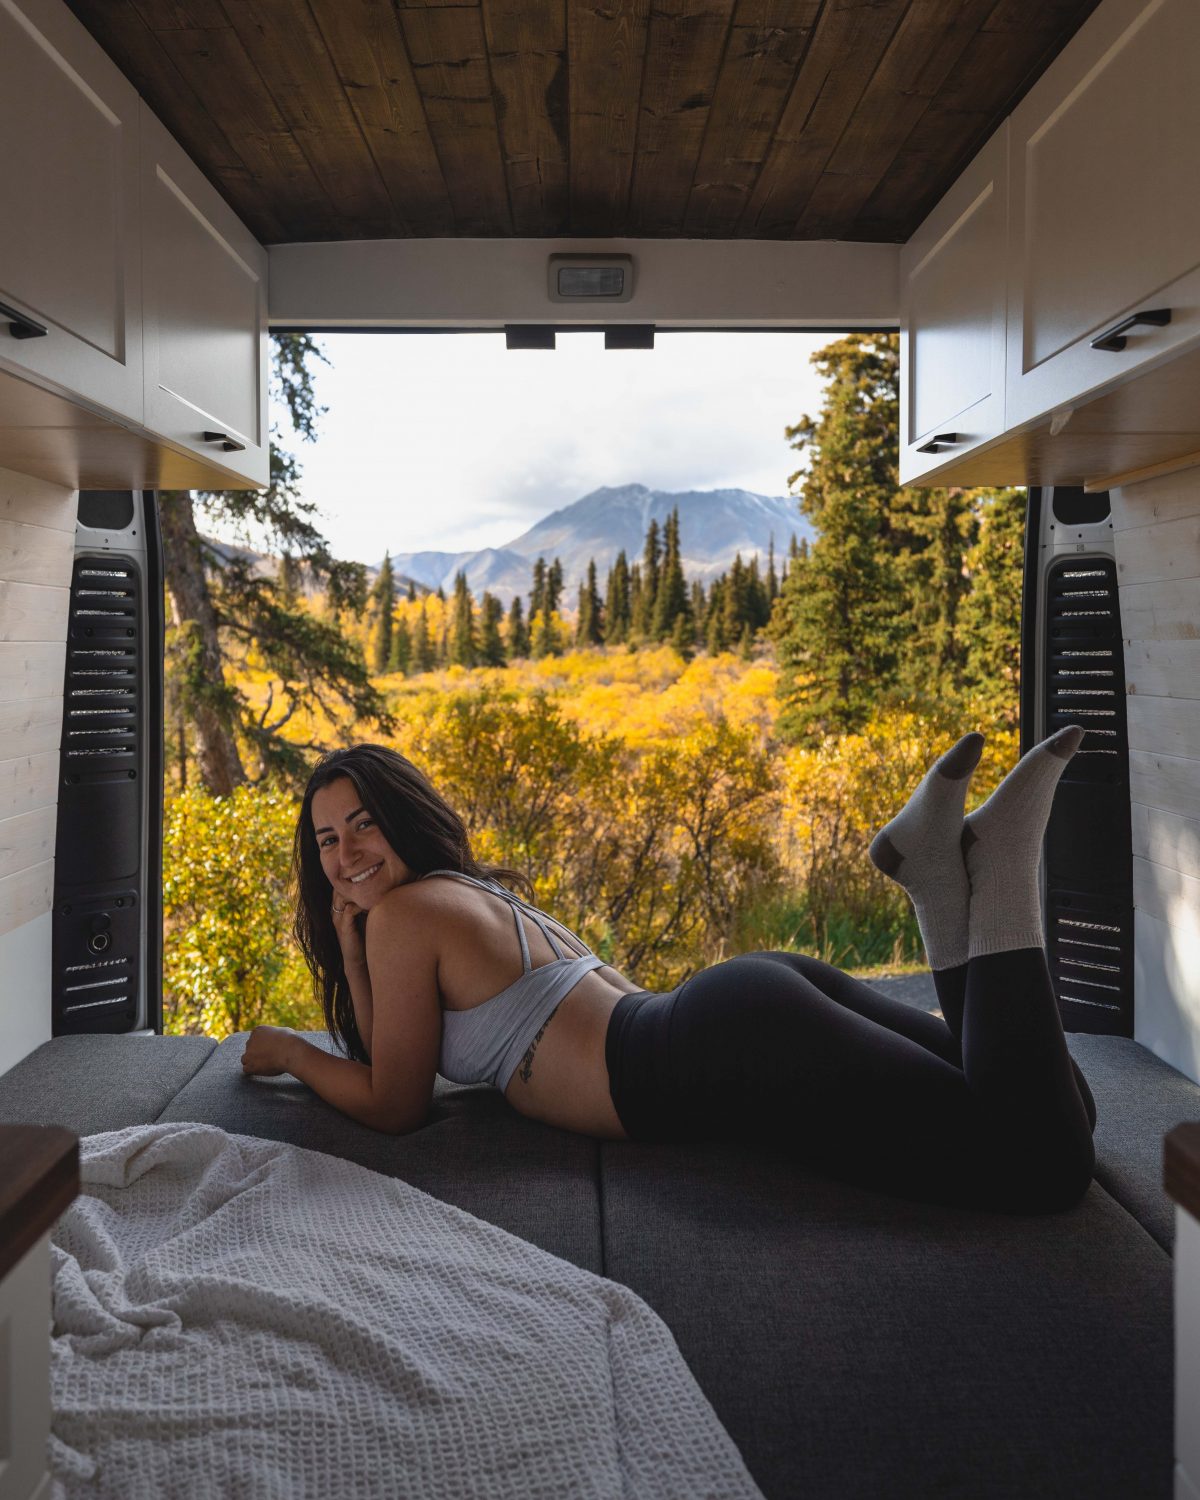
The Dempster Highway starts 40km south of Dawson City on the Klondike Highway and ends in Inuvik, Northwest Territories. At the end, if you wanted to drive the entire road, you will reach the Arctic Circle (at km 405.5). If you’re only going to Tombstone, the Interpretive Centre is at km 71.5 on the Dempster Highway. You can find more information on the highway here. In terms of rentals, my friends and I rented a sprinter van from Vanlife Yukon and I believe it’s hands down the best way to travel in the Yukon.


When to Go
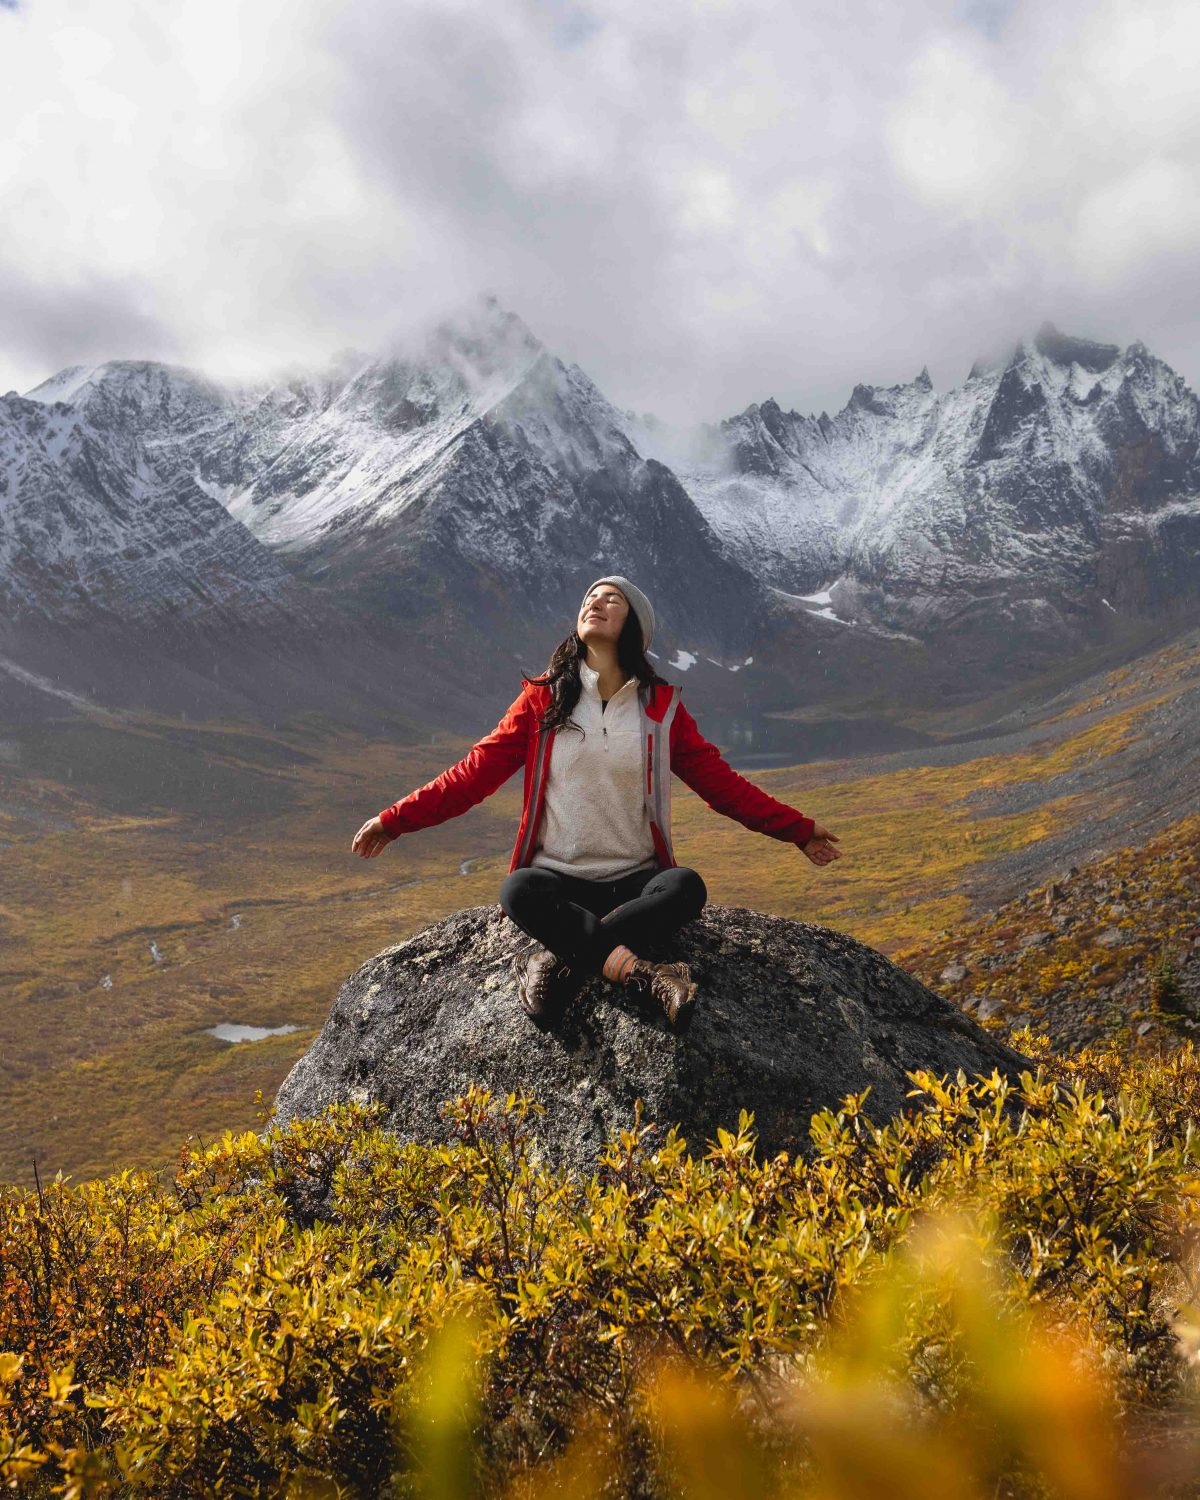
I suggest going for Tombstone’s fall season in order to see the vibrant, fall foliage and Northern Lights. Every year, fall colours peak from mid-August to early September. Every year, the foliage peaks in colour at different times within this three week period. I was there end of August to early September and it was perfect.
Even though the Northern Lights were active, we couldn’t see them because there was too much cloud cover each night. Don’t be discouraged though, wake up and check a bunch of times in the night if you want to see them! I suggest downloading the My Aurora Forecast & Alerts app to check the forecast before heading into the park.
The Multi-Day Backcountry Trek
The backcountry trek in Tombstone Territorial Park is the sole reason I went to the Yukon—and let me tell you, it did not disappoint. Let’s start with booking permits. Online reservations for 2021 open: January 6, 2021 at 9 a.m. Yukon time (UTC -7). Book online here.
The route is an out-and-back that goes from the trailhead to the third (and last) campground/lake. The entire trail is 48km return with an overall gain of ~2700m. I recommend spending four days, three nights at a minimum. There are three backcountry campgrounds, Grizzly, Divide and Talus Lake.

When hiking, and generally any time you’re outside, it’s important to follow the Leave No Trace Principles. They are seven things you can do to help preserve the environment for generations to come. Take only photos, and leave only footprints.
Day One: The Trailhead to Grizzly Lake
From the trailhead, the hike to Grizzly Lake is 11.5 km with 797m of elevation gain. It took us about 6-7 hours because we were stopping for photos a lot and taking our time. This trail is incredibly beautiful with views the entire way.


Day Two: Grizzly Lake to Divide Lake
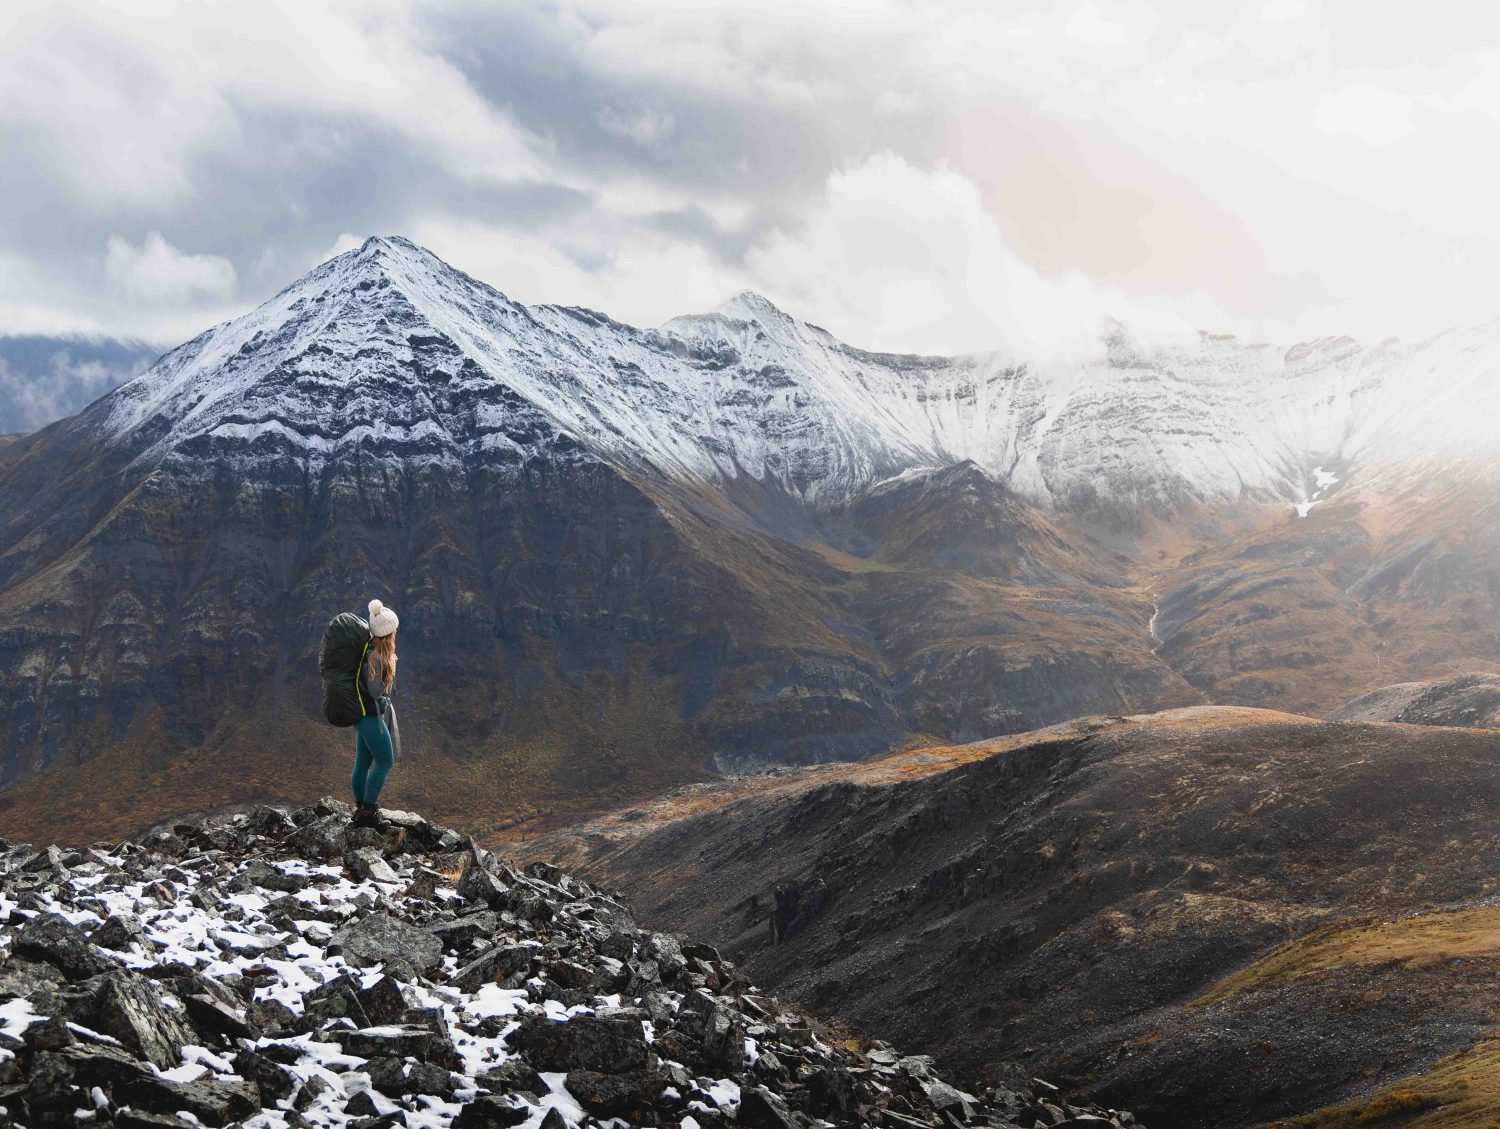
We enjoyed sunrise at the lake, then packed up camp and hiked 6km with 428m of gain to Divide Lake. This is a tough section of the trail because of Glissade Pass—a steep mountain pass that gains about 400m in one km. At this campsite there were only a few people and, like the last section of the trip, the views were incredible.


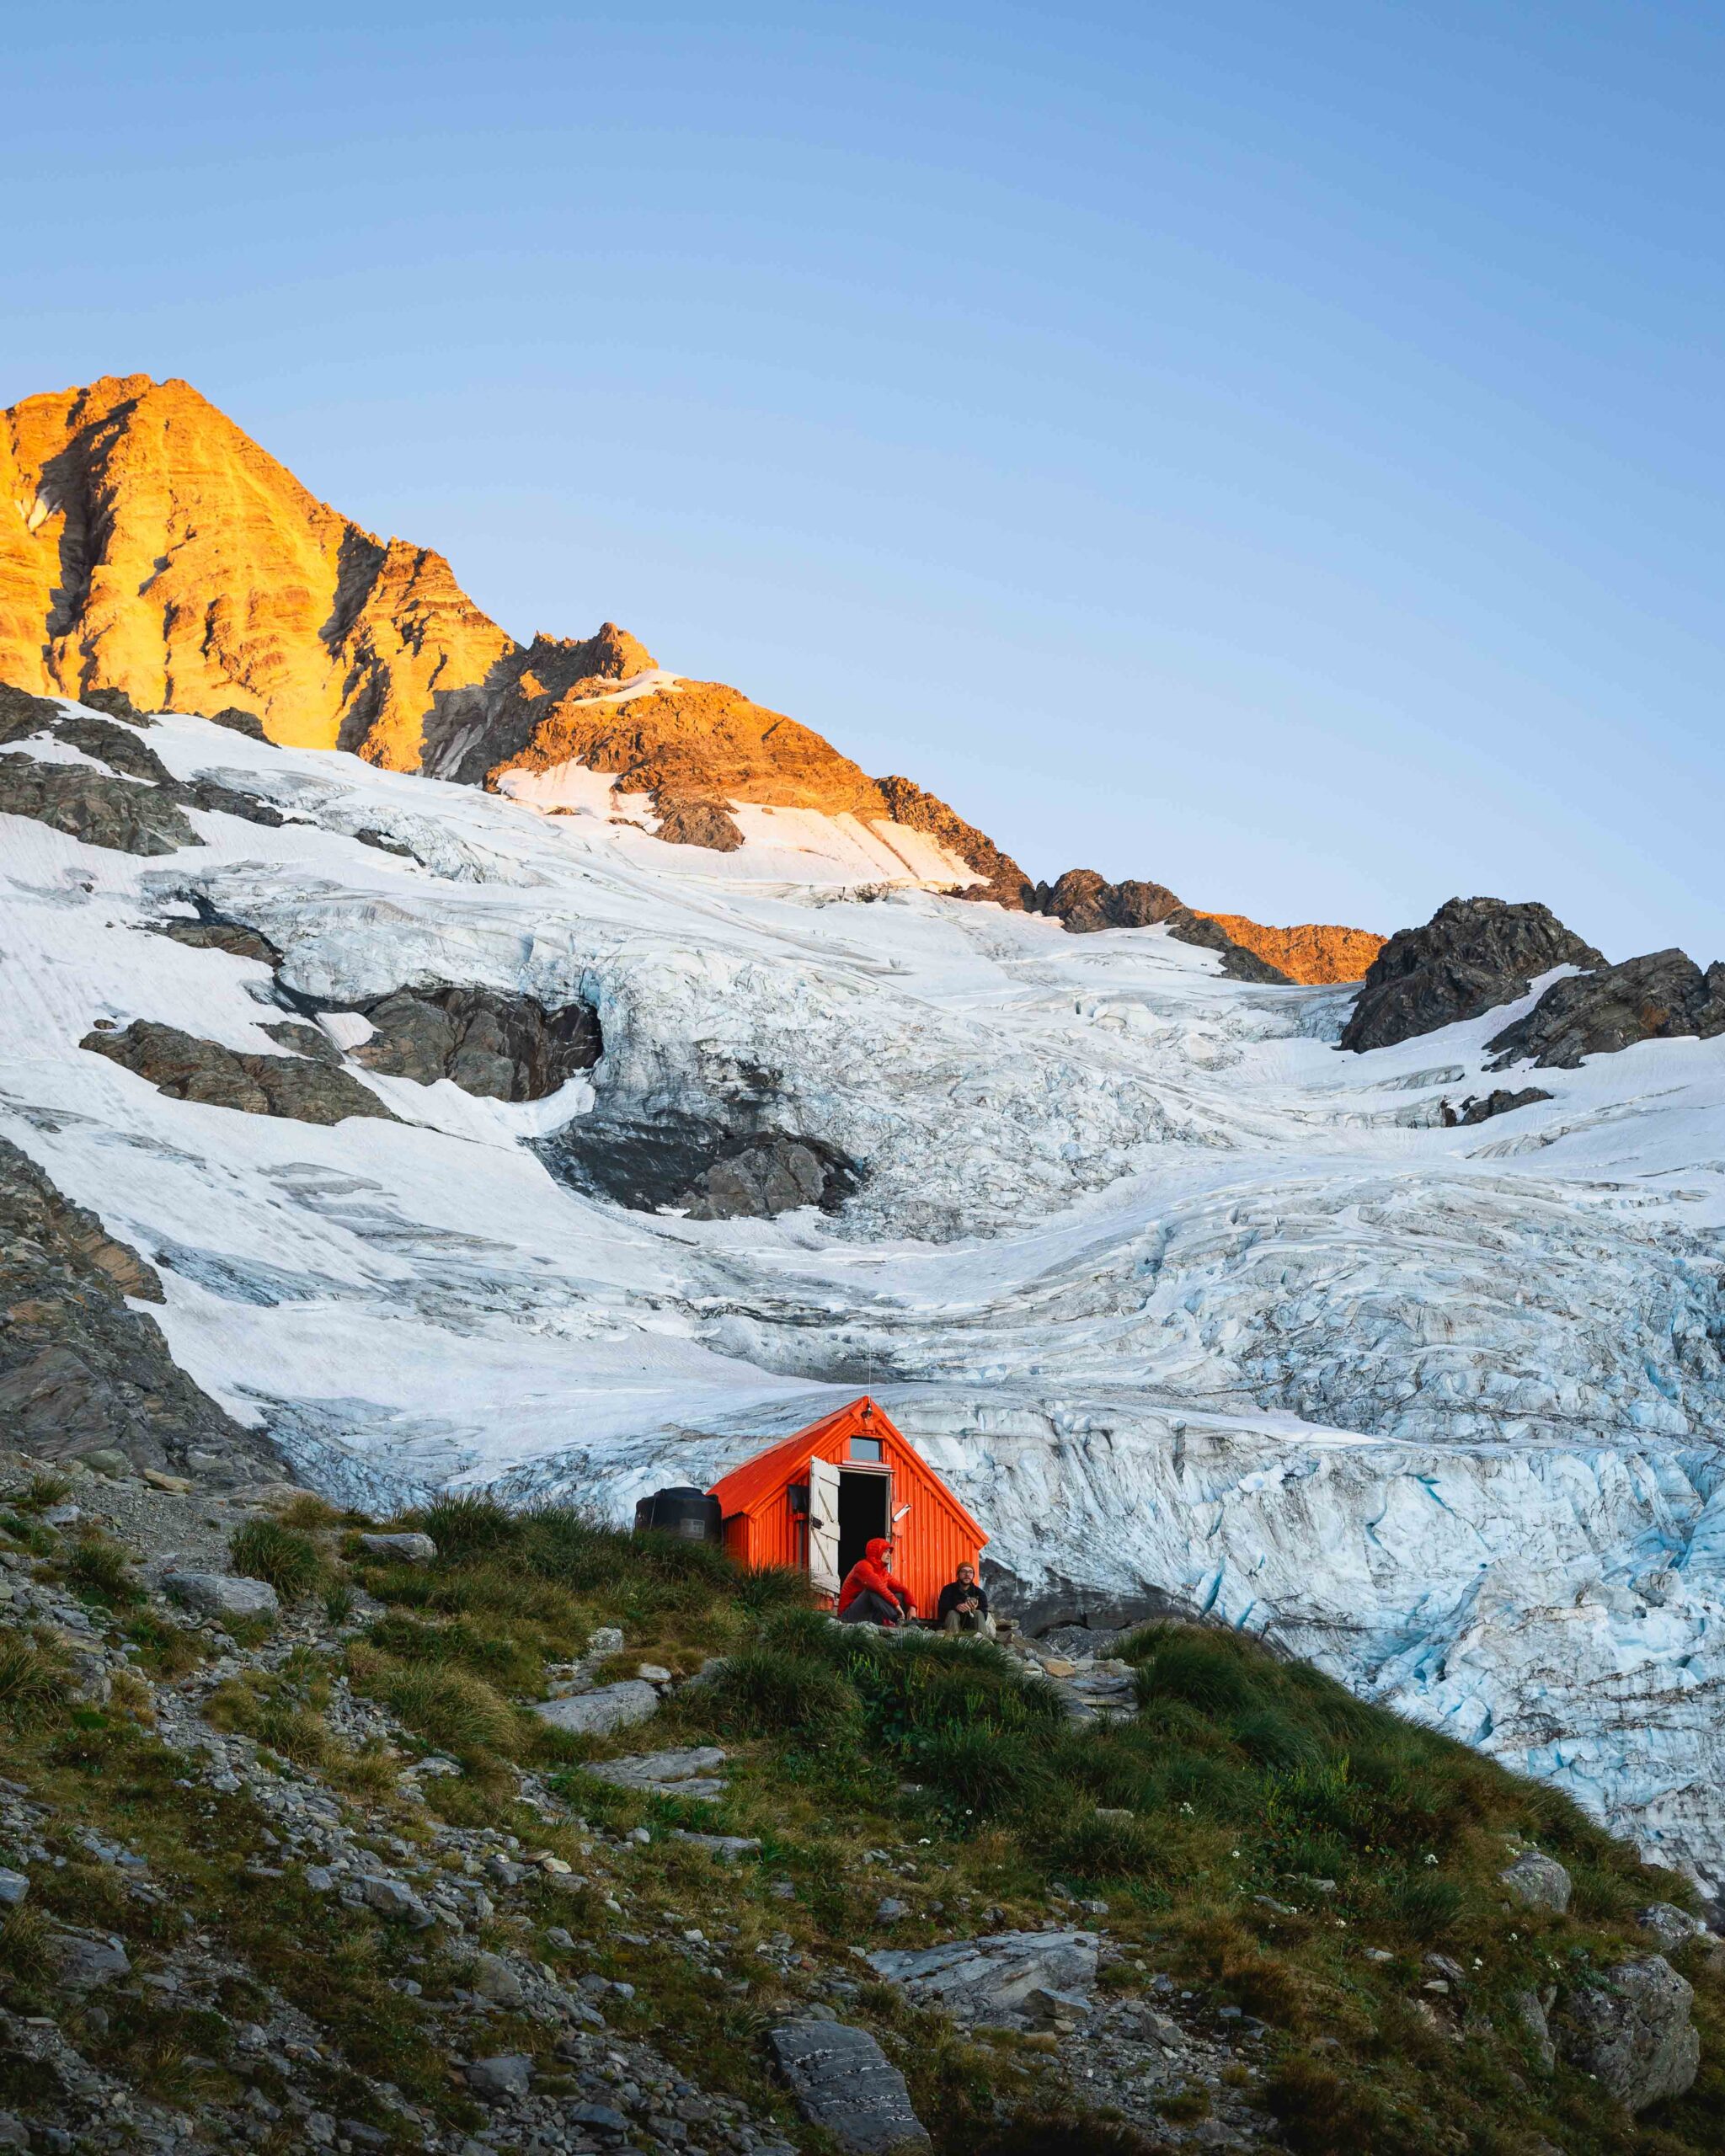
Day Three: Divide Lake to Grizzly Lake (With a Day Trip to Talus Lake)
We hiked to Talus Lake in the day (because we couldn’t get permits for this campground), then back to Divide Lake to pack up camp and hike to Grizzly Lake to sleep for the night. It was a long day, but we really wanted to check out Talus Lake, so it was well worth it the tired eyes and sore limbs.


Day Four: Grizzly Lake to the Trailhead
At Grizzly Lake, we woke up to snow falling and decided to hang around camp until the afternoon. Once the snow stopped, we took some photos and slowly made our way back to the trailhead. Just like the hike in, it took us the entire day because we were taking photos, laughing at the sudden weather changes and, of course, taking breaks because our bodies were exhausted.


If I did it again, I would spend an additional 1-2 nights at Talus or Grizzly Lake campgrounds because it felt like it was a lot of hiking and not enough time to relax at camp or read a book.
Things to Prepare For
- Rough terrain: This hike is tough because there is a mountain pass between every campground/lake so you basically have to go up a mountain pass six times. It’s a workout with an overnight pack!
- Drastic weather changes: The weather changed every hour from sun, rain, snow and hail. So, be prepared to see a ton of rainbows and to layer and delayer quickly. Do your best to stay dry, so hike with your rain jacket and backpack cover always on. On my trip, it probably rained 50% of the time, was sunny 20% of the time and 30% of it was a mixed bag of clouds, snow and hail.
- Encounters with wildlife: The good thing about this trail is that, due to the vast landscape, you can see ahead of you and look for wildlife. In the times where you’re hiking through bushes/trees, be sure to make noise by talking, singing, or simply shouting “hi buddy!”. Be especially cautious when visibility is low or when you’re walking along lakes or streams. I was on high alert for any animal activity, especially grizzly bears, while hiking but I didn’t see any. That doesn’t mean you won’t see any though. I recommend asking the rangers at the Interpretive Centre about the recent grizzly bear activity and be ready.
Route-finding in the park is quite easy, but an offline map is still needed. I go over how to do this in this blog post. At each campground there are tent pads, cooking shelters, pit toilets, bear-proof food caches and grey water disposal bins. There are streams at every campground where you can grab water, filter it and be on your way! It’s importnat to note that it’s mandatory to bring bear bins for your food. You can rent one at the Interpretive Centre or bring your own. Be sure to plan the food you’re going to bring into the backcountry before heading up the Dempster Highway, as there are no grocery stores in the park. As always, pack out what you packed in. For additional information on the trail, check this out.
Other Things to Do and See in the Park
Hiking: Some day hikes you can check out are:
- Goldensides Mountain: 3.4km and 219m gain
- Twin Lakes and Mount Monolith Viewpoint: 5km and 499m gain
- Angelcomb Peak: 5.6km and 593m gain
- Surfbird Mountain: 7.4km and 464m gain
- Many more hikes can be found here

Car camping: There is only one road-accessible campground in the park. It’s called Tombstone Mountain and it’s just past the information centre. We stayed there for three nights and it was incredible. There’s free firewood so make sure to bring marshmallows.
Wildlife viewing: Tombstone is home to migrating caribou, bears, moose, sheep, eagles, falcons, butterflies, and countless other species. It’s likely you’ll see animals as the landscape is usually wide open tundra. If you really want to scout out animals to see, head to the Interpretive Centre for information. The rangers will share where you should go as it depends on the season.
‘Drive up’ spots: If this is more your jam, check out everything and anything along the Dempster Highway. We took a day to drove up a bit and went as far as Two Moose Lake at km 103 and saw some incredible views along the way. Also, the Tombstone Range viewpoint is just up the hill from the Tombstone Mountain campground and is a great spot to have lunch and take some photos.


What to Pack
For a full list of backpacking gear, check out this blog post. Here are the top pieces of gear that was crucial for this trip:
- Tent: MSR Hubba Hubba NX 2 Tent
- Puffy: Arc’teryx Cerium LT Down Hoodie (Mens version here)
- GPS: Garmin inReach Mini 2-Way Satellite Communicator

- Overnight backpack: Osprey Ariel AG 65 Pack (Mens version here)
- Waterproof backpack cover: Osprey UltraLight Pack Raincover
- Hiking boots: Danner Mountain 600 Mid WP Hiking Boots (Mens version here)
- Hiking poles: Black Diamond Trail Pro Shock Trekking Poles


- Bear bin: BearVault BV450 Food Container
- Water filters: Grayl Ultralight Compact Purifier Bottle and Katadyn Purification Tablets
- Electrolytes: NUUN Sport Hydration Tablets – 10 servings
All photos in collaboration with Julia Thompson and Chris Locke.
Pin for later:


Oh Man, you look so cute and happy. Sometimes when watching your posts in Insta, I feel like your happiness was spreading to those who watches. Your alias ” Angel” suites you well. Thanks and keeping spreading your happiness. – Beloved follower.
Thank you for the kind words!
This looks like such an incredible trip! Thanks so much for the pointers, the route, the pictures. Just WOW!
I’m so stoked you found this helpful! The Yukon is incredible!
Hi! We just got permits for September! Did you rent the camper van for the entire time and keep it parked while you were doing the tombstone hike?
Hey Nicole! That’s so exciting. We rented the campervan the entire trip and then left it at the trailhead. We had no issues! Just make sure you unplug your fridge and hide your valuables just in case.
Such a helpful blog Angela! I just booked this trek for the first week of September. STOKED
That means a lot, Nina! Sooo stoked for you. It’s going to be incredible.
What did you eat on your backpacking trips? I assume freeze-dried and/or dehydrated meals… any recommendations? Cheers!
Hi Carlos! Great question. I always eat Pad Thai by Happy Yak for dinner, protein oatmeal for breakfast and have calorie-filled snacks to sustain me throughout the day. Sometimes I’ll bring another dehydrated meal for lunch as well. Hope that helps!
Hello! Thank you for the informative blog post and beautiful pictures! We plan on going up end of August early September as well! How were the bugs (Black Flies specifically), if there were any?
Hey Nicole. I’m thrilled to hear that you enjoyed this post and that you’re planning on heading to Tombstone. I’m stoked for you! I don’t recall there being any bugs at all 🙂
Such a Very Informative Blog. Your Blog beautifully captures the magic of visiting Tombstone Territorial Park during fall!
Thank you for the comment! Tombstone in the fall is truly incredible.
Can you talk about how you got a permit to fly your drone for the photos in this post? Drones are not permitted without getting a permit so I would love to hear about your experience getting that! It’s something we just started looking into and I wasn’t sure how long it takes to process.
Thanks!
Hi Brittney, I flew outside of the park! but I took those photos down as I don’t want to cause any confusion.