
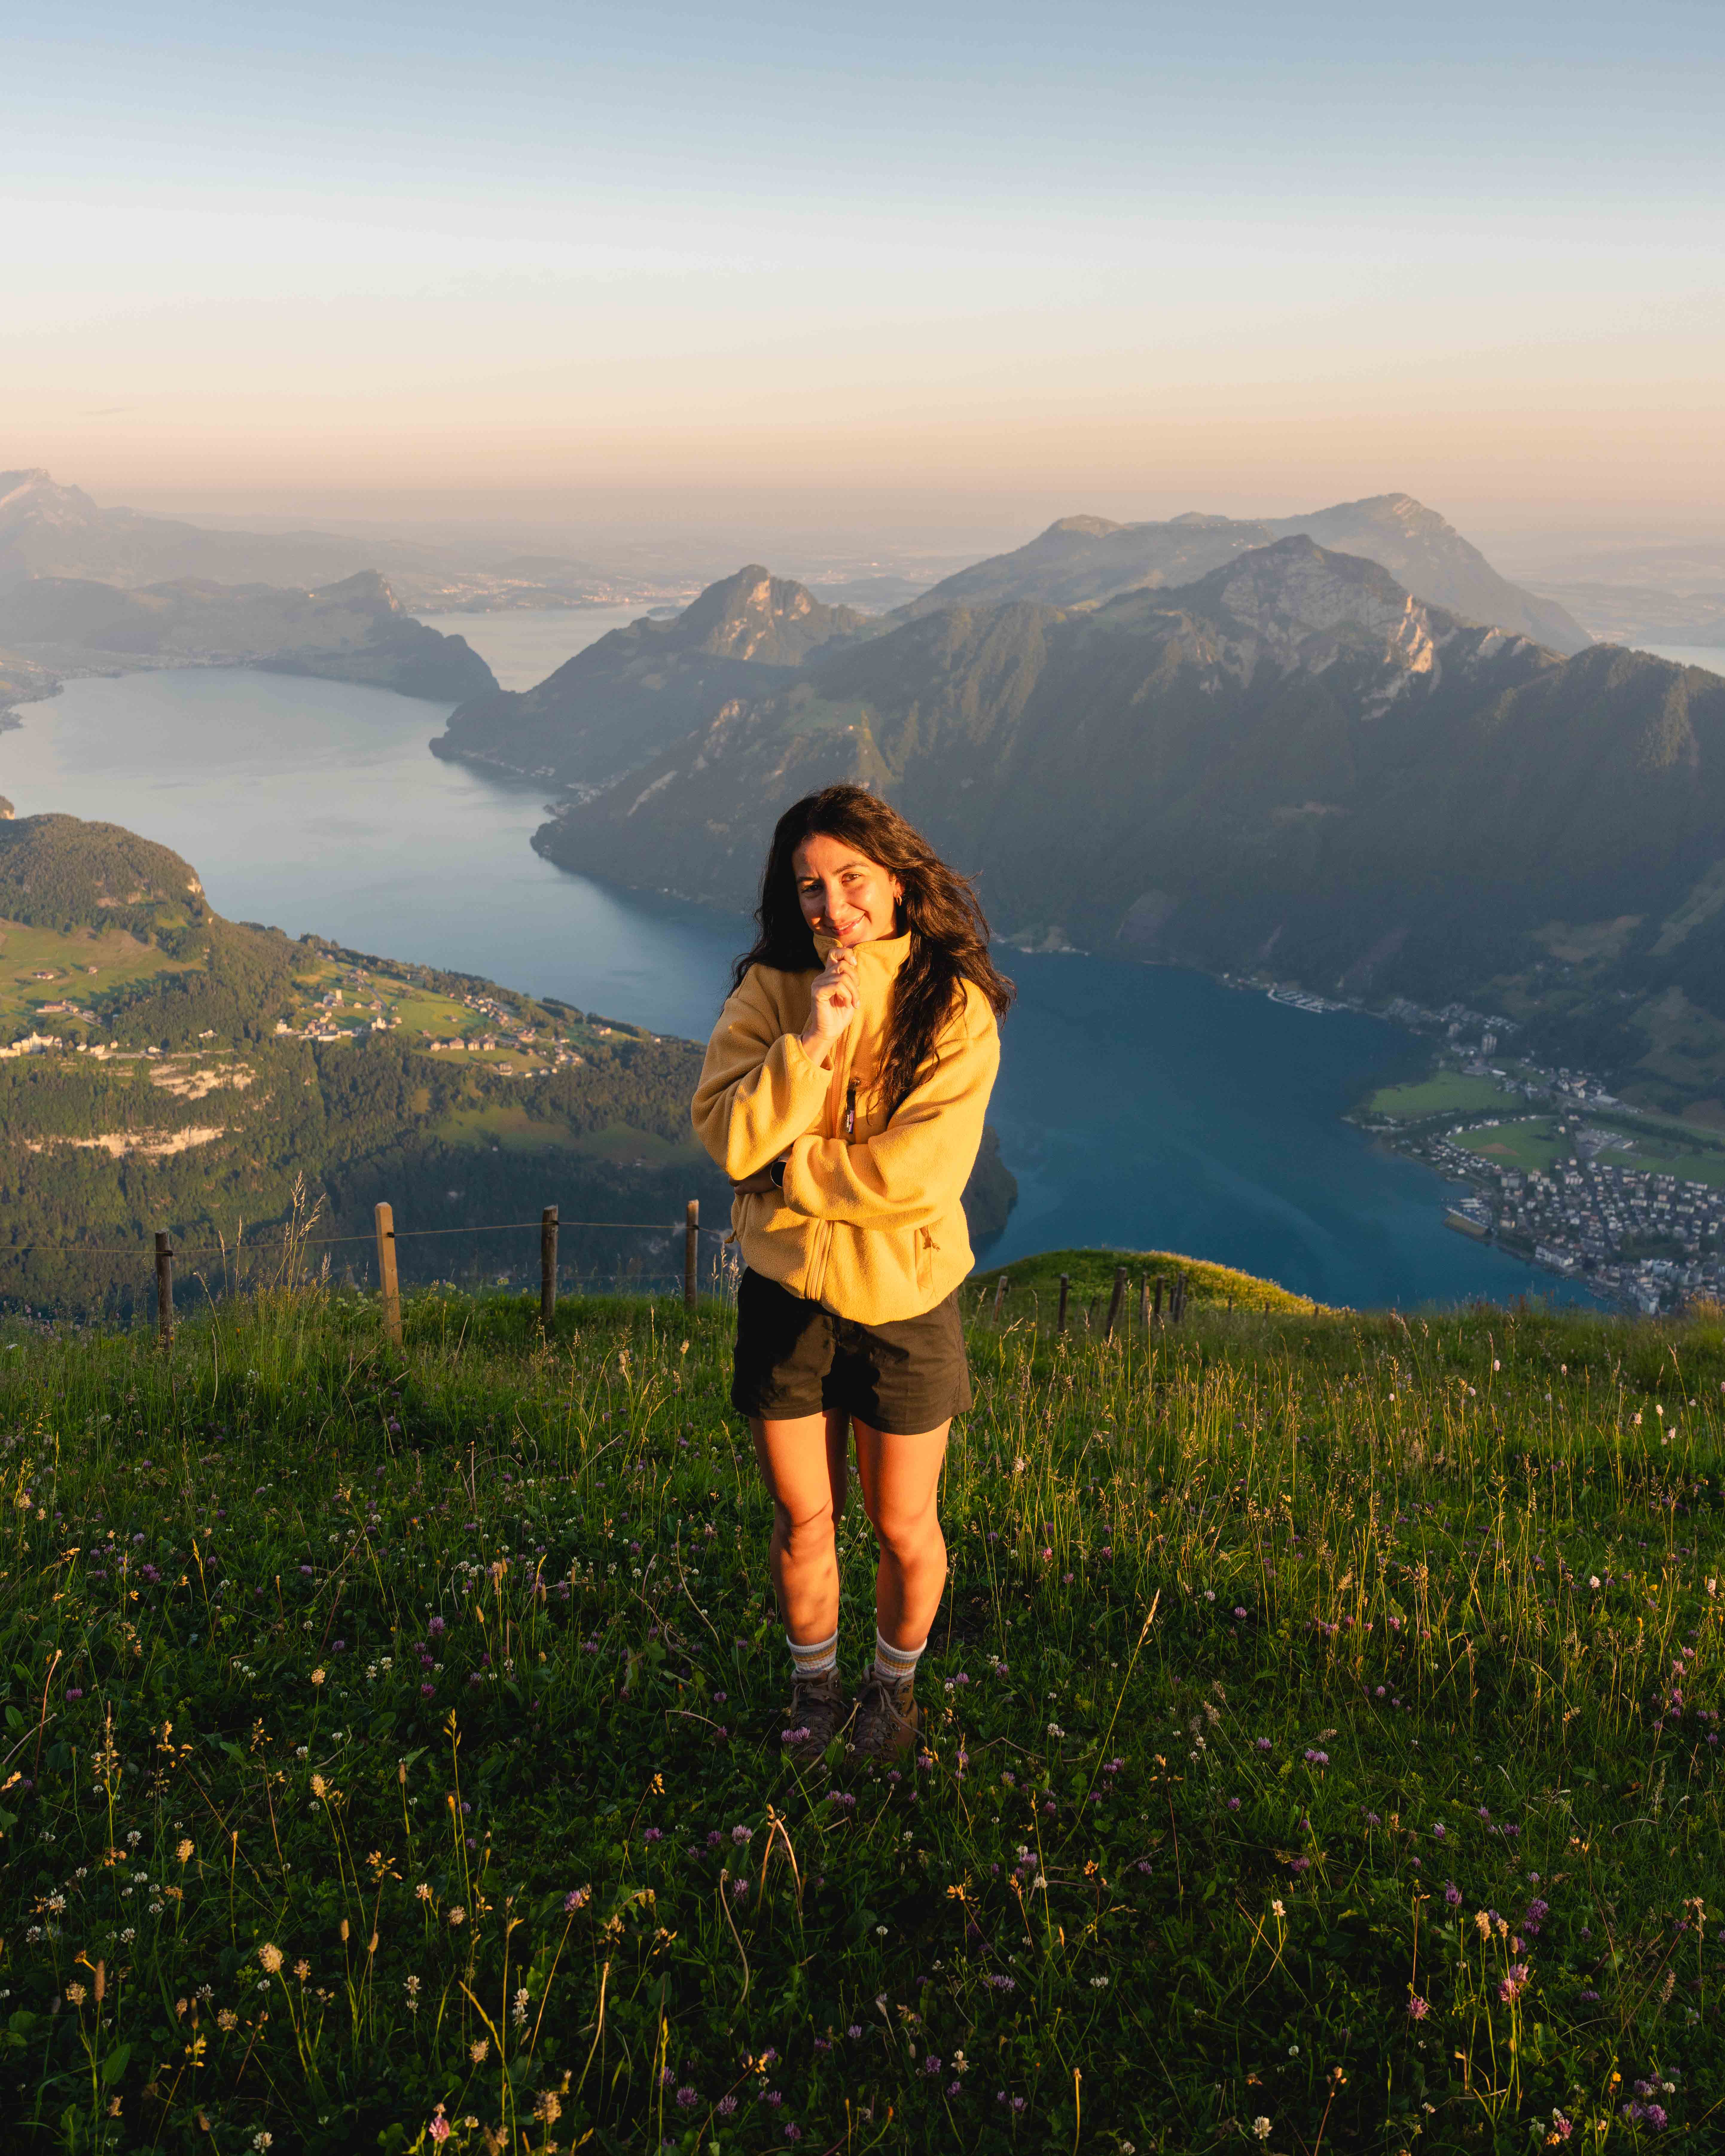
So you want to go on a winter trip to Elfin Lakes Hut? I’ve got you! I just got back from spending a night at the hut, and the moment I opened the door in the morning and watched the sunrise, I knew I wanted to write a blog post so that you all could experience it for yourself. It’s truly such a glorious British Columbia experience.
Being able to escape the rain and get outside in the snow is the perfect remedy for fighting the winter blues. It can be hard to find safe trails to hike in the winter.


Hiking in the winter is hard. There are so many more things you need to think about, more things to pack, and more risk, so it’s really important to be prepared. My goal is to help you feel confident and make your trip planning easier because there is much to know before you go.
Winter Trip to Elfin Lakes Hut—British Columbia Hiking
Brief Trail Overview
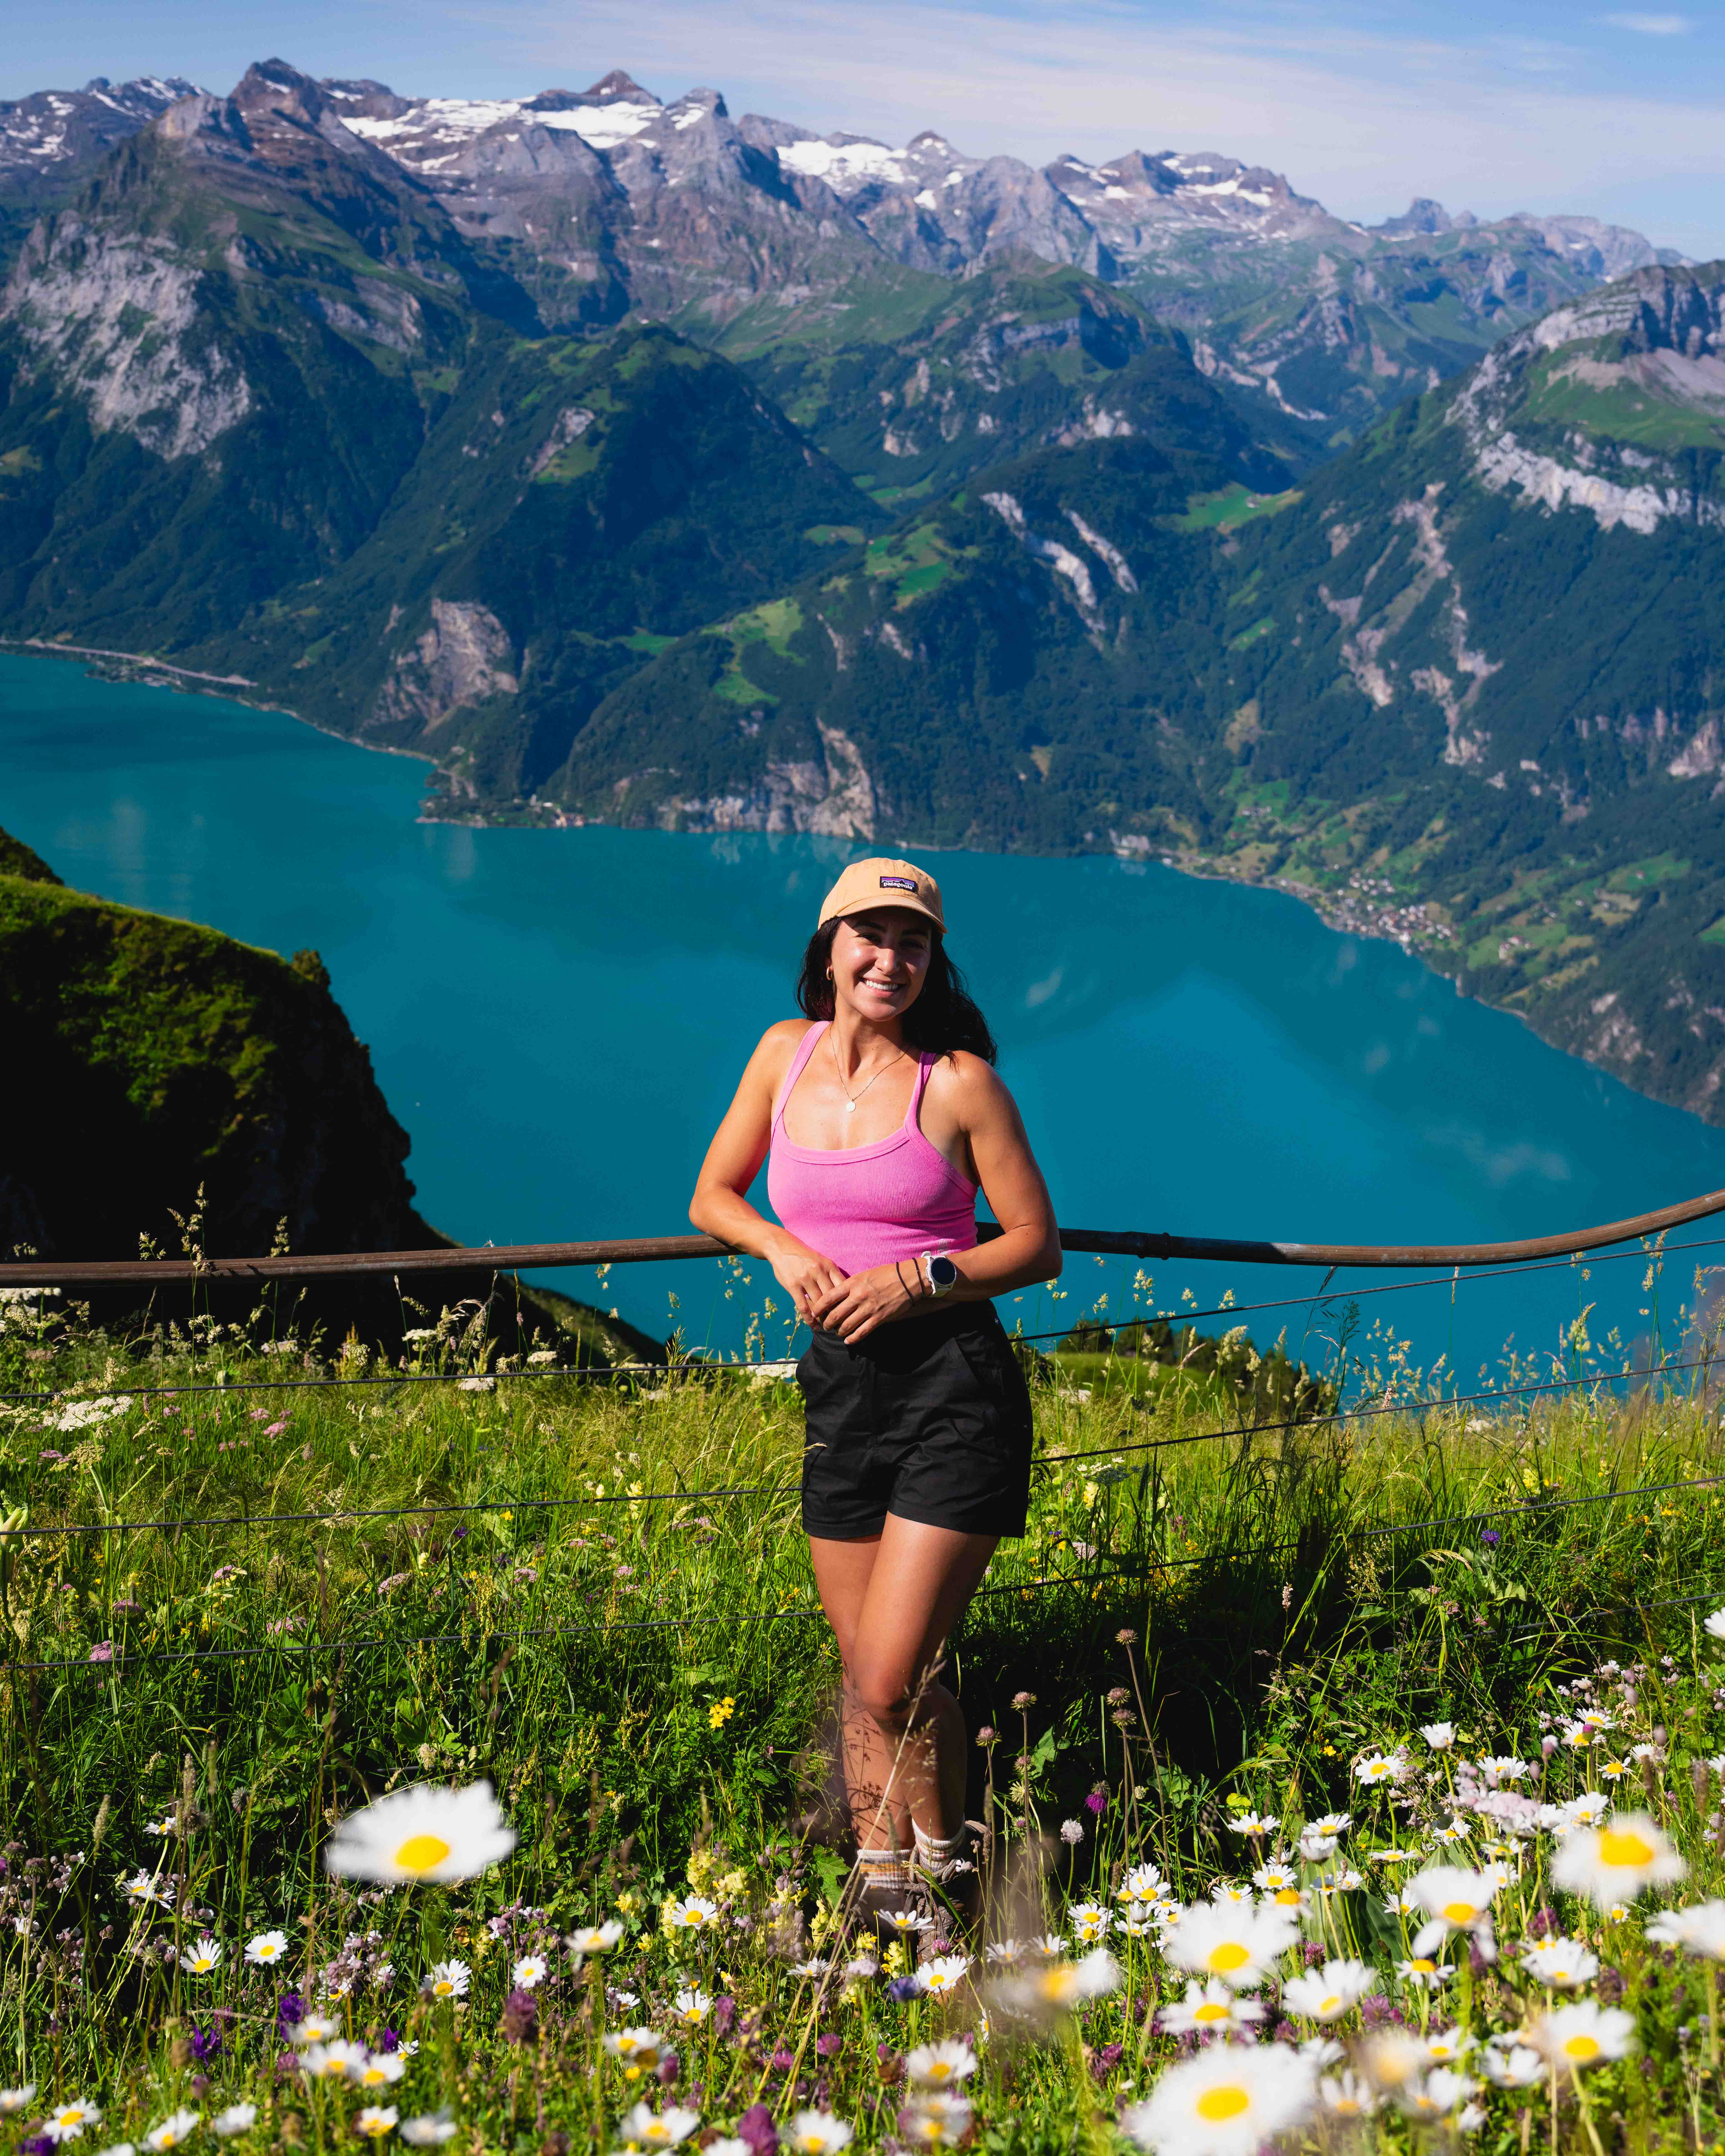
Elfin Lakes Hut is a backcountry shelter in the Diamond Head area of Garibaldi Provincial Park. You have to hike to get there, and the trail to it is about 22km with 700m of gain (out-and-back). It is accessible year-round, and to me, the winter season is the most dreamy time to be up there! Depending on the weather conditions, it is a moderate hike. It’s long, but the elevation is pretty gradual.
You need to follow the winter route because it avoids hiking in avalanche terrain. Do not hike the summer route. From the trailhead, you’ll follow a distinct trail in the trees until you reach the Red Heather Hut. Here, you can warm up, use the kitchen, take a break, and/or use the pit toilet.
When you continue, you will enter an open area. The winter trail is marked with orange poles. Following the poles, you’ll head up the steepest section of the trail and then into some trees.

The last 3-4km are mostly open with some small hills, but most of the climb is over. Because it’s so open, it would be really easy to get off the trail and confused here, especially if it’s foggy, so stay focused on following the orange poles.
I couldn’t find a winter route on AllTrails for my winter trip to Elfin Lakes Hut, but you could use Gaia GPS.
Also, this is a popular route for ski touring, so you will probably see skiers and split boarders on your trip!
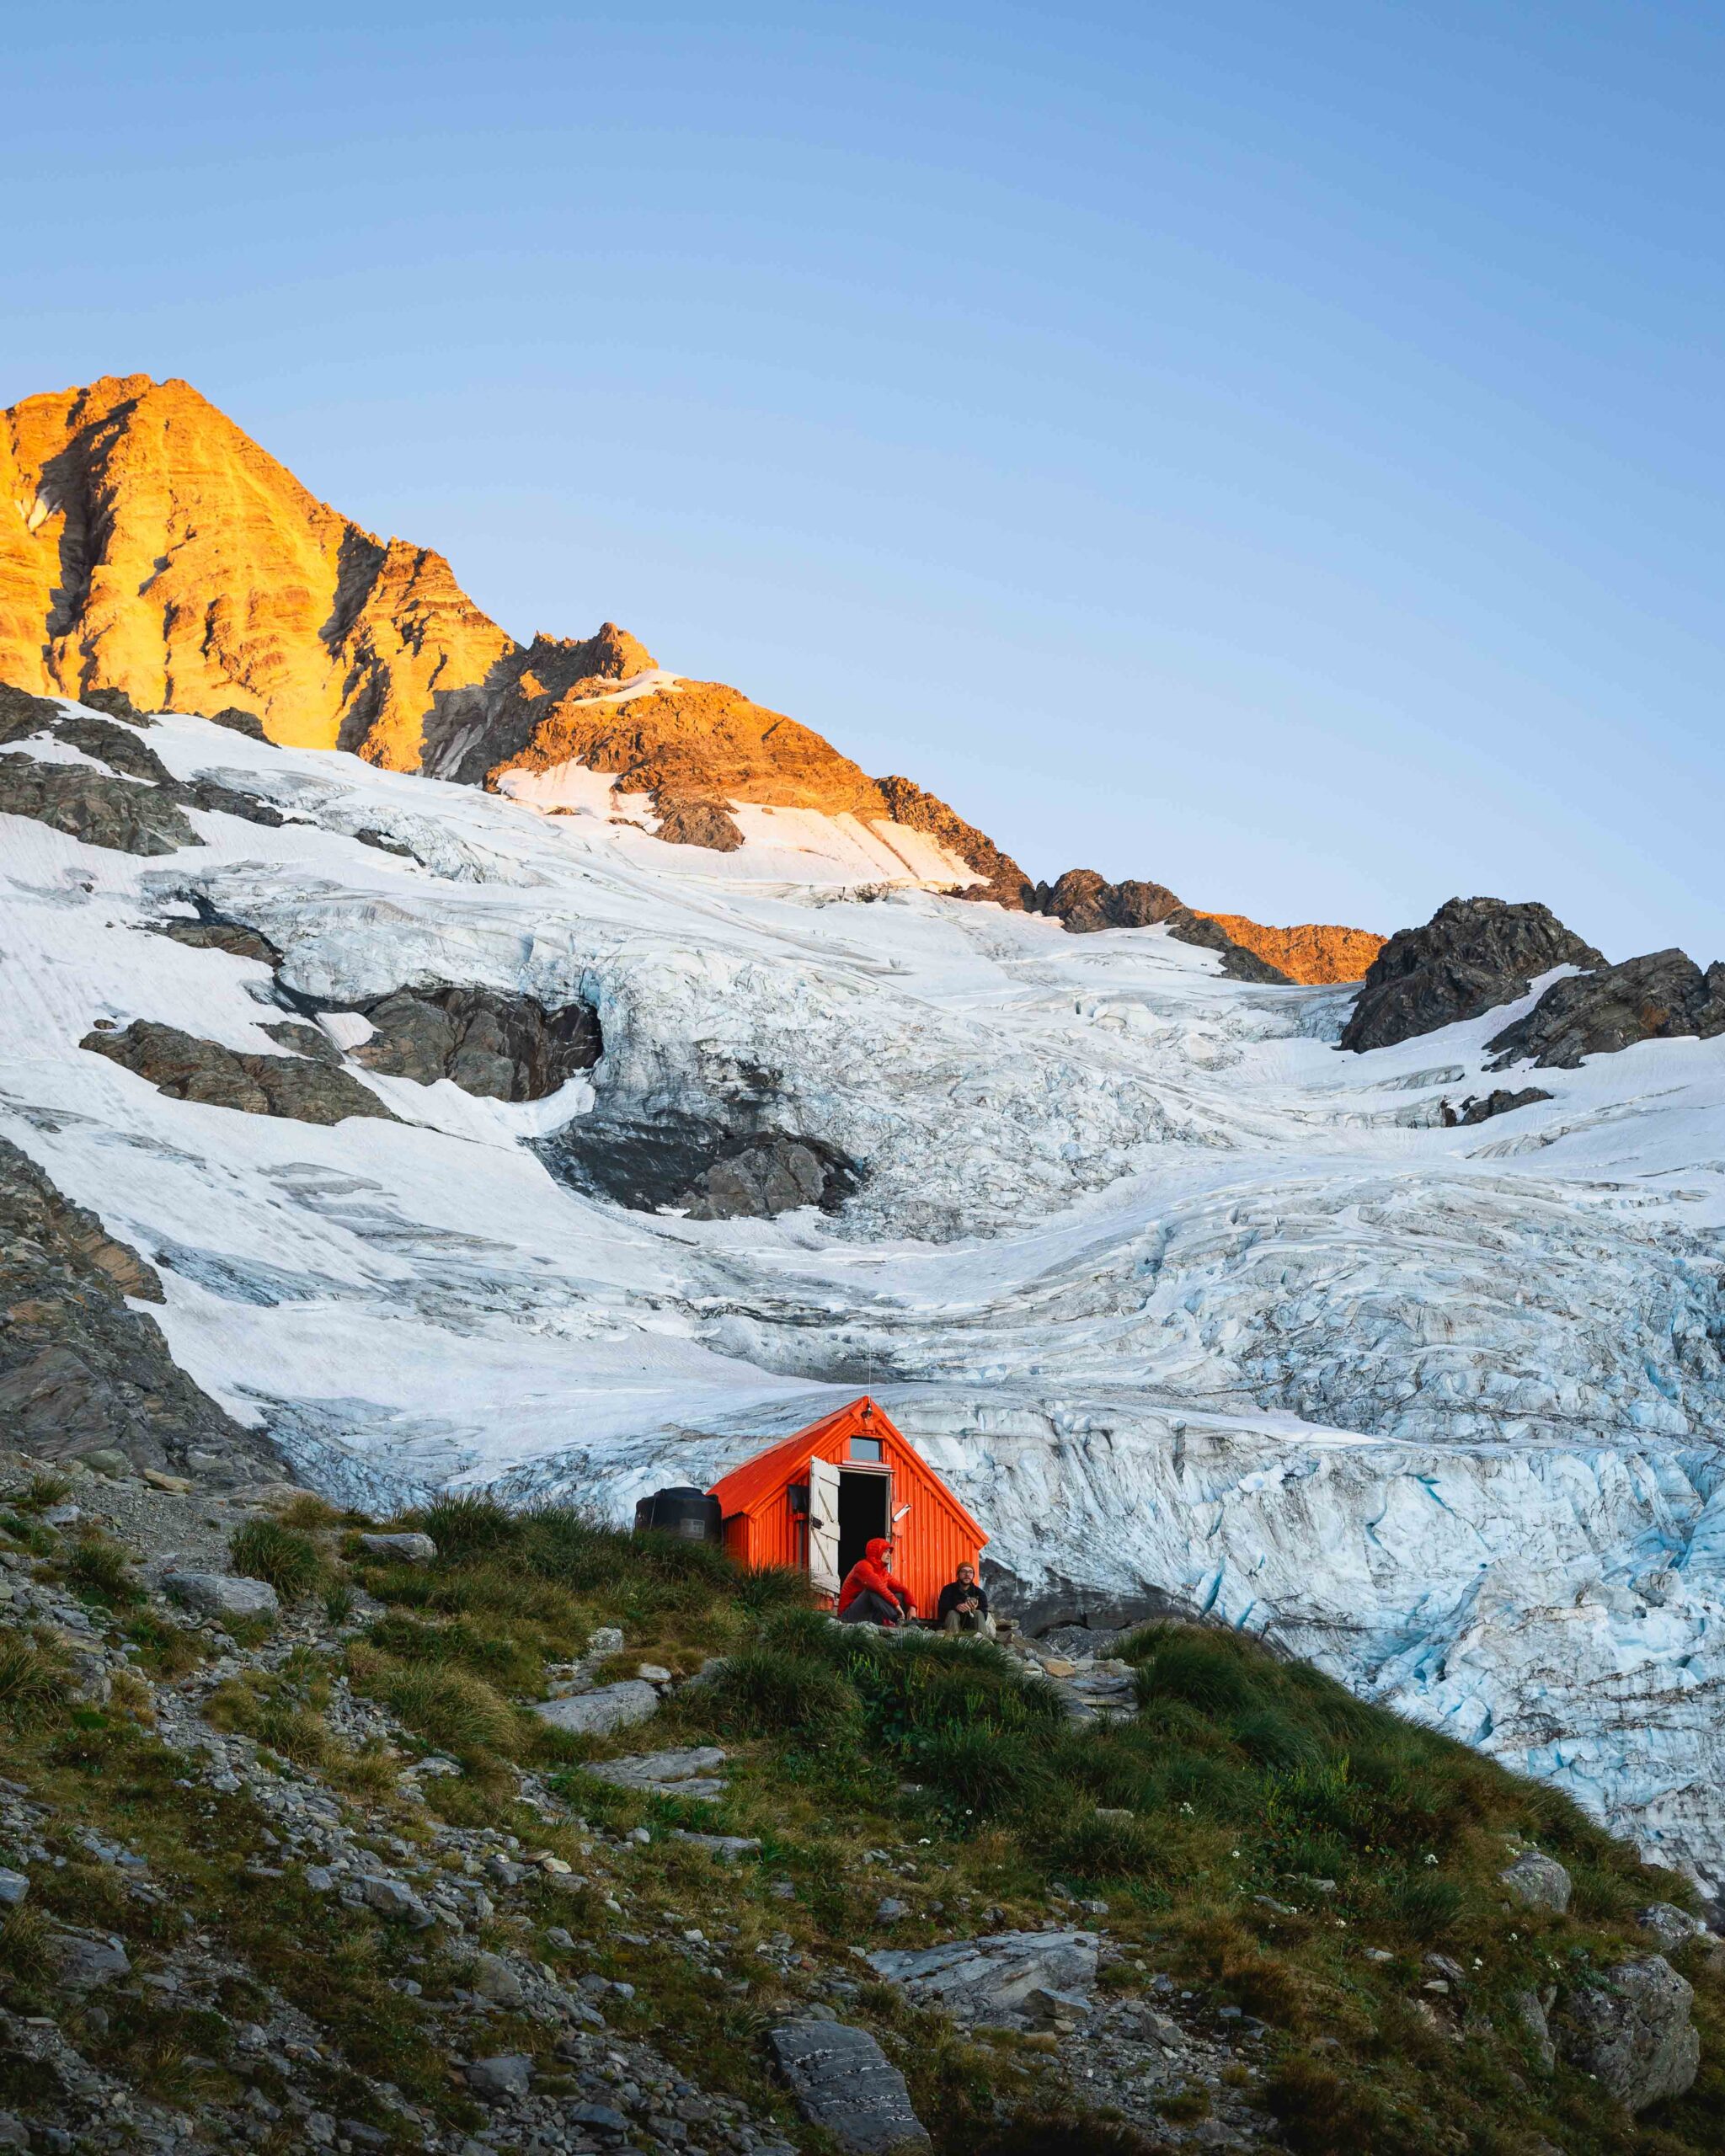
Hut Overview
The shelter can sleep 33 people. There are 11 double bunks and 11 single bunks. Facilities include:
- A propane heater
- Four propane burners (propane is supplied by BC Parks)
- Counters with two wash sinks
- Solar-powered lights
- Four picnic tables
- Pit toilets
- Hooks to hang up your food
This is a user-maintained shelter, meaning you must help keep the hut clean and safe. Here are the rules from BC Parks:
- The shelter is user-maintained, so be mindful of the shared space
- Remove footwear to avoid tracking snow and dirt inside
- Remove belongings from the drying area once dry to leave room for the next party
- Use the pit toilets beside the shelter as snow melt is used for drinking water during the winter
- Bag and securely store food on hooks provided and leave the food hangs in the campground for campers
- Clean up immediately after cooking and eating
- Pack out all food and garbage, sweep, and wipe tables before leaving
- Leave facilities as you found them, or cleaner


Getting to the Trailhead
The first thing you have to do before you go on your winter trip to Elfin Lakes Hut is get to the trailhead. It is only 30 minutes outside of Squamish. You need a vehicle with four-wheel drive and snow tires.
Chains are also mandatory from October through May, and failure to comply may result in a $115 fine and/or eviction from the Park. “Snow socks” or spike belts are not considered chains.
The road after the chain-up area is narrow, winding, and steep. Even if you don’t think the road is bad at the chain-up area, put chains on because it will get snowier and icier as it climbs up to the trailhead.
The road is plowed intermittently. You can’t park along the road, or else you’ll get towed. I didn’t see any ‘no parking’ signs at the chain-up area, so you could potentially park there and then hike the road to the trailhead.
To find the trailhead, search Elfin Lakes on Google or use this AllTrails page for directions.

Reservations
You must make a reservation to stay overnight at the Elfin Lakes Hut—you can do that here. Click backcountry, then backcountry shelter, to book it.
It is a really popular spot, especially on the weekends, so if you need a Saturday night reservation, I suggest booking four months in advance (aka the earliest you can book a reservation).
I went on a Tuesday night and only shared the hut with a group of two, and it was a really great experience. If you can go mid-week, do it!
I took a screenshot of my reservation, so if a ranger needed to see it, I had it ready. The BC Parks website says to print two copies—one copy will go on your bunk bed, and the other you will carry.
It is $15 per adult, which is a pretty cheap five-star hotel room to me! Once you get to the hut, I’d put your belongings on the bed you’d like and clip a copy of your reservation to the bed as well if you printed it out.
Snowshoes or Microspikes?
The best practice is to bring both snowshoes and microspikes. Snowshoes help you walk in snow without sinking, while microspikes are better for traction on icy or hard-packed snow.
When I went, I just brought my microspikes because I knew most of the trail was hard-packed. I knew that there had not been any new snow for three days, and a weekend had passed (meaning a lot of people to pack down the trail).
I also looked at AllTrails reviews and messaged people on Instagram who tagged Elfin Lakes what the trail was like. There were still parts where I was post-holing (my foot was going down into the snow up to my knee) which can be a bit draining.
If I did this winter trip to Elfin Lakes Hut again, I’d pack both.


Avalanche Risk
To get to Elfin Lakes Hut, there is the winter route which avoids avalanche risk, but that doesn’t mean that it emits all risk at all. Going into the backcountry in the winter means you always take on a risk.
It is important to stay on the winter route and follow the orange poles so you don’t go off-trail. Off-trail, in this case, could mean walking right into a high-avalanche-risk area, which is dangerous.
If you can, get your AST1 certification and have avalanche safety gear with you.

Packing List for a winter trip to Elfin Lakes Hut
When packing for your winter trip to Elfin Lakes Hut, use my packing list here for overnight trips. That packing list is for summer, though, so here is what I also brought to prepare for winter conditions.
Microspikes: Microspikes could truly save your life because they can help you avoid slipping and hitting your head on ice. I love Kahtoola microspikes. [Canadian link]
Snowshoes: These allow you to walk in deep snow. Heel risers help when you’re going uphill a lot, so the MSR Lightning Ascent Snowshoes are my favorite. [Canadian link]
Hut booties: This is a huge luxury, but my feet were so warm the entire time I wore Baffin Cush Hybrid Slippers, and I was able to walk outside the hut as well with them. [Canadian link]


Gaitors: Gaitors help prevent snow from going inside the top of your boot, which leads to wet feet, which is not fun at all. Hiking boots can be waterproof, but after hours of hiking in the wet West Coast snow, it’s hard for them to stay 100% dry. [Canadian link]
Dry bag: There could be little critters or mice in ANY hut you sleep in, so to avoid any unwanted snackers, bring a thick dry bag that mice can’t bite through. I love the Sea To Summit Big River Dry Bag. [Canadian link]
Gloves: I like to wear a thin glove, then bring a bigger mitten if temperatures will get really low. [Canadian link]

For this trip, I didn’t bring my tent (because I slept in the hut), my camp stove (because I boiled water on the propane burner in the hut), or my water filter (because we boiled snow for water).
Also, as a quick FYI, long sleeping pads don’t fit the bunks so try and bring one in a a regular length!
My friend and I opted to pack food for a charcuterie board, and it was awesome!
If you have any questions, please comment below, and I’ll get back to you directly. Have fun!
You also might like…
Ten Must-Do Hikes In British Columbia
Best Hikes in Vancouver
Everything You Need to Pack for Day Hiking
7 Epic Campsites close to Vancouver
Will you ever restock the Beautiful British Columbia sweatshirt?
Maybe a different version some day 🙂
how long did it take you from trail head to get to the emergency hut then to the elfin shelter
I don’t remember, and my pace would be different from your pace so I don’t usually share time it took. I’d take into account the distance, elevation, the amount of snow, conditions, my current physical state, and more. Then, add on more time so you aren’t rushing or lose light.